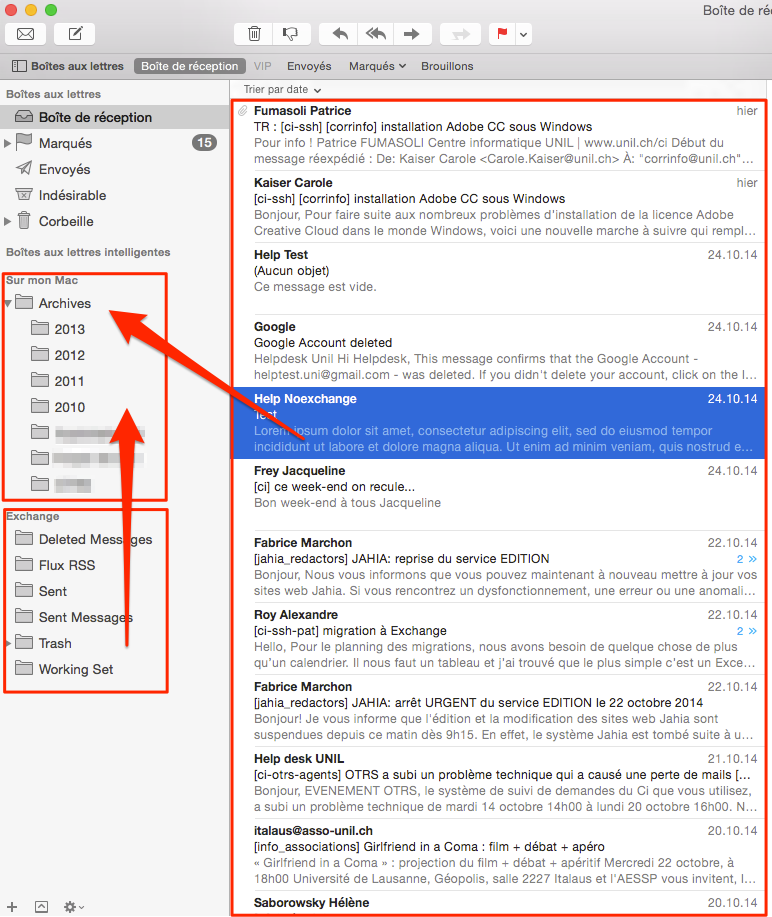
**The CI recommends using Outlook instead of Apple Mail**, especially for UNIL employees. Using Apple Mail on mailboxes containing more than a few thousands of emails may lead to data corruption and loss.
Before starting, ensure that an up to date version of *Outlook* is installed. To do so, open the *Outlook* menu and click on *About Outlook*. If you are using the 2019 or 2016 version of *Outlook*, you will have to uninstall it and [install the latest version (french)](https://wiki.unil.ch/ci/books/distribution-de-logiciels/page/microsoft-365).
1. Open *Microsoft Outlook* and enter your @unil.ch email address 2. A window opens and prompts you for your UNIL password - If you have already logged into another *Microsoft* product, your email account should be automatically added [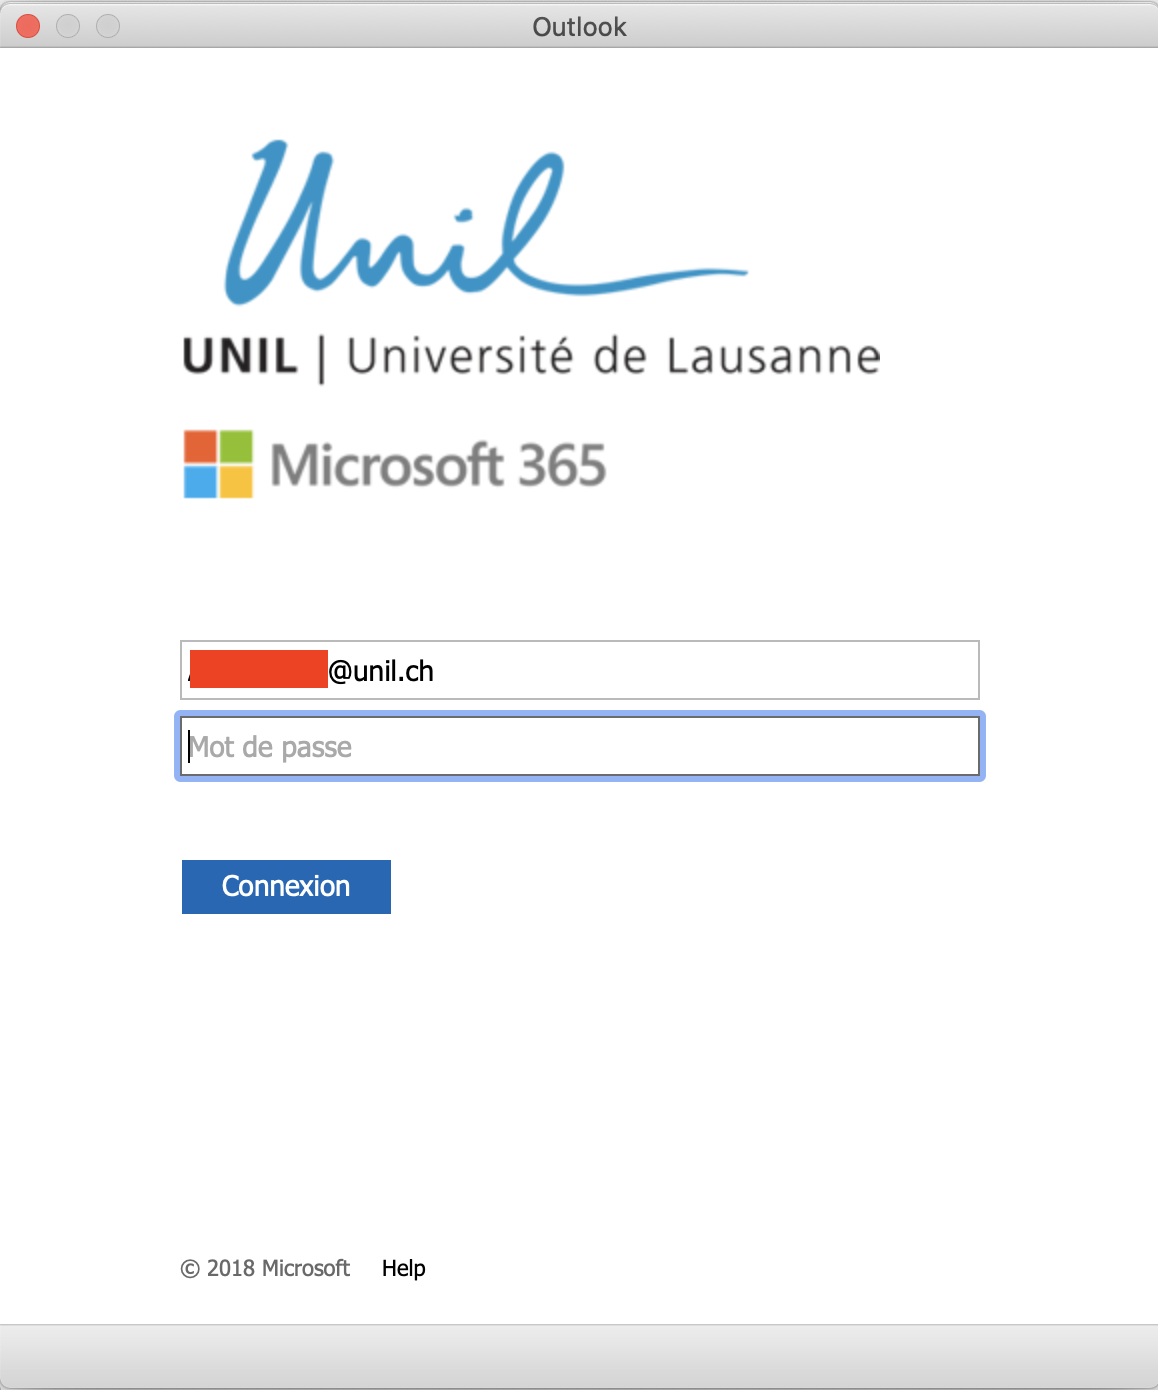](https://wiki.unil.ch/ci/uploads/images/gallery/2023-03/capture-decran-2023-03-06-a-10-24-44.png) 3. After logging in, the email account should be automatically added and set up. You should see a confirmation window. 4. If desired, you may add another email account by clicking the following button: 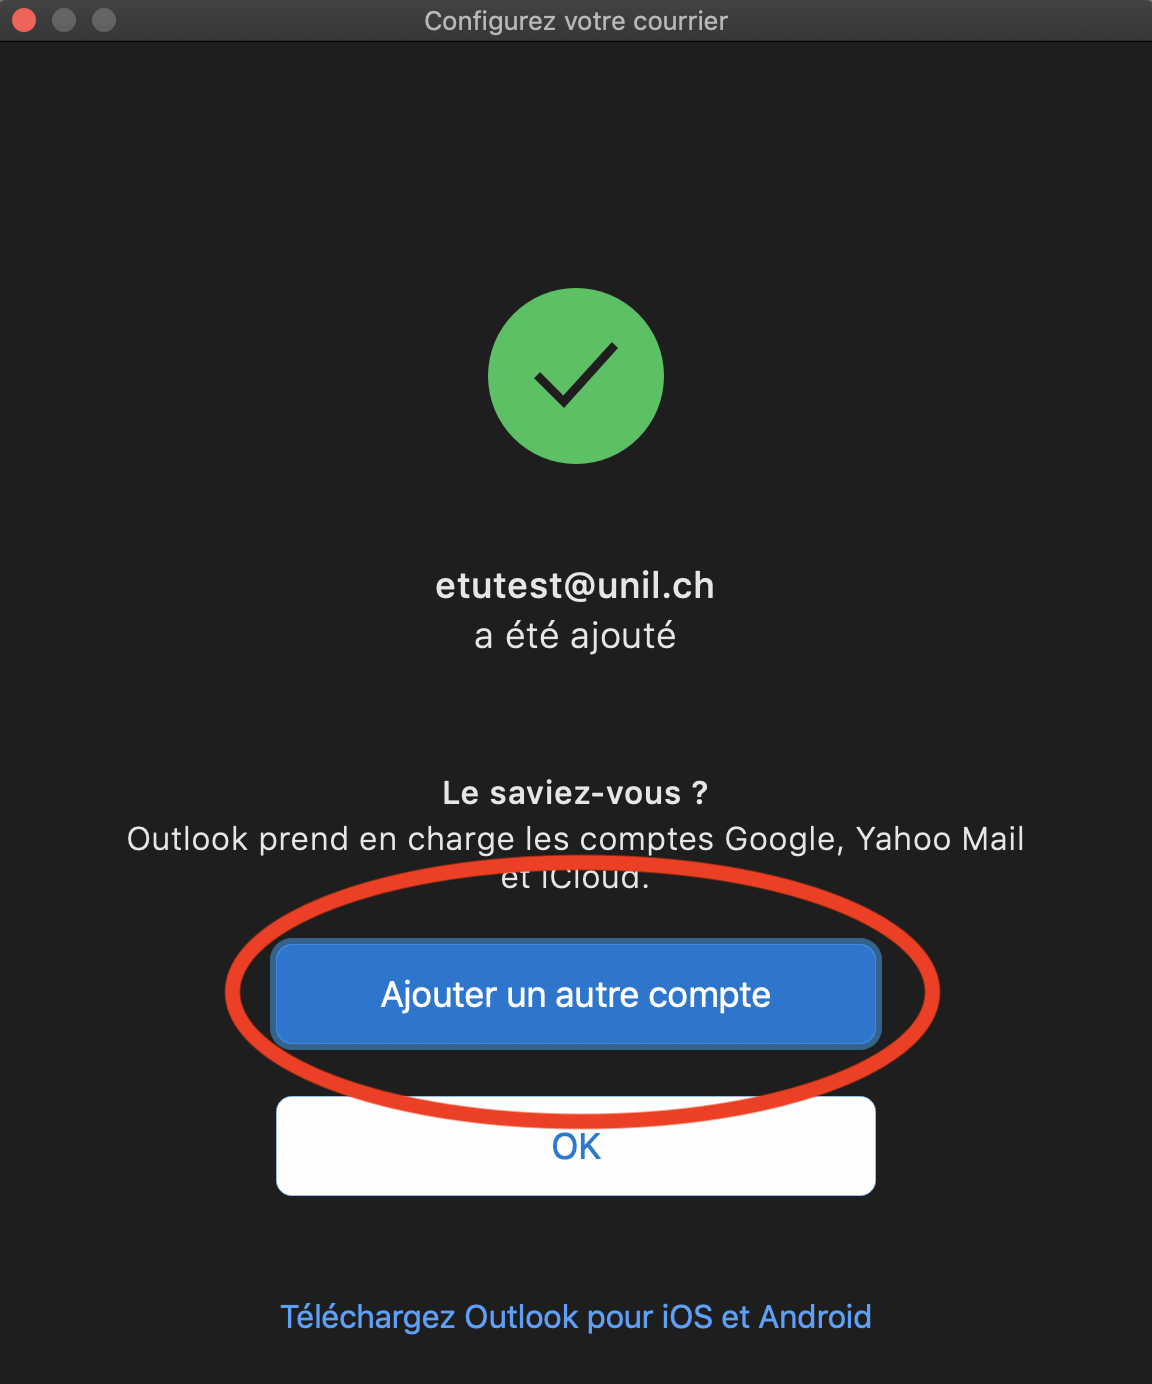Before starting, ensure that an up to date version of *Outlook* is installed. To do so, open the *Outlook* menu and click on *About Outlook*. If you are using the 2019 or 2016 version of *Outlook*, you will have to uninstall it and [install the latest version (french)](https://wiki.unil.ch/ci/books/distribution-de-logiciels/page/microsoft-365).
1. Open the *Outlook* app 2. On the top left of the display, click on the *Outlook* menu then *Settings...* 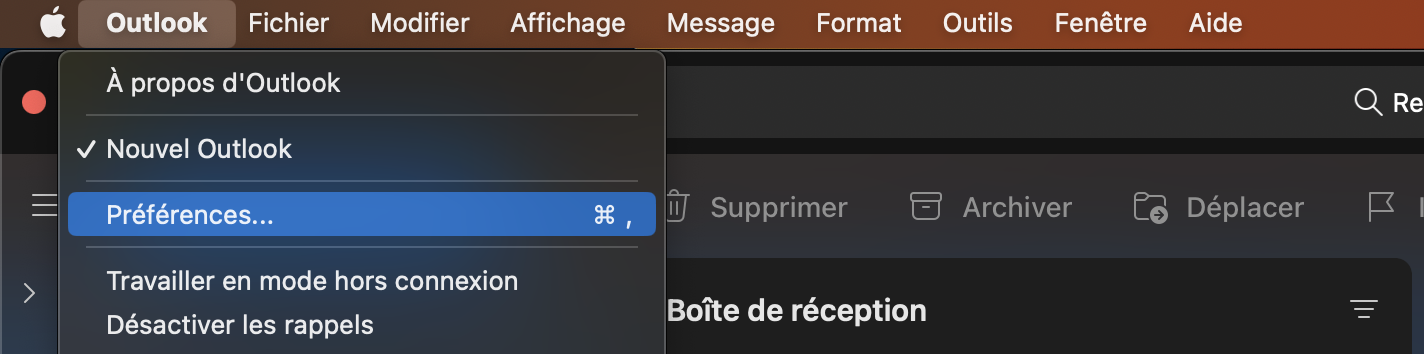 3. Click on the *Accounts* icon **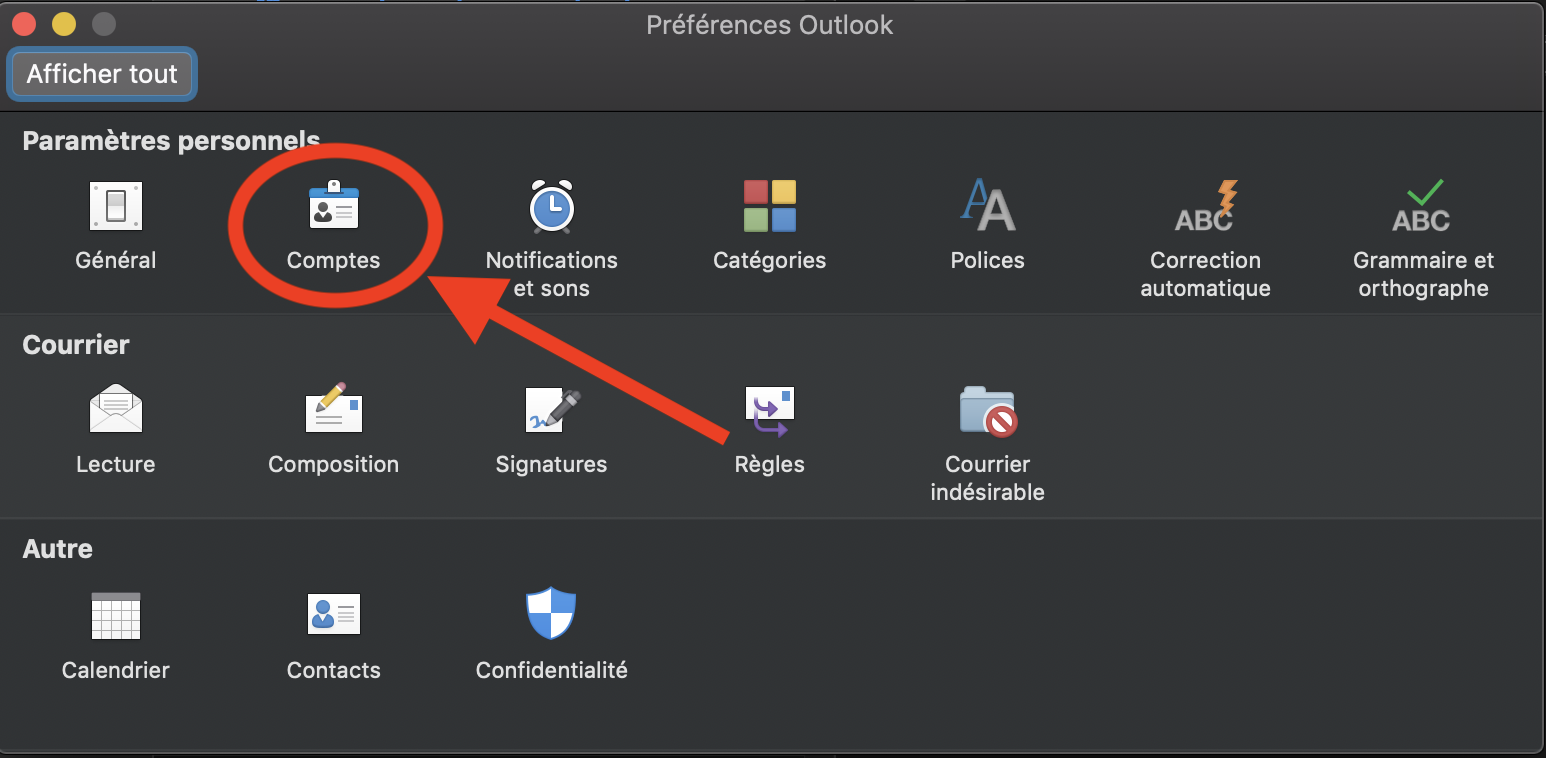** 4. Click on the `+` symbol, then **New account...** 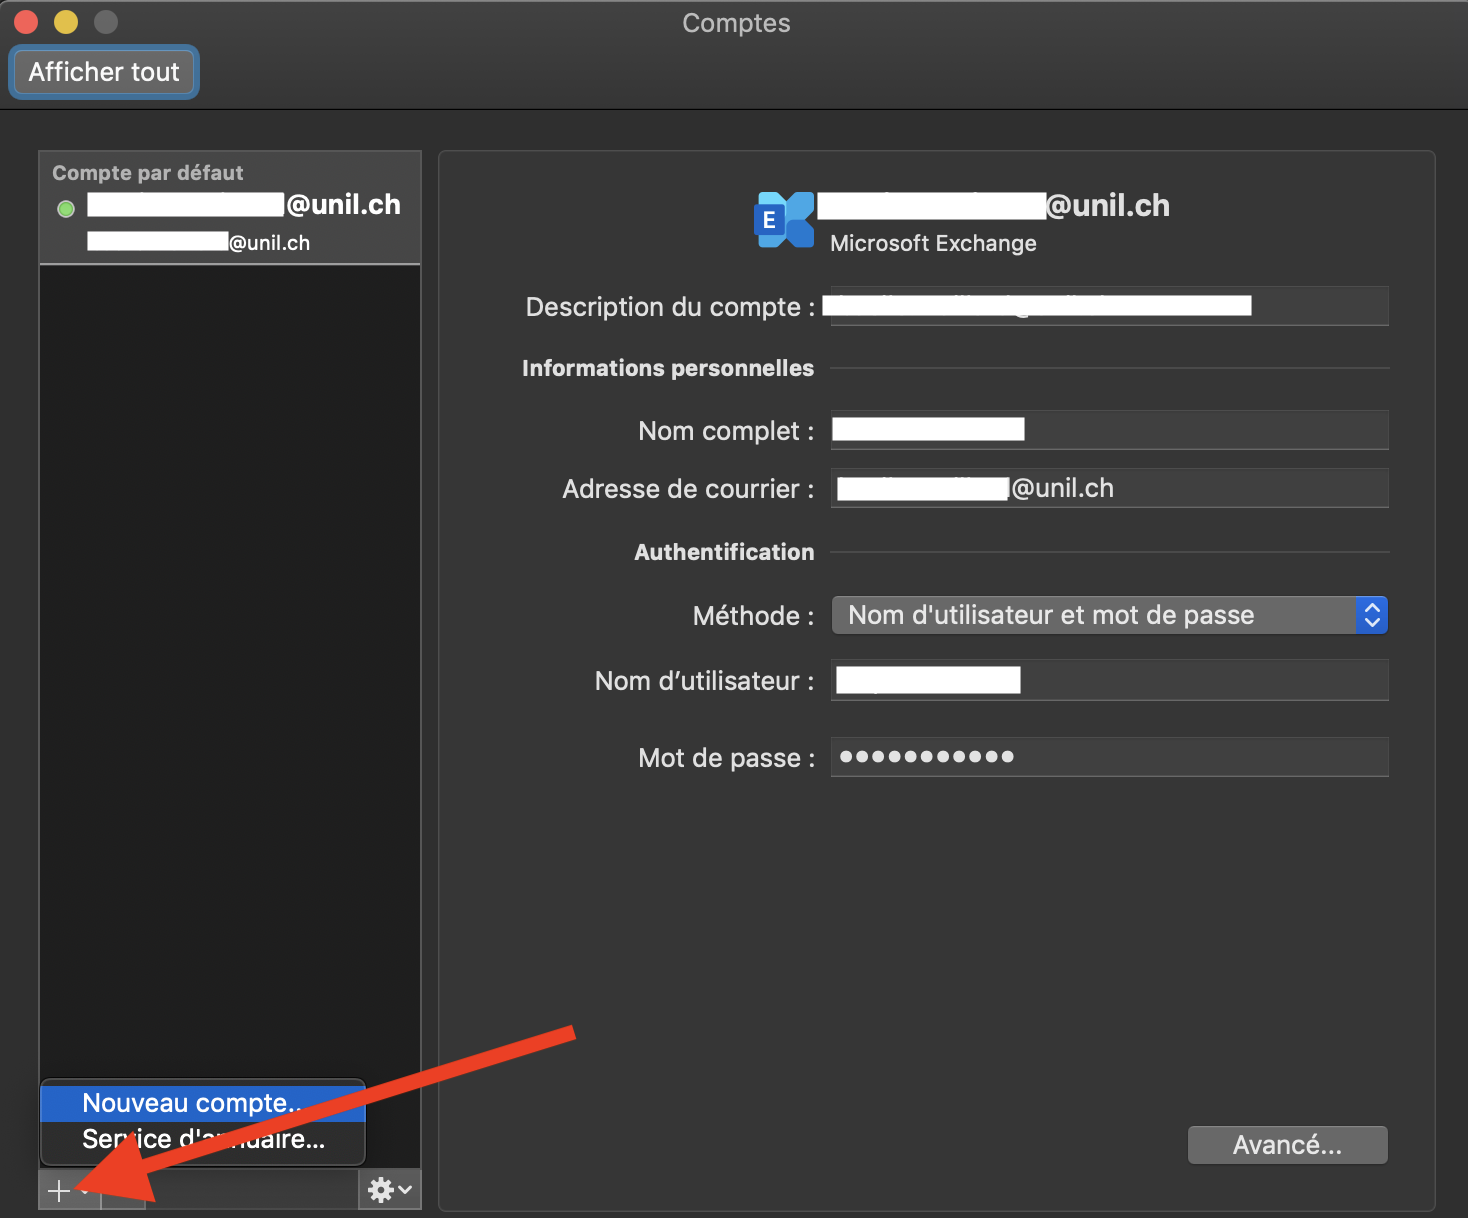 5. Follow the standard *Exchange* account setup process referenced aboveThese instructions are for the newly introduced shared mailboxes that do not possess their own credentials but are instead accessed by a person's own Unil account. If you would like to add a shared mailbox with its own credentials, you can follow the procedure for standard *Exchange* accounts above.
**Shared mailboxes cannot be added to *Apple Mail*. They are only available on *Microsoft Outlook*.**
Before starting, ensure that an up to date version of *Outlook* is installed. To do so, open the *Outlook* menu and click on *About Outlook*. If you are using the 2019 or 2016 version of *Outlook*, you will have to uninstall it and [install the latest version (french)](https://wiki.unil.ch/ci/books/distribution-de-logiciels/page/microsoft-365).
1. Open the *Outlook* app 2. On the top left, click on *Outlook* right next to the *Apple* icon, then *Settings...* [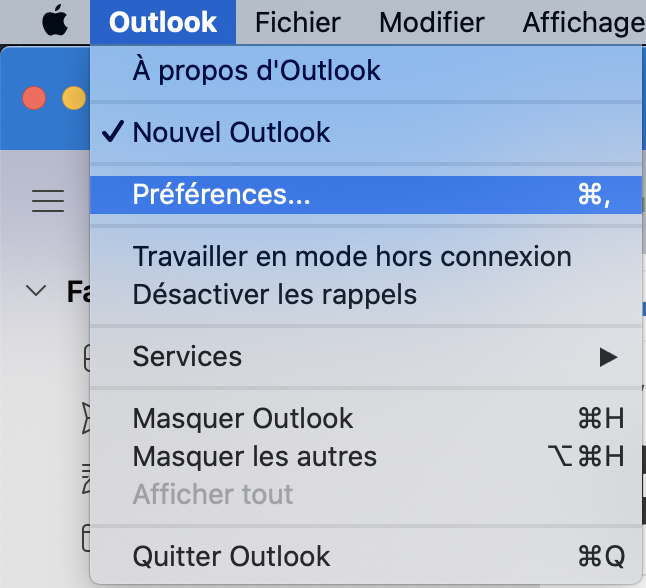](https://wiki.unil.ch/ci/uploads/images/gallery/2023-03/capture-decran-2023-03-06-a-09-39-15.png) 3. Select your personal account in the list on the left, then click on *Delegating and sharing* [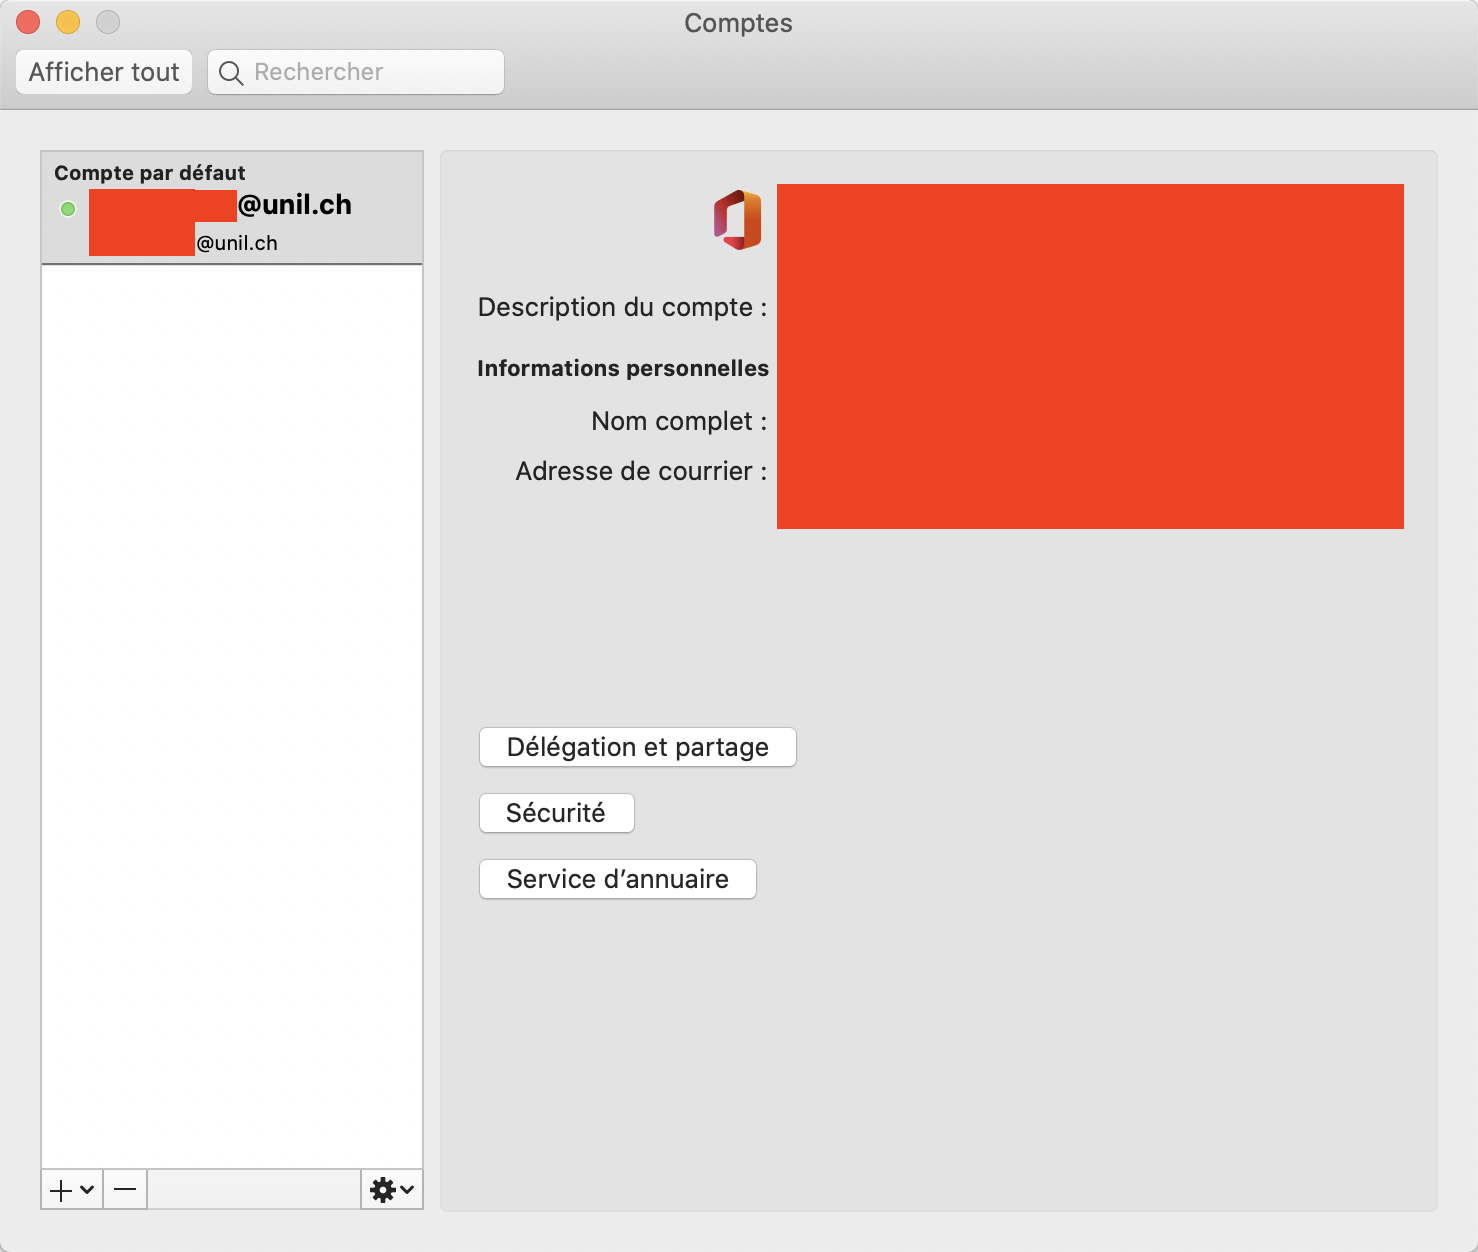](https://wiki.unil.ch/ci/uploads/images/gallery/2023-03/capture-decran-2023-03-06-a-09-41-09.png) 4. Open the *Shared with me* tab and click on the `+` on the bottom left [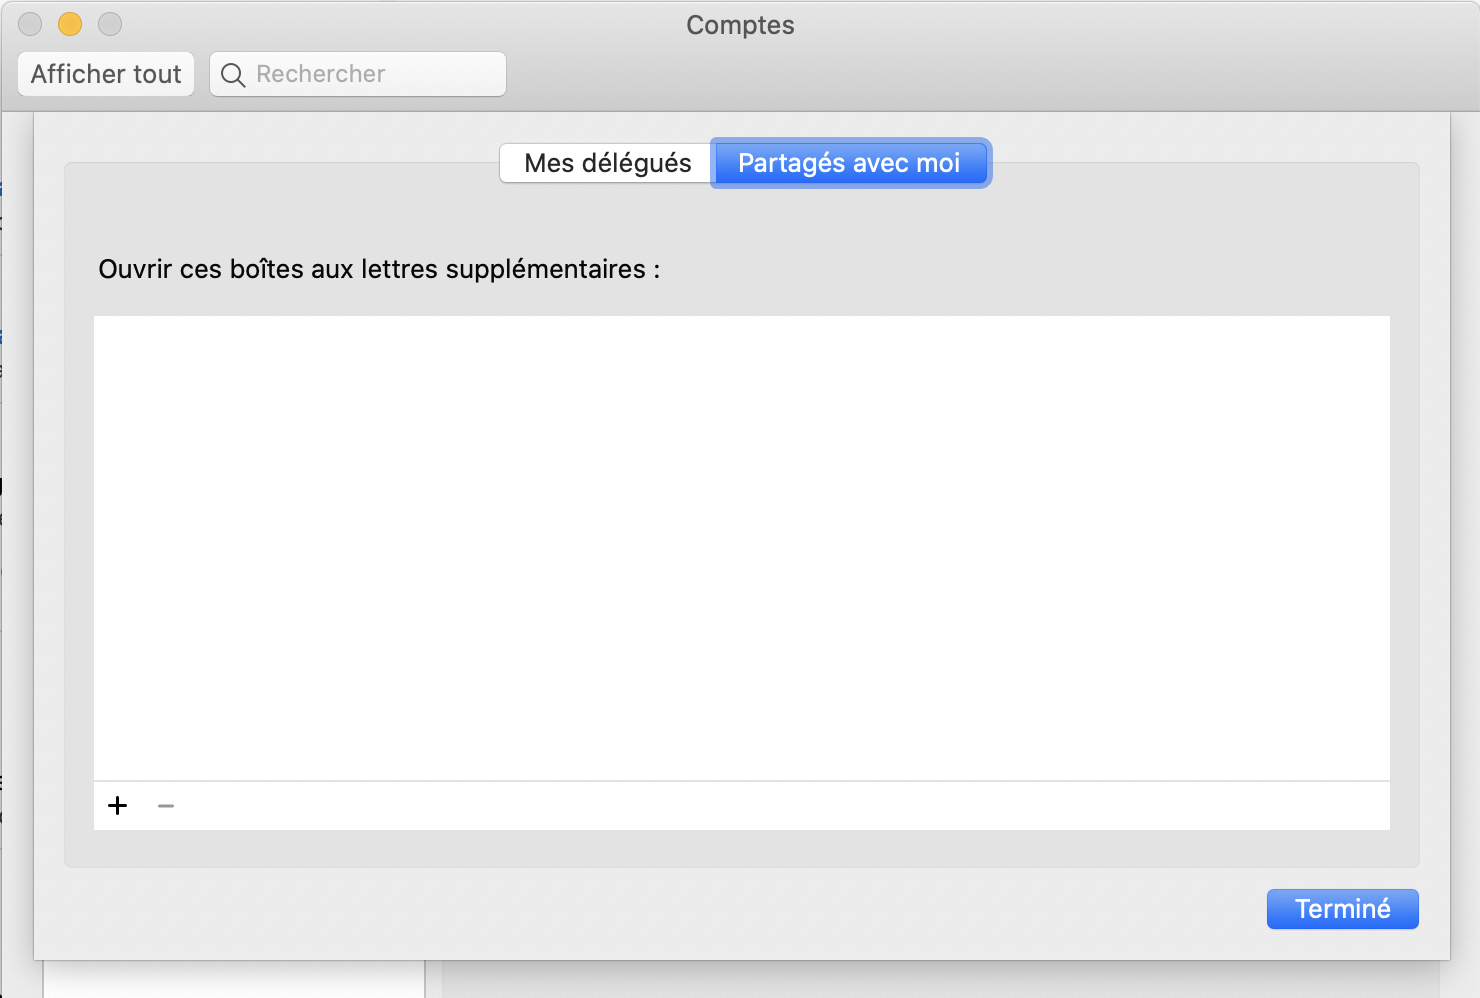](https://wiki.unil.ch/ci/uploads/images/gallery/2023-03/capture-decran-2023-03-06-a-09-42-44.png) 5. Write the name of your shared mailbox in the search field. For example, if you would like to add `boite-mail-partagee@unil.ch`, look for `boite-mail-partagee`) and double-click it 6. The shared mailbox should now appear in *Outlook*'s main window. If an error message pops up, please check with the person reponsible for the mailbox that your permissions have been granted properly then wait a moment before trying again. If the problem persists, please reach out to the helpdesk.Archived emails will only be available on the device they have been archived on. They will no longer be synchronised with your other devices and the UNIL email servers.
1. Open the *Mail* app 2. On the top left, click on *Mail* then *Accounts...* 3. Select *Exchange* [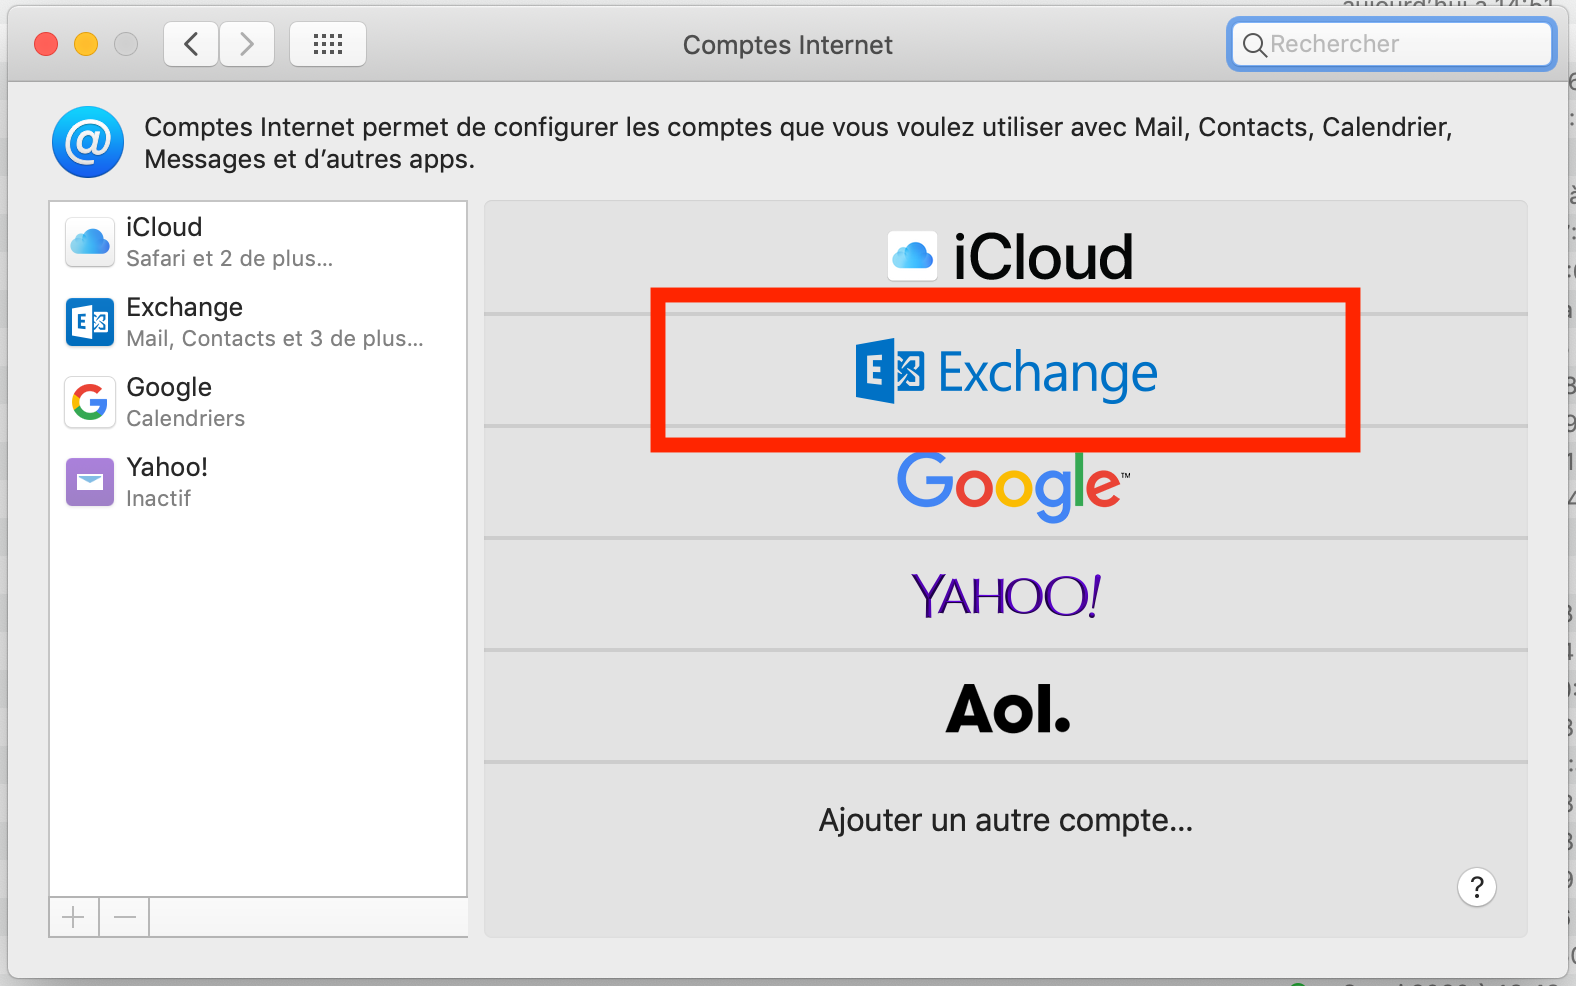](https://wiki.unil.ch/ci/uploads/images/gallery/2020-06/mail_mac_00000.png) 4. Fill in the *Name* and *e-mail address* fields*,* then click on the blue button [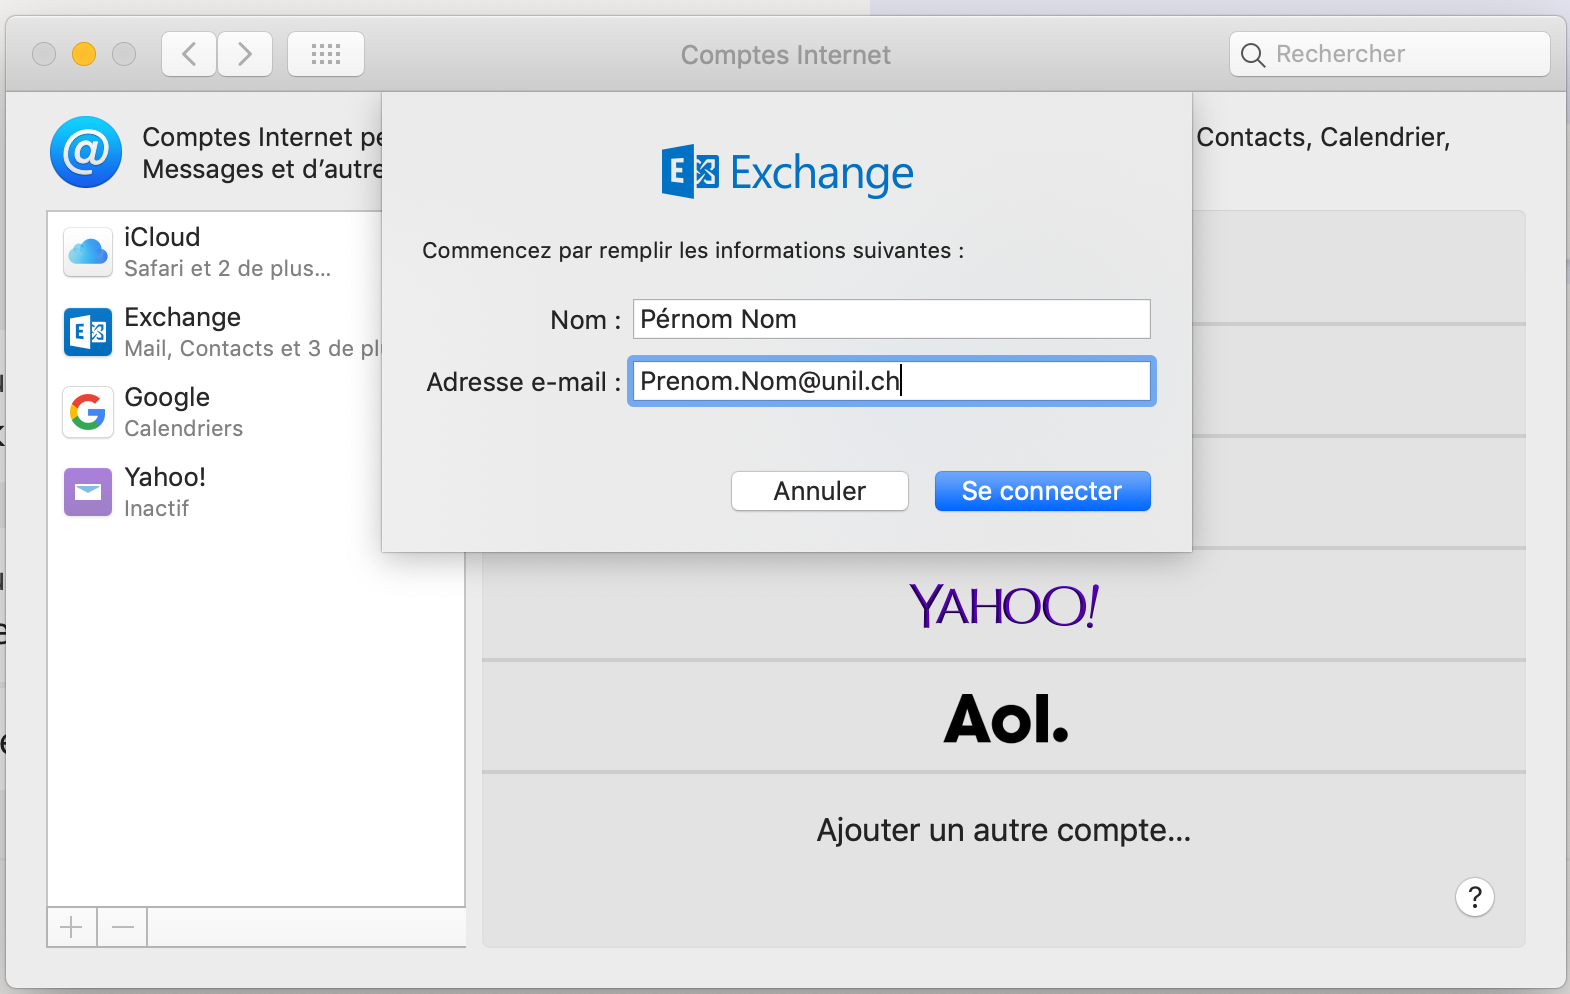](https://wiki.unil.ch/ci/uploads/images/gallery/2020-06/mail_mac_00001.png) 5. Select the blue button again. Manual configuration does not work since the migration to *Exchange Online*. [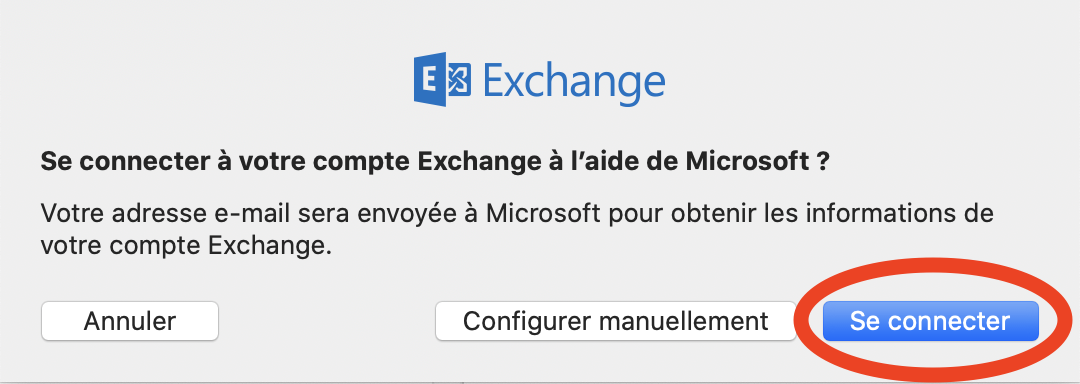](https://wiki.unil.ch/ci/uploads/images/gallery/2023-03/capture-decran-2023-03-06-a-10-45-41.png) 6. Enter your Unil account password, then continue [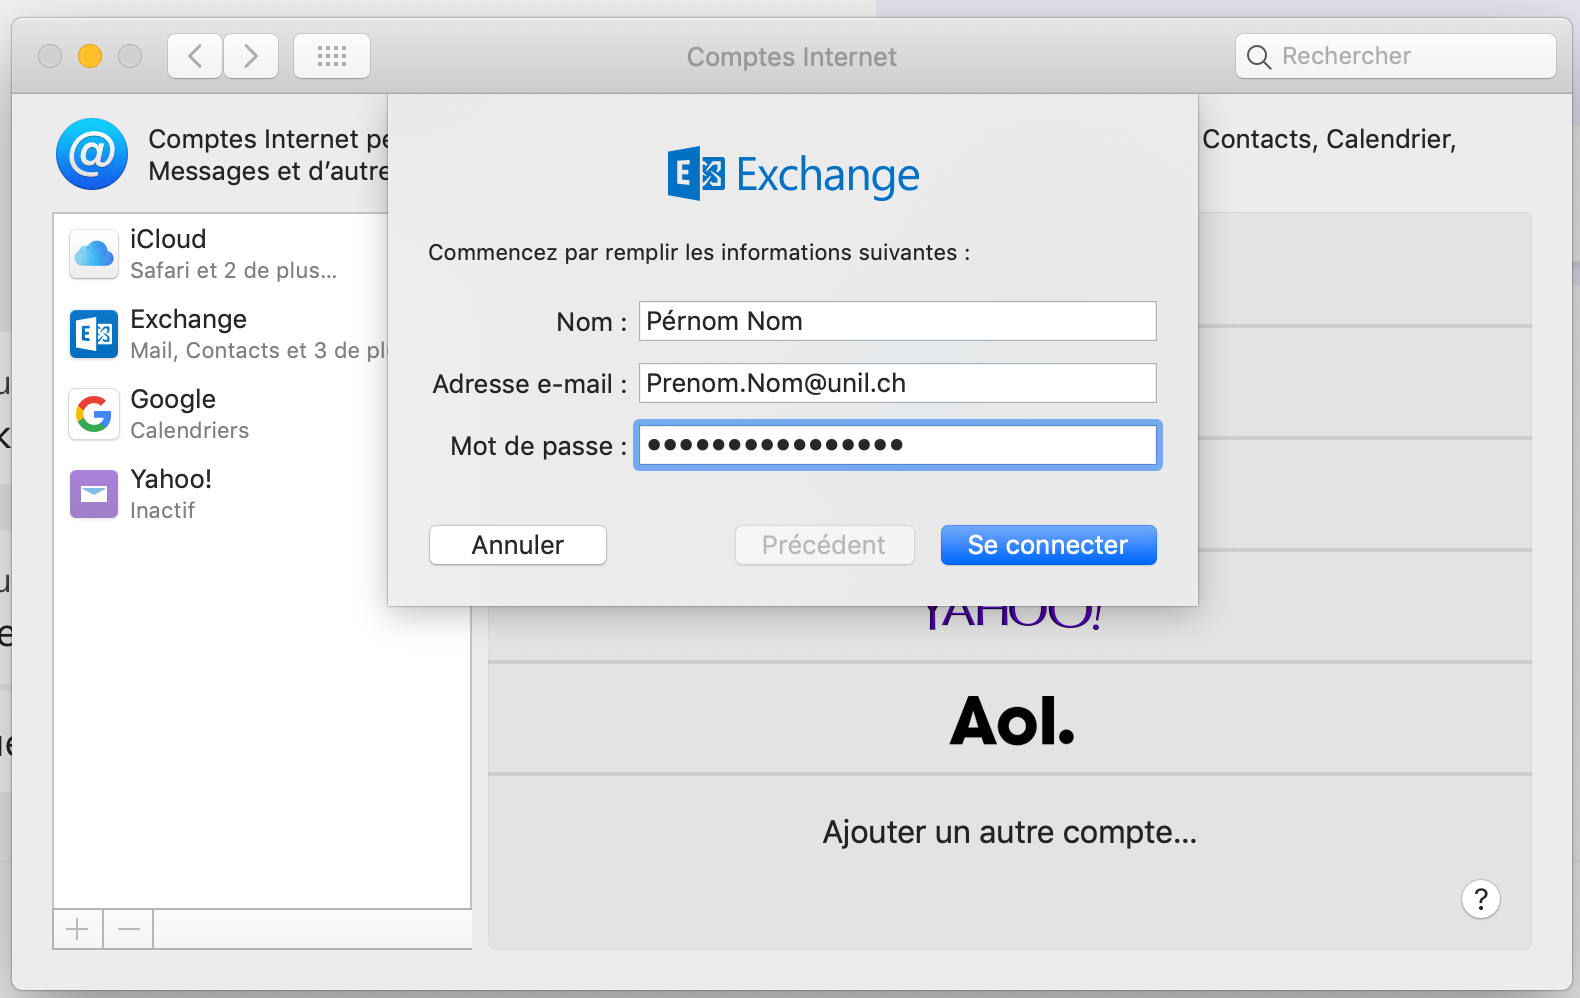](https://wiki.unil.ch/ci/uploads/images/gallery/2020-06/mail_mac_00003.png) 7. Select the *Exchange* services you would like to enable, then click on *Finish* [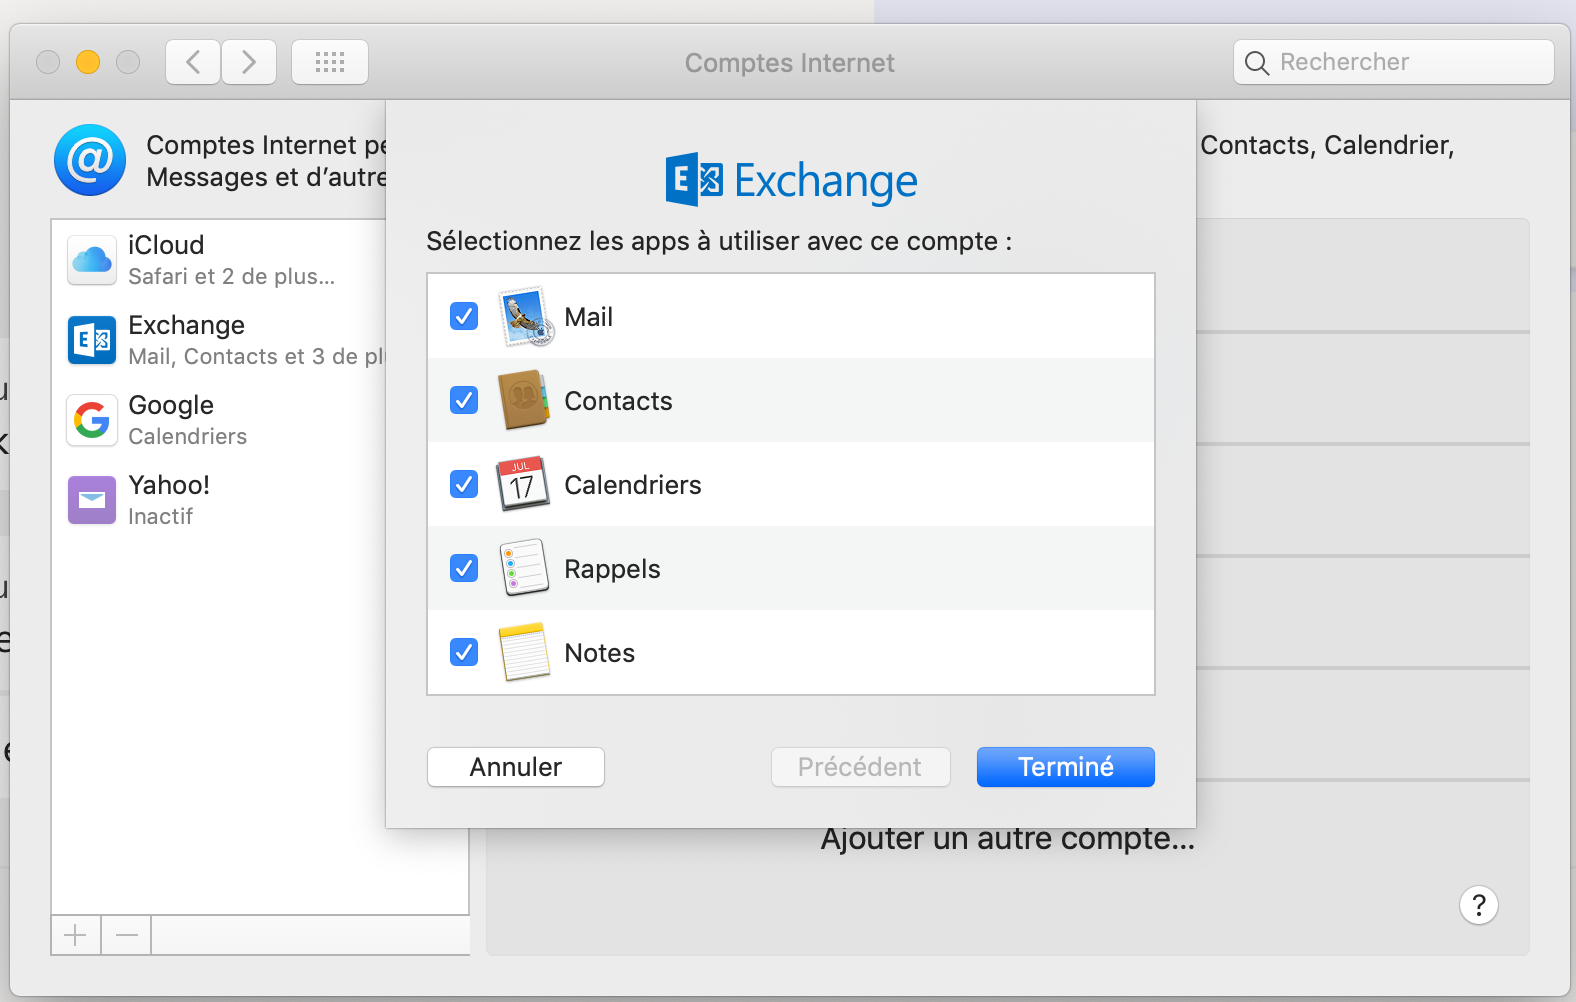](https://wiki.unil.ch/ci/uploads/images/gallery/2020-06/mail_mac_00004.png)Do not move more than a thousand emails at a time. Doing so might cause loss of data and potential mailbox corruption. Do call the helpdesk if you are feeling unsure or have sudden doubts about what you are attempting to do.
##### The Unil Centre Informatique recommends using *Microsoft Outlook* to access your Unil email mailbox on *Windows*.
The pictures in this section are out of date.
#### \[Outlook\] Exchange account setup (mail, calendars, etc.) 1. Open *Outlook* 2. Go to the *File* menu, then *Account settings* and finally *Add an account* 3. Fill in the fields with your name and Unil credentials 4. Click *Next* [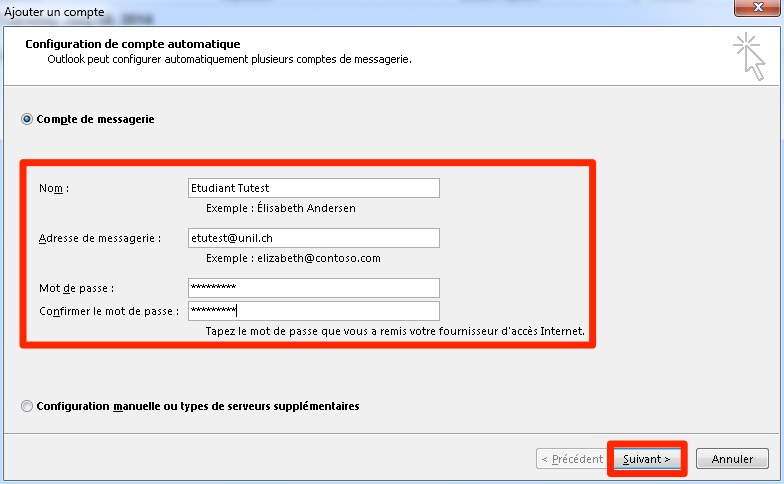](https://wiki.unil.ch/ci/uploads/images/gallery/2020-02/O2013_1-1.png) 5. Wait for the automatic setup process to complete, then click *Finish [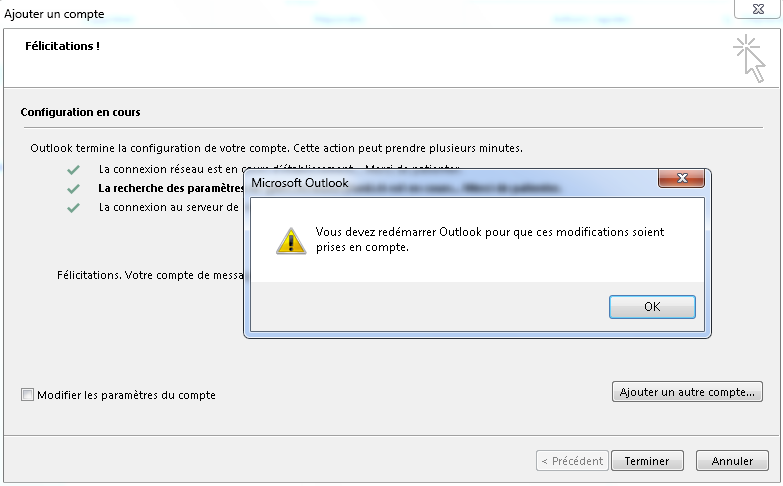](https://wiki.unil.ch/ci/uploads/images/gallery/2020-02/O2013_2-1.png)* 6. Restart *Outlook* 7. Once *Outlook* has started, you should get a login prompt. Fill in the first field with `ad\` followed by your username. For `etutest`, the field would look like `ad\etutest` 8. Tick the *Remember my credentials* box and click *OK* to proceed [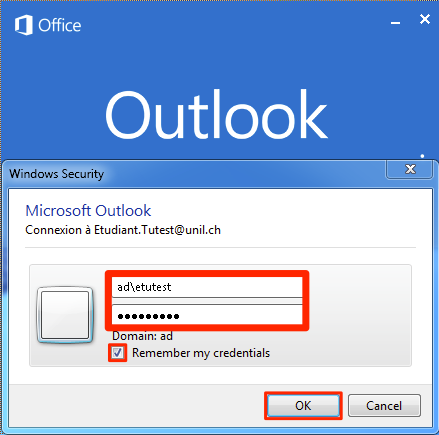](https://wiki.unil.ch/ci/uploads/images/gallery/2020-02/O2013_3.png)The CI recommends using the built-in *Apple Mail* app on iOS, but the *Outlook* app by *Microsoft* works as well.
 - Available options - e-mail - calendar - contacts - reminders - notes #### **Mail iOS** Exchange account setup (mail, calendars, etc.) 1. Go to *Settings* 2. Select *Mail* [](https://wiki.unil.ch/ci/uploads/images/gallery/2022-11/ios1.png) 3. Select *Accounts* [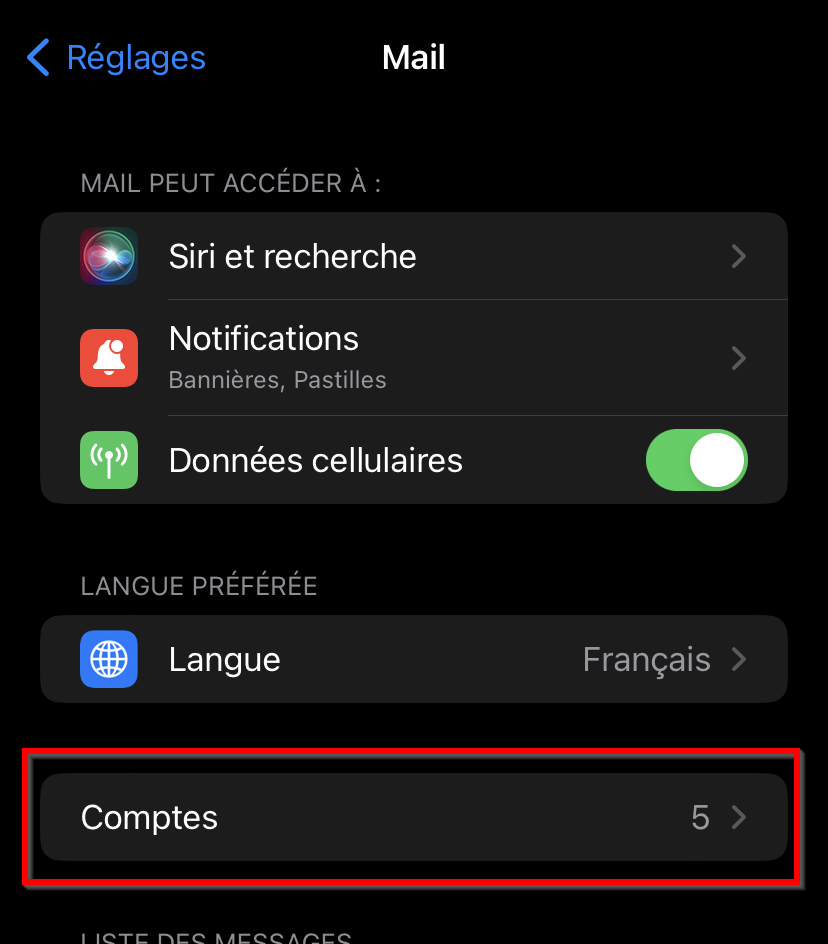](https://wiki.unil.ch/ci/uploads/images/gallery/2022-11/ios2.png) 4. Select *Add an account* [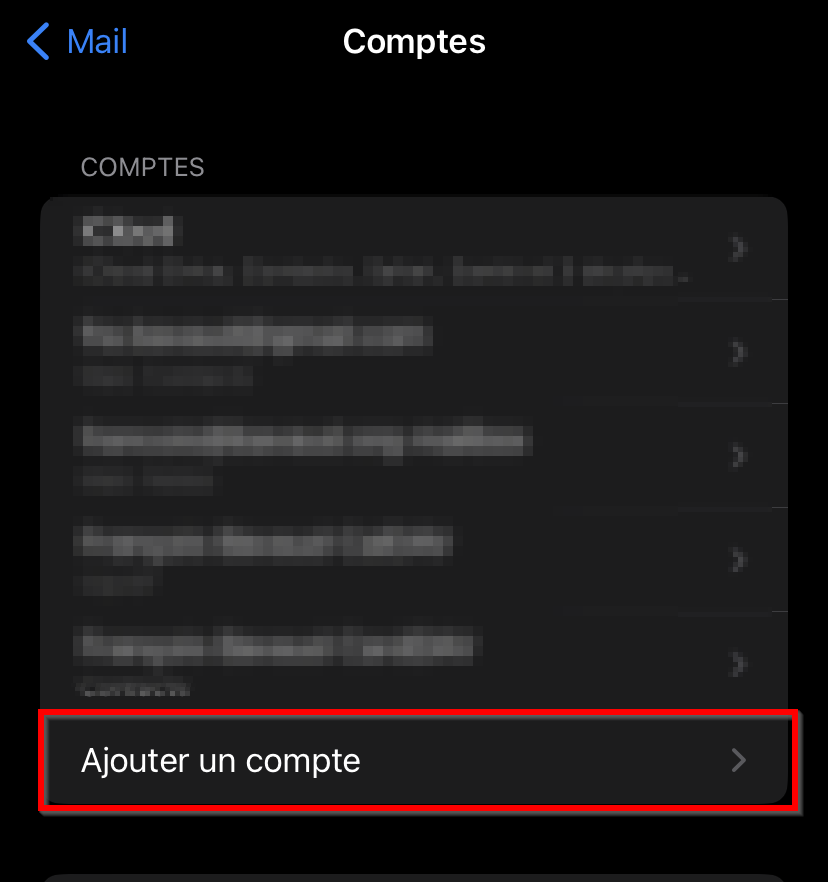](https://wiki.unil.ch/ci/uploads/images/gallery/2022-11/ios3.png) 5. Select *Microsoft Exchange* [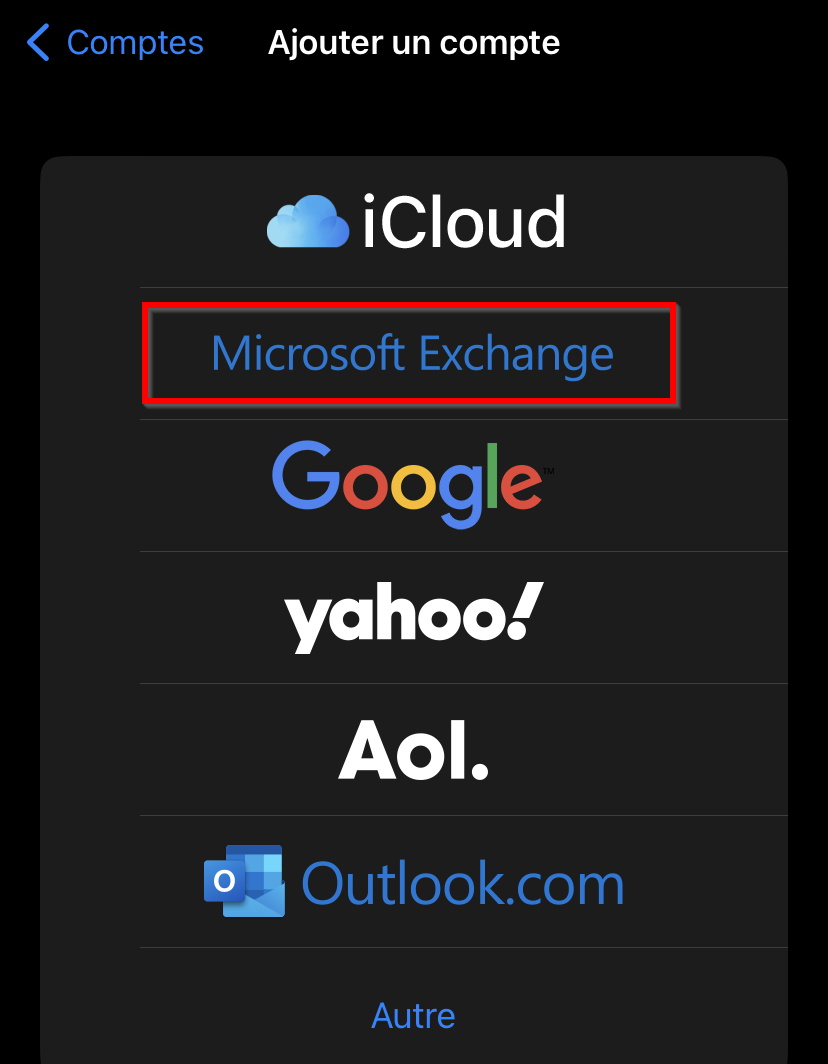](https://wiki.unil.ch/ci/uploads/images/gallery/2022-11/ios4.png) 6. Enter your @unil email address and a description [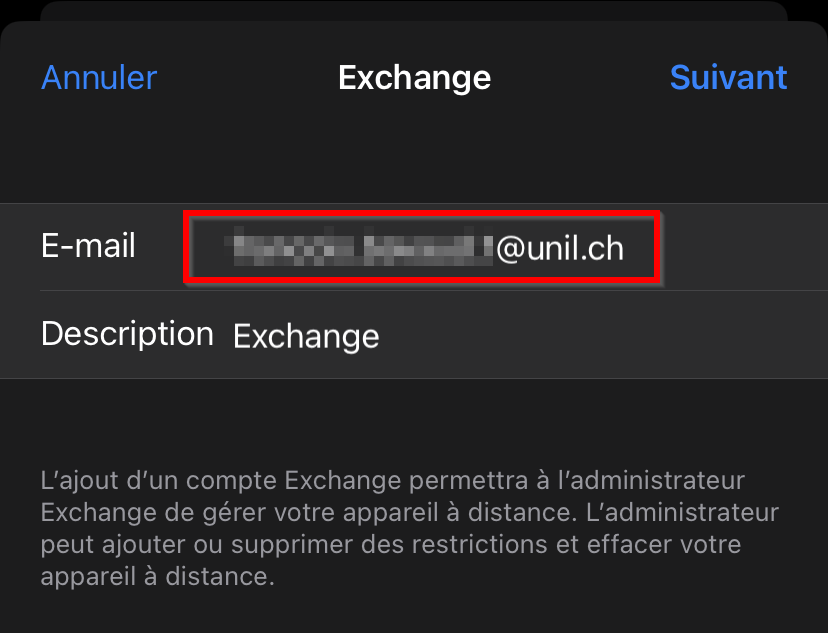](https://wiki.unil.ch/ci/uploads/images/gallery/2022-11/ios5.png) 7. Select *Connect* [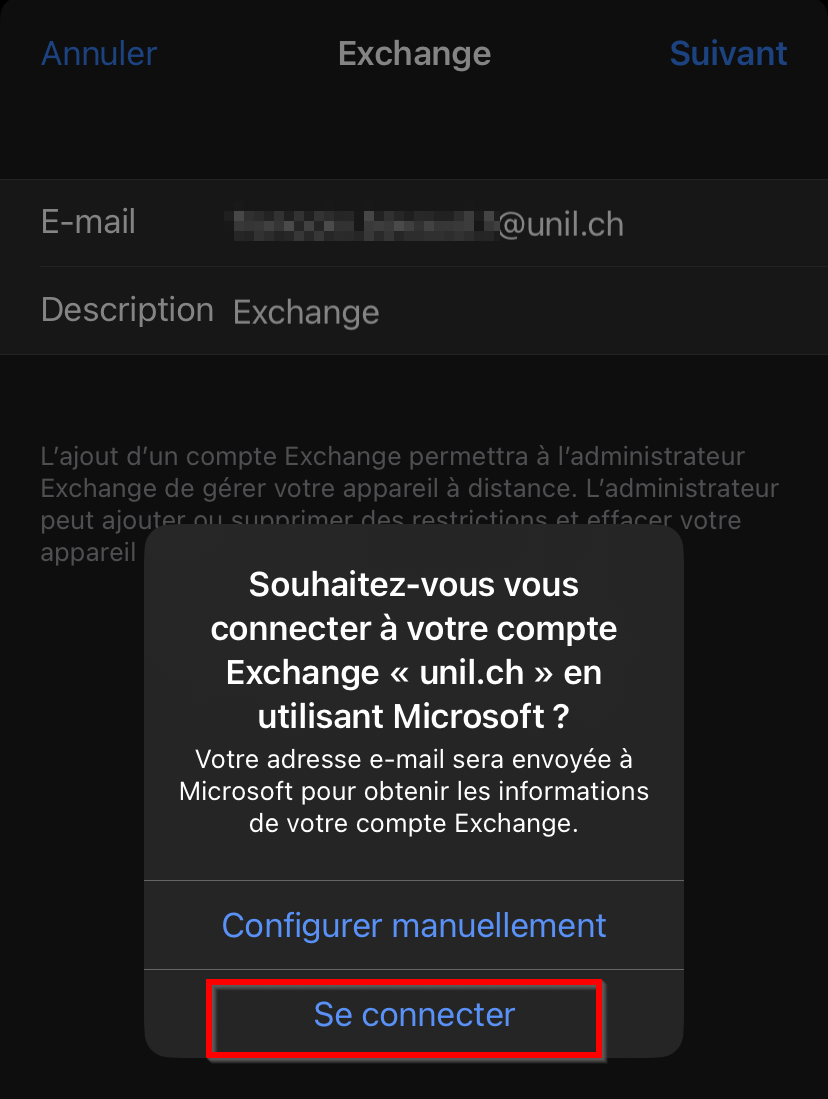](https://wiki.unil.ch/ci/uploads/images/gallery/2022-11/ios6.png) 8. If the field hasn't been automatically filled, enter your Unil email address again, followed by your password [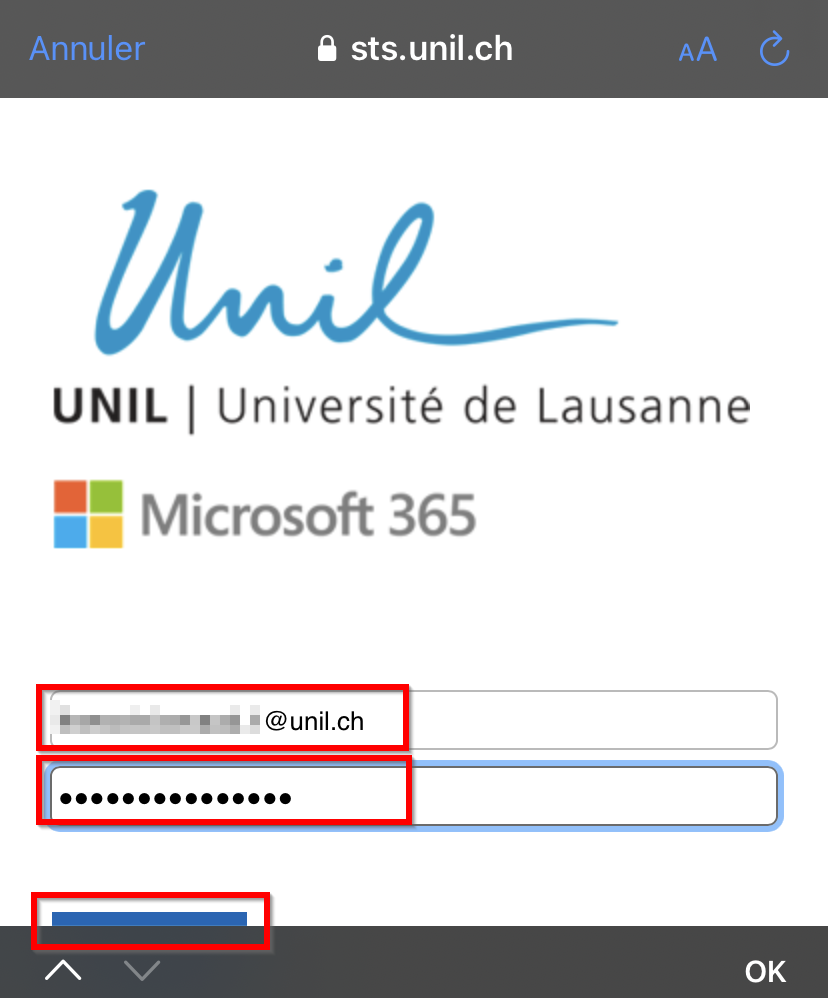](https://wiki.unil.ch/ci/uploads/images/gallery/2022-11/ios7.png) 9. Select the *Exchange* services you would like to toggle on or off, then *Save* [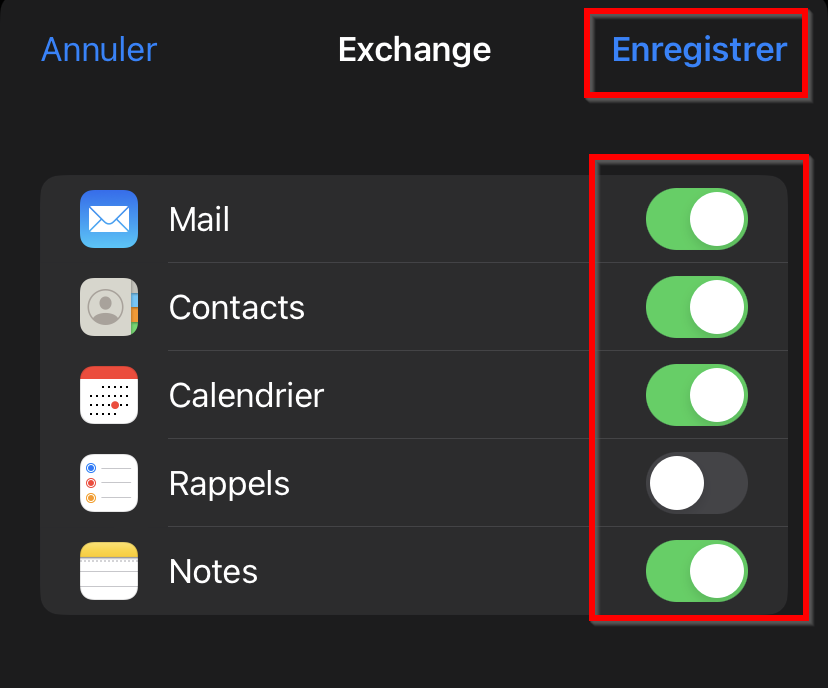](https://wiki.unil.ch/ci/uploads/images/gallery/2022-11/ios8.png) --- ### AndroidThe Ci strongly recommends the use of the native Android apps (all functions offered by Exchange are however not available). The *Outlook* app works as well.
 - Android options - e-mail - calendars - address book - tasks: third party app required - notes: third party app required #### **Mail Android** Exchange account setup (mail, calendar, etc.) 1. Launch the *Mail* app and navigate to the settings [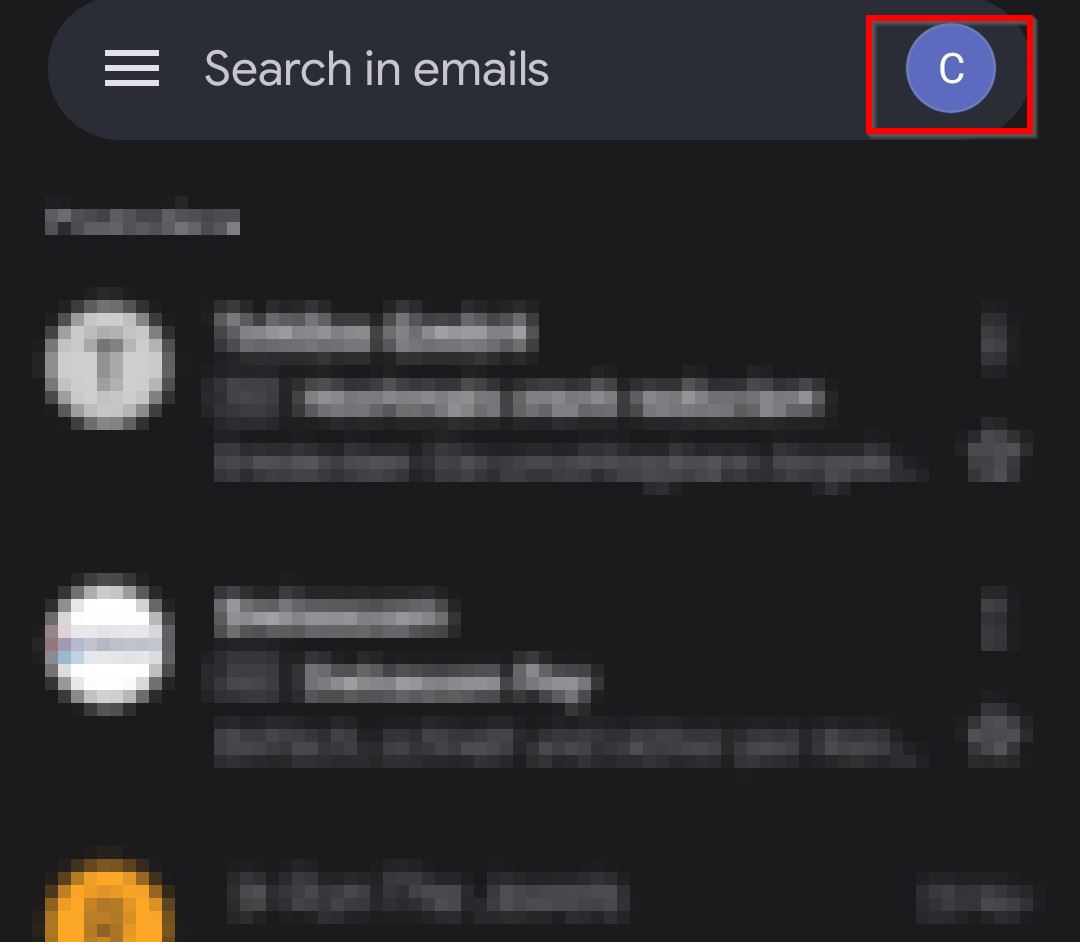](https://wiki.unil.ch/ci/uploads/images/gallery/2022-11/01.jpg) 2. Select *Add another account* [](https://wiki.unil.ch/ci/uploads/images/gallery/2022-11/02.jpg) 3. Select *Exchange et Office 365* or *Microsoft 365*, whichever appears [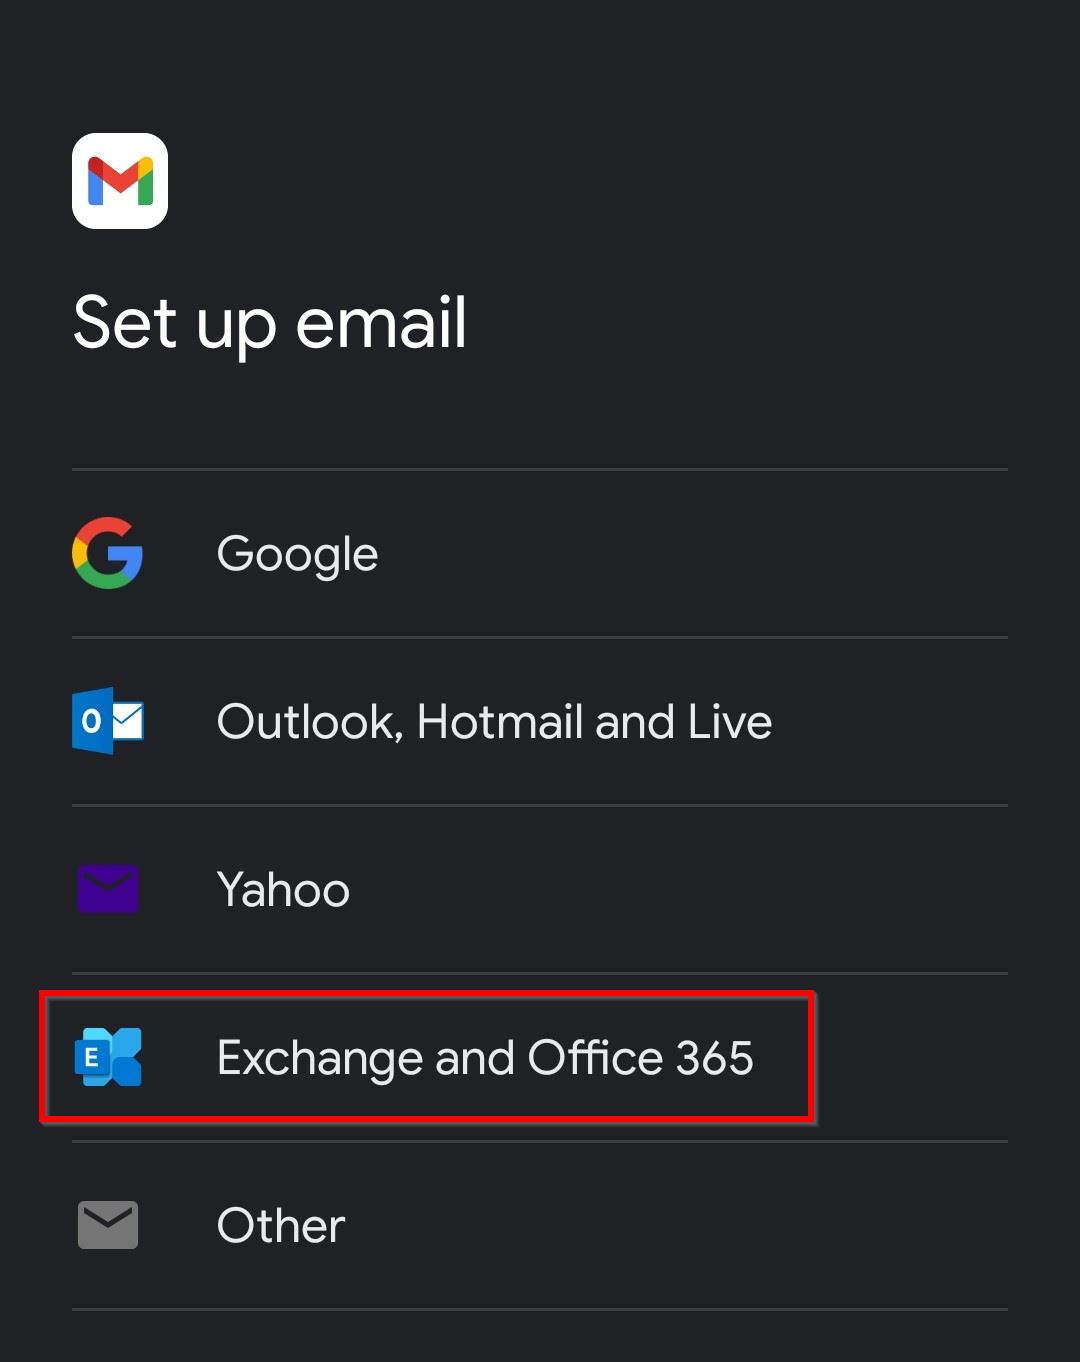](https://wiki.unil.ch/ci/uploads/images/gallery/2022-11/03.jpg) 4. Fill in the *email* field with your Unil email address and select *Next* [](https://wiki.unil.ch/ci/uploads/images/gallery/2022-11/04.jpg) 5. Input your Unil password [](https://wiki.unil.ch/ci/uploads/images/gallery/2022-11/05.jpg) 6. Select *Next* [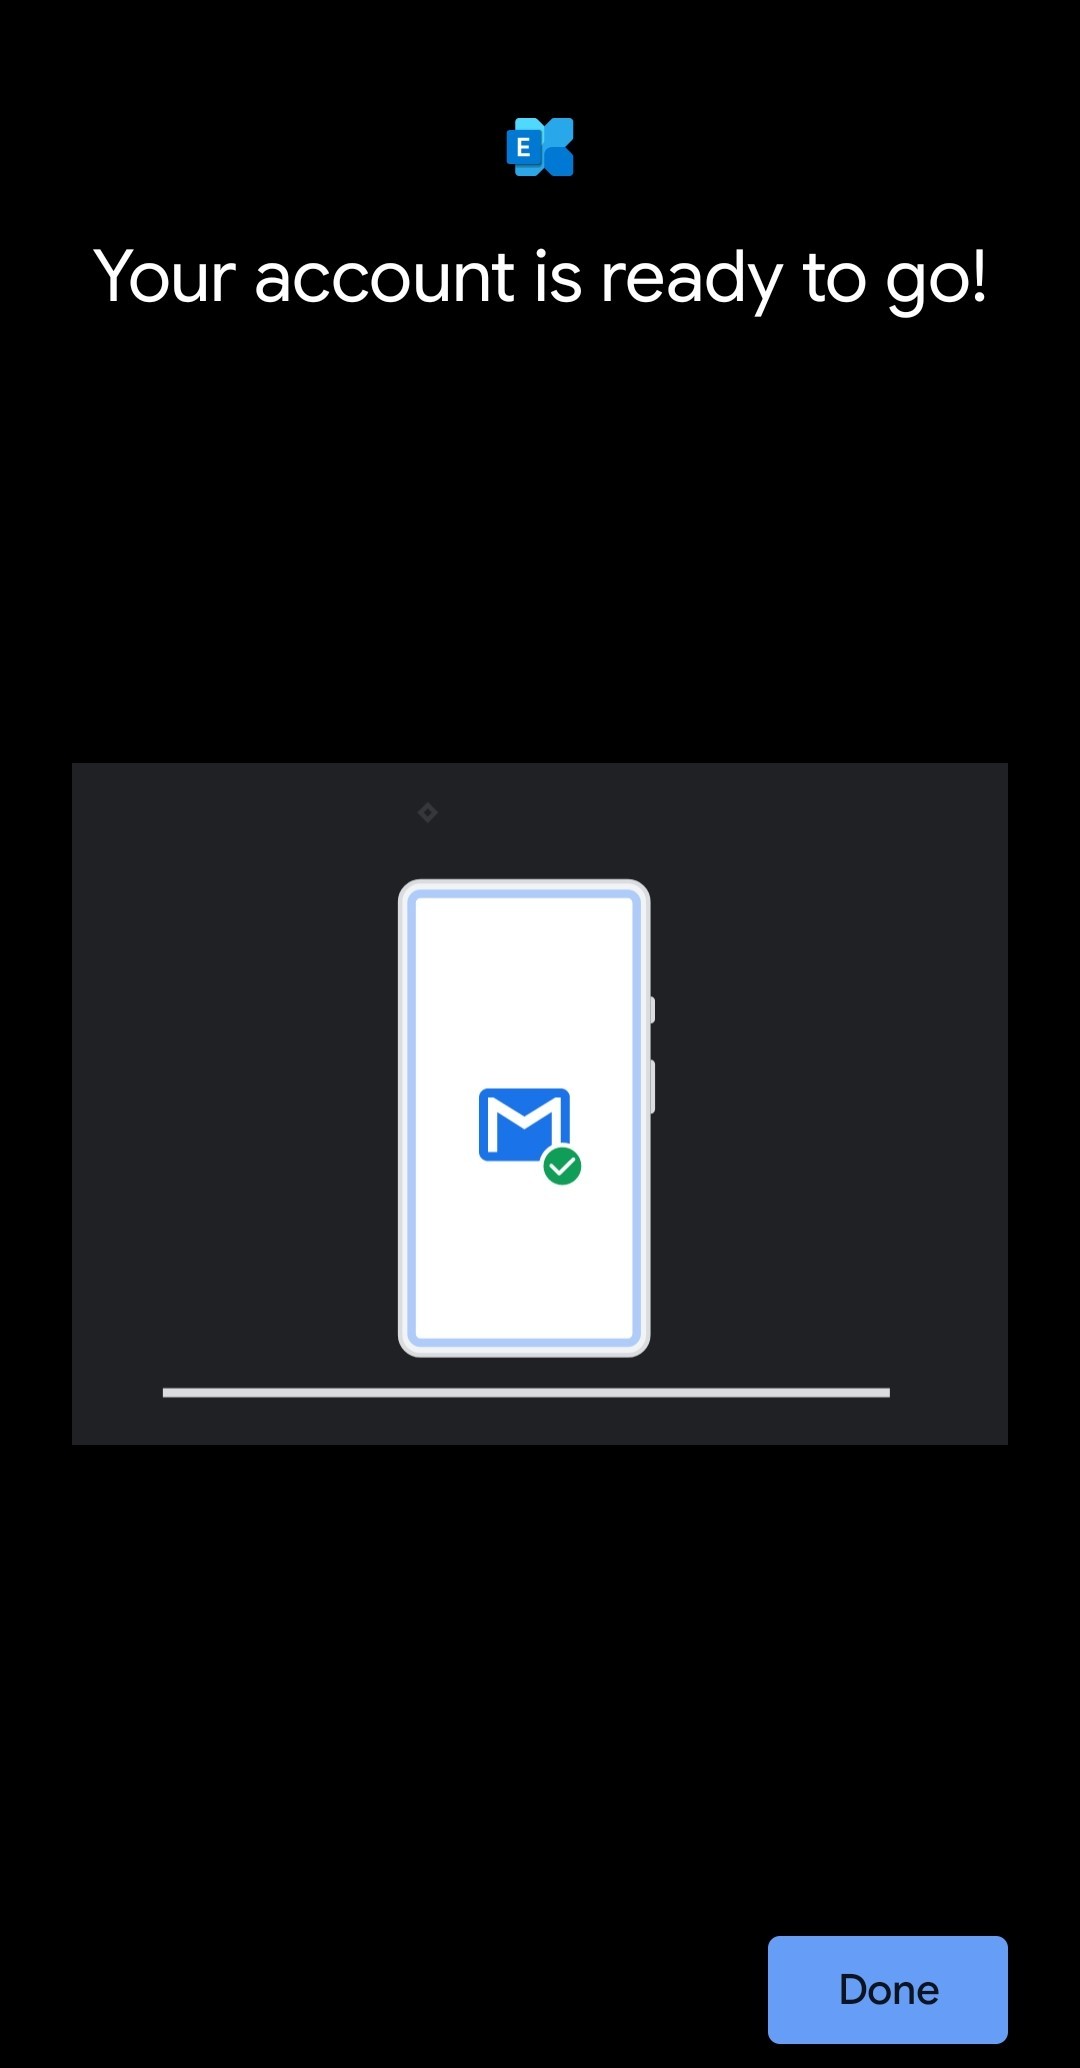](https://wiki.unil.ch/ci/uploads/images/gallery/2022-11/06.jpg) 7. If you are using an up to date version of Android, the setup is now complete. 8. On older Android versions, you may have to select the sync frequency and period: 1. Select the preferred options and sync period 2. Select *Next* [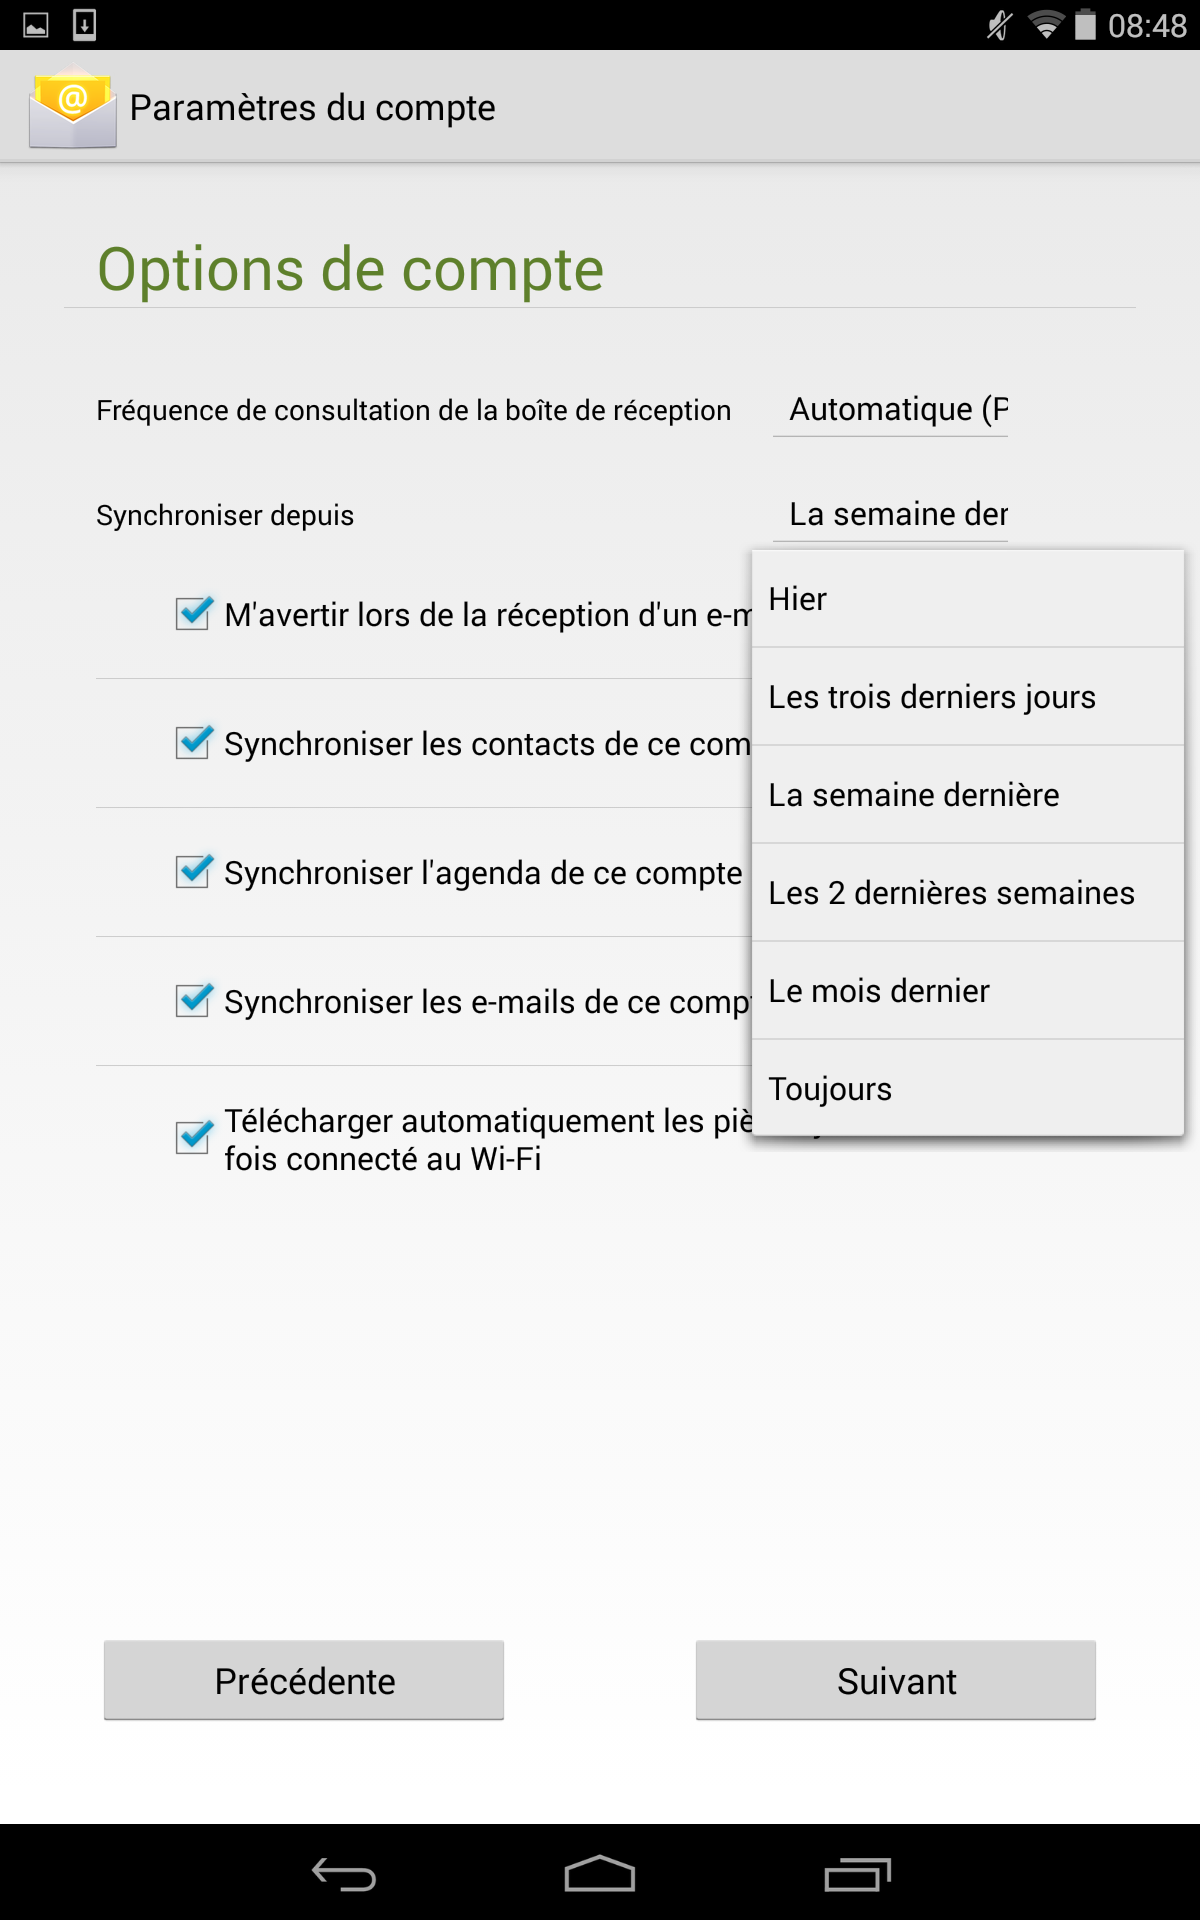](https://wiki.unil.ch/ci/uploads/images/gallery/2020-02/E_Android6.png) 3. Allow the *Exchange* server to administrate your device. This option allows you to remotely wipe and lock your device in case of theft. [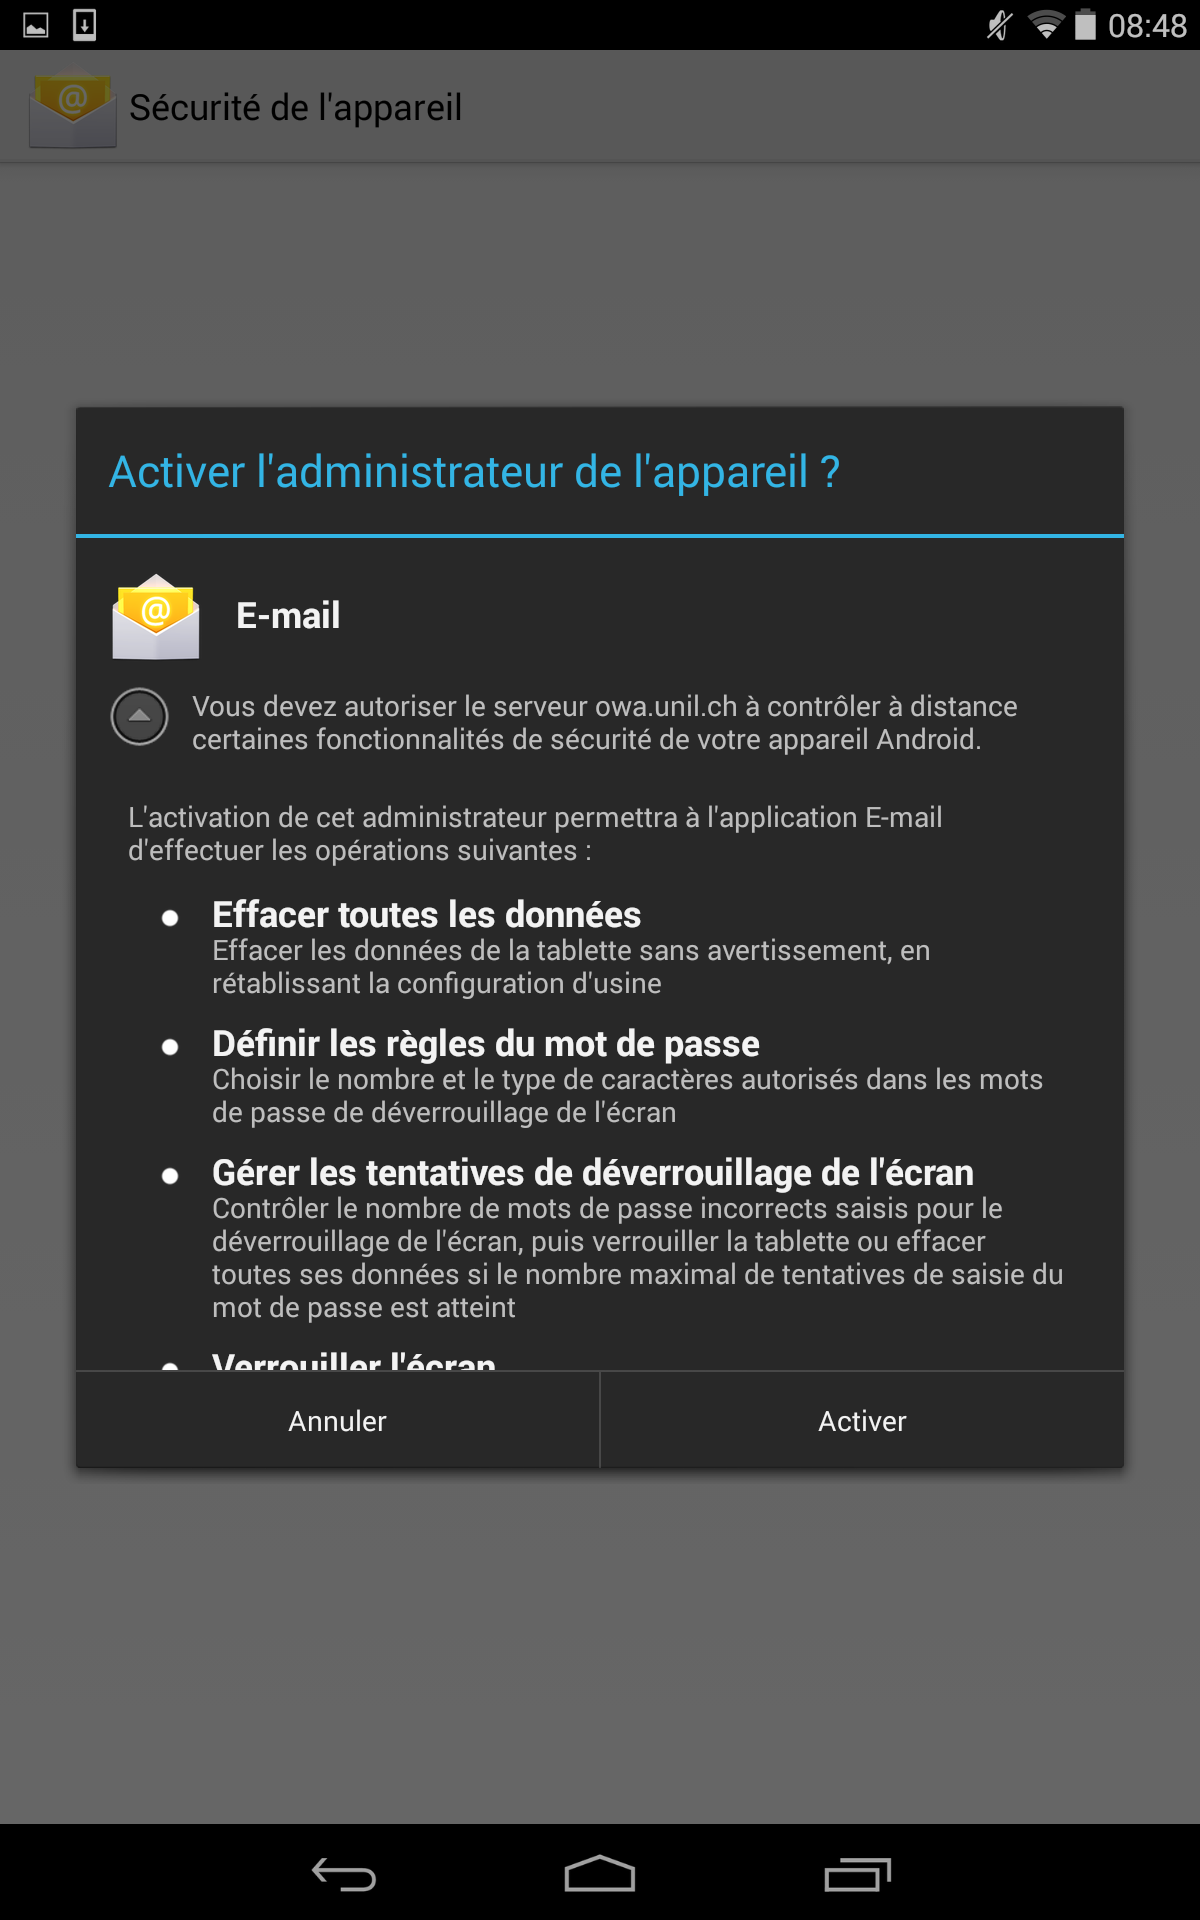](https://wiki.unil.ch/ci/uploads/images/gallery/2020-02/E_Android8.png) ##### Android limitations and workarounds Android has the following limitations when it comes to *Exchange* mailboxes:**From 2023 onwards, *Microsoft* will cease support for and stop providing *Exchange* access to software using the *"Basic Auth"* authentication protocol. We strongly advise you to use *Microsoft Outlook* or *Apple Mail* on your devices.** If this is not an option for you, third-party software using the *OAuth2* authentication protocol may still be used.
[*Microsoft* support article on the passage to *OAuth2*](https://support.microsoft.com/en-us/office/pop-imap-and-smtp-settings-8361e398-8af4-4e97-b147-6c6c4ac95353)
Ensure that your Thunderbird client accepts the cookies mandatory for *OAuth2* connection: 1. Go to *Settings* > *Security and Confidentiality* > *Web Content* 2. Turn on *Accept Cookies* 3. Under the option *Allow third-party cookies*, select *Always* Once these steps done, you may follow the instructions below.
If your *Sent Messages* do not appear after the setup, try sending yourself an e-mail.
##### **IMAP** Configuration ##### [](https://wiki.unil.ch/ci/uploads/images/gallery/2023-03/screenshot-2023-03-06-11-47-04.png)| IMAP server | `outlook.office365.com` |
| IMAP username | full Unil email (`prenom.nom@unil.ch`) |
| Authentication method | `OAuth2` |
| Port | `993` |
| Connection security | `SSL/TLS` |
If an "User is authenticated but not connected" type of error appears, try: 1. Going to *Settings > General > Configuration editor* 2. Enter `network.dns.dis` in the search field 3. Enable the first option, *network.dns.disableIPv6* so that it is set to *True*
--- ##### **POP3** ConfigurationAccess to a mailbox via POP3 should only be used as a last-resort option.
[](https://wiki.unil.ch/ci/uploads/images/gallery/2023-03/screenshot-2023-03-06-11-47-04.png)| IMAP server | `outlook.office365.com` |
| IMAP username | full Unil email (`prenom.nom@unil.ch`) |
| Authentication method | `OAuth2` |
| Port | `995` |
| Connection security | `SSL/TLS` |
| SMPT Server | `smtpauth.unil.ch` |
| POP3 Username | Unil username (e.g. `pnom` for *Prenom Nom*) |
| Authentication method | `Normal password` |
| Port | `587` |
| Connection security | `STARTTLS` (or `SSL/TLS` if STARTTLS unavailable) |
By redirecting your Unil emails to your private, external mailbox, **you are trusting external entities** with their contents. Therefore, the Centre Informatique **does not provide any kind of support** for external email providers **and will not and cannot be held responsible for any prejudice and damage** caused by the use of the aforementioned external email providers.
If you are a **UNIL employee**, using an external service **may go against the [internal UNIL directives](https://www.unil.ch/interne/files/live/sites/interne/files/textes-leg/6-inf/dir6-9-fichiers-info3.pdf).**
Emails may be lost if the destination mailbox rejects them even though they arrived in your UNIL mailbox.
1\. Log into [https://outlook.office.com](https://outlook.office.com) with your UNIL credentials. 2\. Go to the *Options* menu 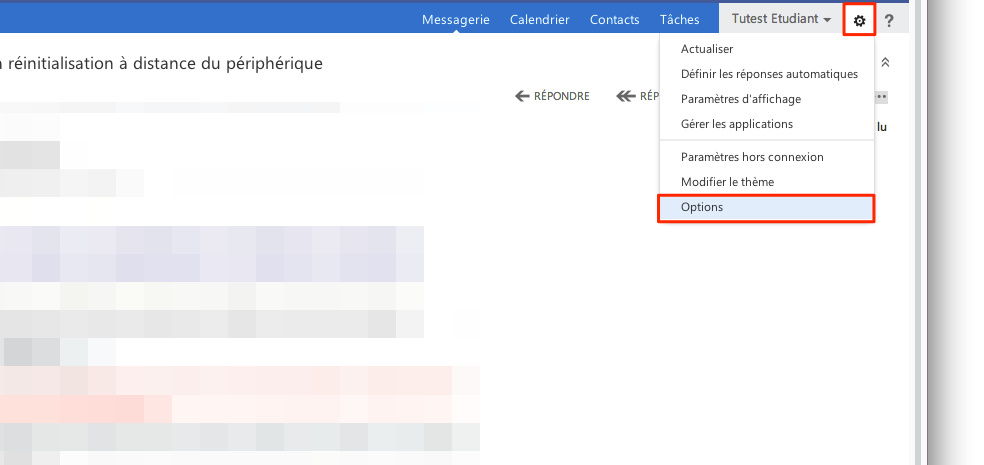 3\. Under the *Organize email* section, click on `+` 4\. Select *Create a new rule for arriving messages* 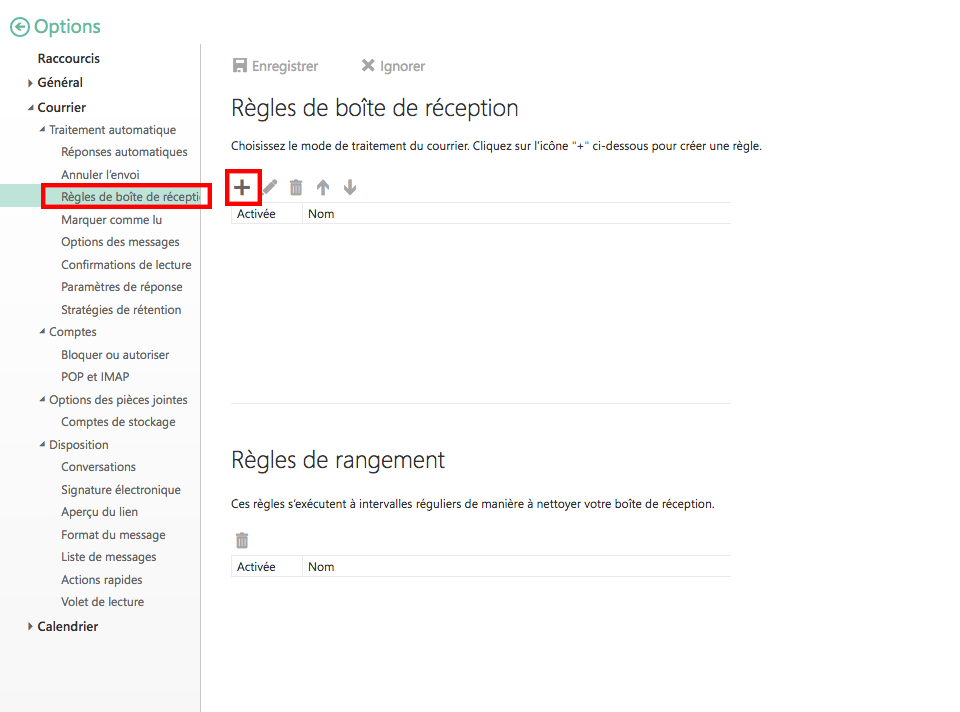 5\. Name the rule, choose *Apply to all messages* and *Redirect the message to…* 6\. Type in the private e-mail address you want to use for the transfer 7\. Click on the *Save* button 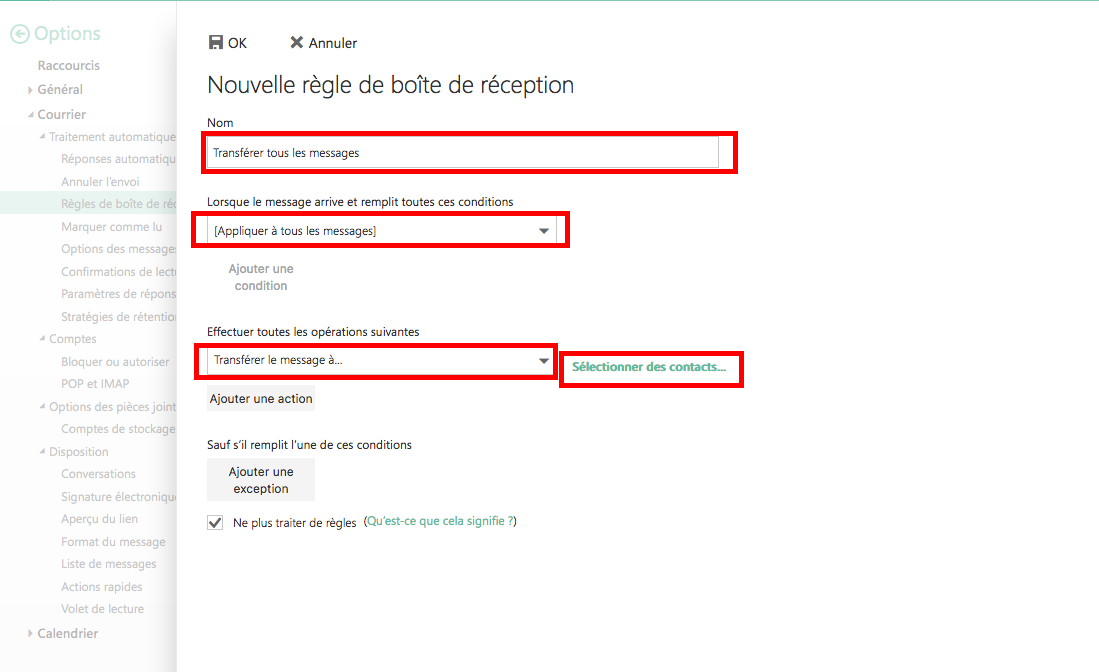 8\. Finish the procedure by accepting the warning messageMailbox storage information is not available on the desktop apps. It is only available via a Web browser.
1. Connect to *Outlook Online* here: [https://outlook.office.com](https://outlook.office.com) 2. Click on the gears in the top right, then on *Show all Outlook Parameters* [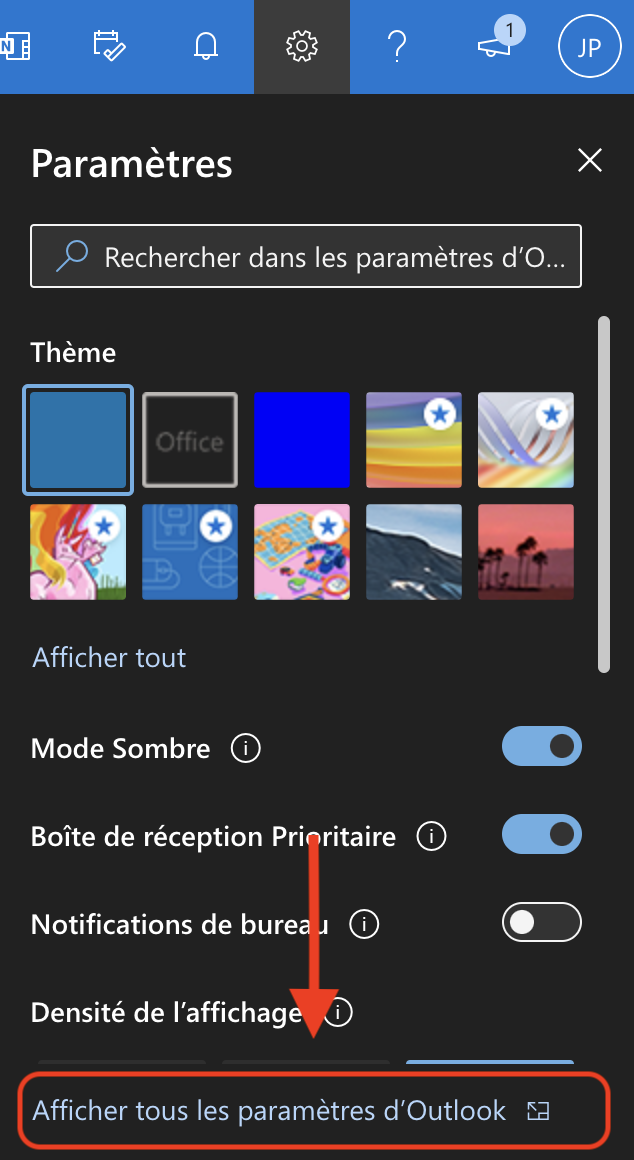](https://wiki.unil.ch/ci/uploads/images/gallery/2022-03/image-1648044350893-56-58.png) 3. Go to the *General* tab, then *Storage* 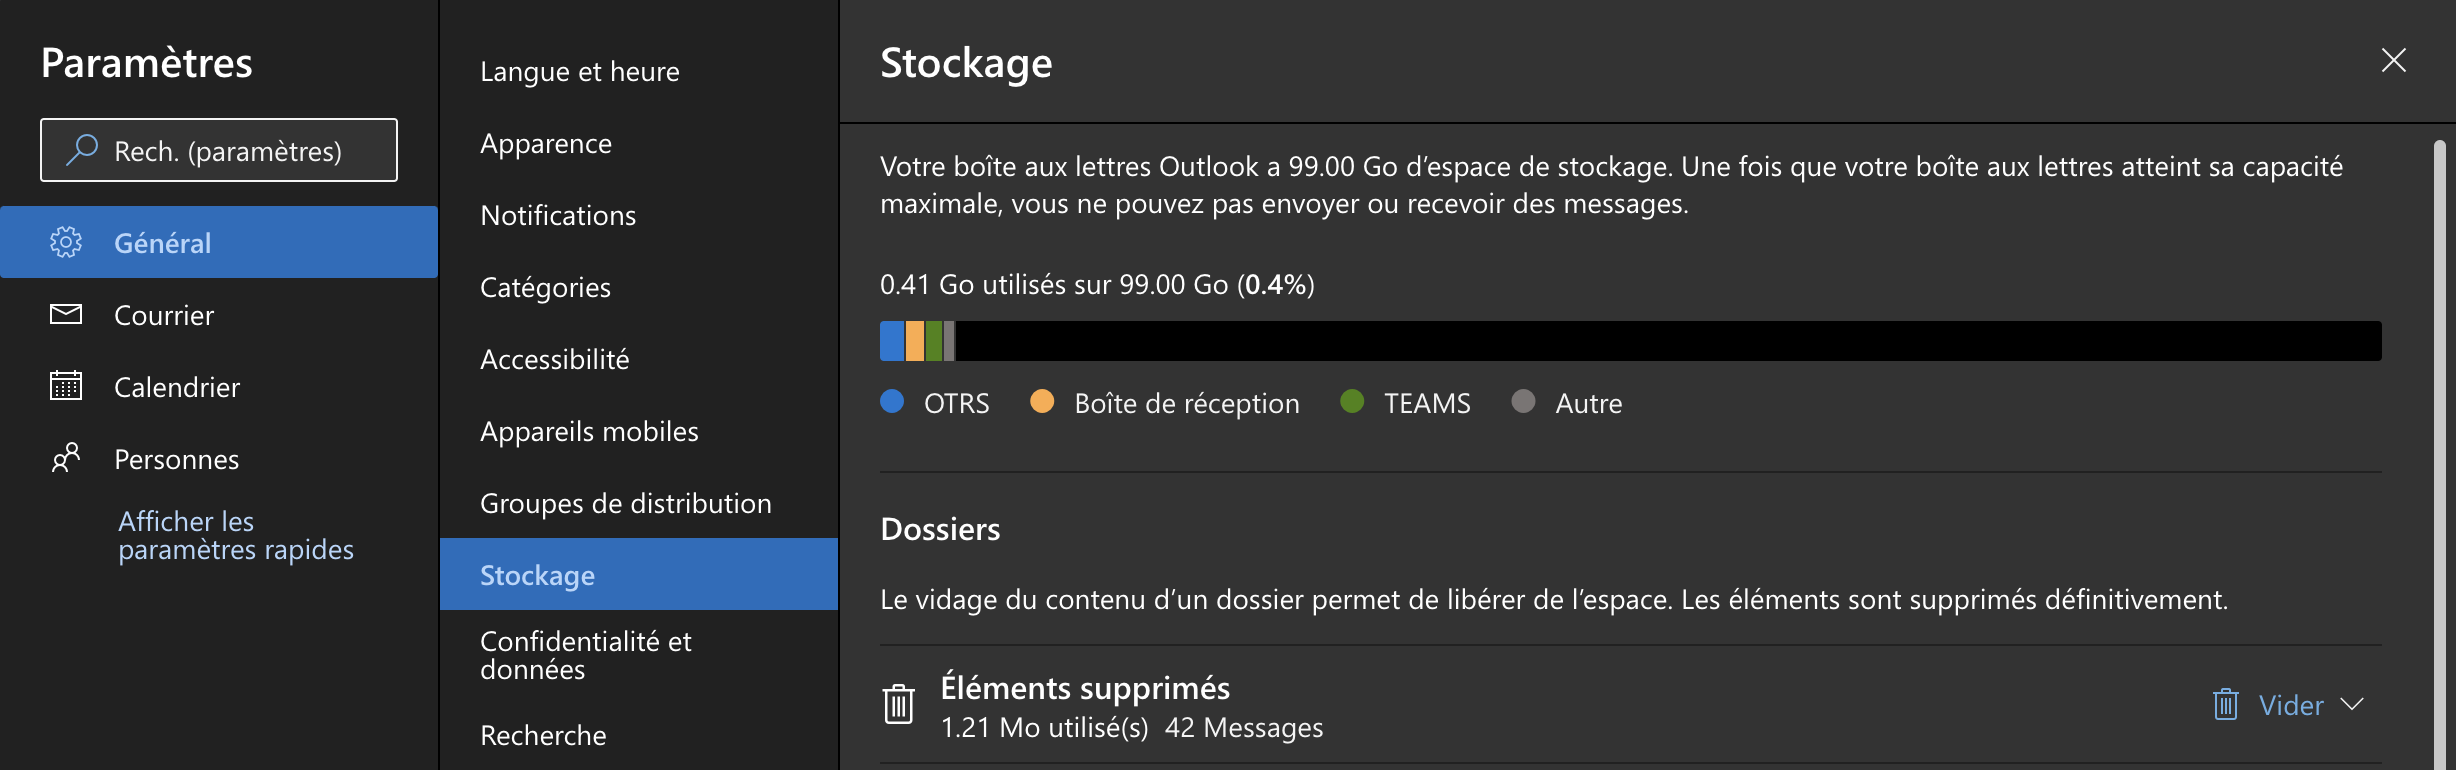You need two entries: one for Unil members, and one for people that are not Unil members. To do so, select *Send replies to people that are not in your organization* and add another automatic reply there.
[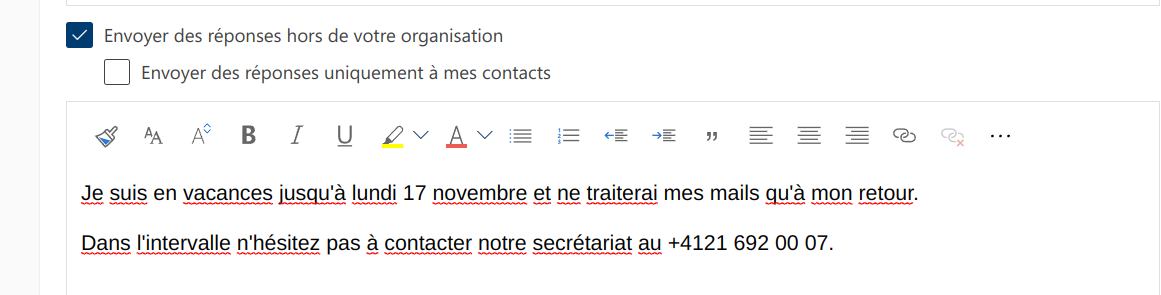](https://wiki.unil.ch/ci/uploads/images/gallery/2023-03/4Mximage.png)Don't forget to disable automatic replies when you're back!
By redirecting your Unil emails to your private, external mailbox, **you are trusting external entities** with their contents. Therefore, **the Centre Informatique does not provide any kind of support for external email providers and will not and cannot be held responsible for any prejudice and damage caused by the use of the aforementioned external email providers.**
**If you are employed by the university, using an external service may go against the [internal UNIL directives](https://www.unil.ch/interne/files/live/sites/interne/files/textes-leg/6-inf/dir6-9-fichiers-info3.pdf).**
For students only!
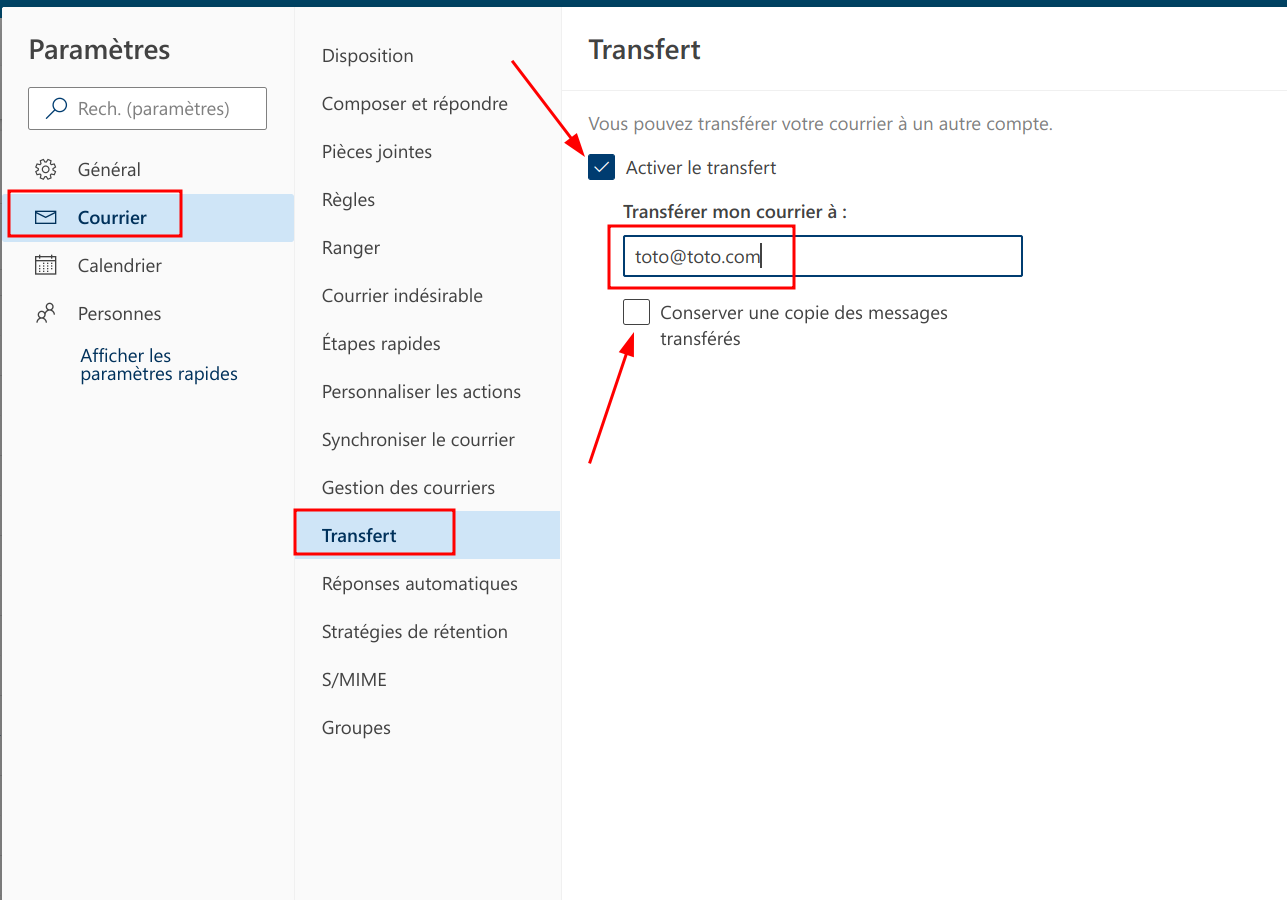
*Outlook Online* provides various options to either redirect all or some of your incoming emails. These options can all be set in the *Outlook Online* settings.We advise users to also tick the option to keep a copy of the transferred emails to ensure that they do not lose emails in case they get bounced by the second mailbox.
[](https://wiki.unil.ch/ci/uploads/images/gallery/2023-03/UmGimage.png)**If you have opened a suspicious email or entered your credentials on a website you find suspicious, please change both your edu-ID and Unil passwords immediately. If you do not know how, call or email us.**
It is now better to [send us suspicious emails as attached files](https://wiki.unil.ch/ci/books/antispam-et-s%C3%A9curit%C3%A9-messagerie/page/faq#bkmrk-j%27ai-re%C3%A7u-un-spam-ou) to
These options are application-dependent. Thus, they are not a sure way of knowing whether your recipient has actually received or read the email you've sent them.
By default, the *Mail* app on iOS only downloads a limited amount of emails onto your phone's mailbox. If you would like to have access to older emails, you will have to change the *Mail* app's settings.
This option only works on the *Outlook* apps and web-app.
We recommend using *Outlook Online* ([https://outlook.office.com](https://outlook.office.com)) on Linux.
These options only apply to the user-created folders inside your mailbox on *Outlook Online*, and will therefore not be applied to the default folders
1. Connect to *Outlook Online* here: [https://outlook.office.com](https://outlook.office.com) 2. Right-click the folder that you would like to apply custom retention strategies to 3. Select *Attribute strategy* and select the one that suits your use case best. [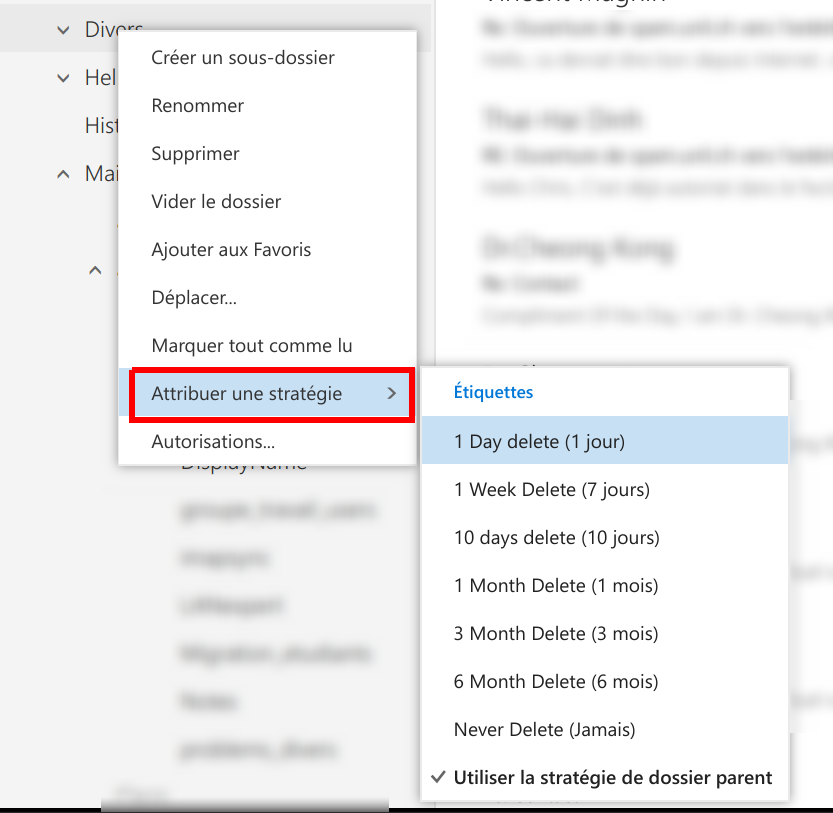](https://wiki.unil.ch/ci/uploads/images/gallery/2019-11/strategie_retention_OWA.png)If the Unil account is used by other apps, you may have to go and remove it in *System Preferences* > *Internet accounts*.
**No.** A Unil account and its associated mailboxes are closed six months after the end of the person's [studies](https://www.unil.ch/ci/ui/unil-etu) or [contract](https://www.unil.ch/ci/ui/unil-empl). **It is very important that you save all the emails you would like to keep before your mailbox is closed.**
All Unil mailboxes are dependent on their respective Unil accounts. Thus, when a Unil account is closed, the mailbox associated is closed as well. This is why we strongly advise you to inform the people contacting you via your Unil email and provide them with another address at which they may reach you, and also save all the emails you'd like to keep. Accesses are closed six months after the end of a person's contract or studies. If you've graduated from Unil, you may be eligible to an [ALUMNIL](https://www.unil.ch/graduatecampus/home/menuinst/carriere-avec-doctorat/reseau-alumnil.html) email. This is not a full maybox, but only a redirection towards an email address of your choosing.