CryoSPARC
First of all, if you plan to use CryoSPARC on the cluster, please contact us to get a port number (you will understand later why it's important).
CryoSPARC can be used on Curnagl and take benefit from Nvidia A100 GPUs. This page presents the installation in the /work storage location, so that it can be shared among the members of the same project. The purpose is to help you with installation, but in case of problem, don't hesitate to look at the official documentation.
1. Get a license
A free license can be obtained for non-commercial use from Structura Biotechnology.
You will receive an email containing your license ID. It is similar to:
235e3142-d2b0-17eb-c43a-9c2461c1234d
2. Prerequisites
Before starting the installation we suppose that:
- DCSR gave you the following port number: 45678
- you want to install Cryosparc to the following location: /work/FAC/FBM/DMF/ulambda/cryosparc
- your license ID is: 235e3142-d2b0-17eb-c43a-9c2461c1234d
Obviously you must not use those values and they must be modified.
3. Install CryoSPARC
First, connect to the Curnagl login node using your favourite SSH client and follow the next steps.
Define the 3 prerequisites variables
export LICENSE_ID="235e3142-d2b0-17eb-c43a-9c2461c1234d"
export CRYOSPARC_ROOT=/work/FAC/FBM/DMF/ulambda/cryosparc
export CRYOSPARC_PORT=45678
Create some directories and download the packages
mkdir -p $CRYOSPARC_ROOT
mkdir -p $CRYOSPARC_ROOT/database
mkdir -p $CRYOSPARC_ROOT/scratch
mkdir -p $CRYOSPARC_ROOT/curnagl_config
cd $CRYOSPARC_ROOT
curl -L https://get.cryosparc.com/download/master-latest/$LICENSE_ID -o cryosparc_master.tar.gz
curl -L https://get.cryosparc.com/download/worker-latest/$LICENSE_ID -o cryosparc_worker.tar.gz
tar xf cryosparc_master.tar.gz
tar xf cryosparc_worker.tar.gz
Create $CRYOSPARC_ROOT/curnagl_config/cluster_info.json
Use your favourite editor to fill the file with the following content:
{
"qdel_cmd_tpl": "scancel {{ cluster_job_id }}",
"worker_bin_path": "/work/FAC/FBM/DMF/ulambda/cryosparc/cryosparc_worker/bin/cryosparcw",
"title": "curnagl",
"cache_path": "/work/FAC/FBM/DMF/ulambda/cryosparc/scratch",
"qinfo_cmd_tpl": "sinfo --format='%.8N %.6D %.10P %.6T %.14C %.5c %.6z %.7m %.7G %.9d %20E'",
"qsub_cmd_tpl": "sbatch {{ script_path_abs }}",
"qstat_cmd_tpl": "squeue -j {{ cluster_job_id }}",
"cache_quota_mb": 1000000,
"send_cmd_tpl": "{{ command }}",
"cache_reserve_mb": 10000,
"name": "curnagl"
}
Pay attention to worker_bin_path and cache_path variables, they must be adapted to your setup. cache_reserve_mb and cache_quota_mb might have to be modified, depending on your needs.
Create $CRYOSPARC_ROOT/curnagl_config/cluster_script.sh
Use your favourite editor to fill the file with the following content:
#!/bin/bash
#SBATCH --job-name=cryosparc_{{ project_uid }}_{{ job_uid }}
#SBATCH --partition=gpu
#SBATCH --time=4:00:00
#SBATCH --output={{ job_log_path_abs }}
#SBATCH --error={{ job_log_path_abs }}
#SBATCH --nodes=1
#SBATCH --mem={{ (ram_gb*1024*4)|int }}M
#SBATCH --ntasks-per-node=1
#SBATCH --cpus-per-task={{ num_cpu }}
#SBATCH --gres=gpu:{{ num_gpu }}
#SBATCH --gres-flags=enforce-binding

module load gcc cuda

available_devs=""
for devidx in $(seq 1 16);
do
    if [[ -z $(nvidia-smi -i $devidx --query-compute-apps=pid --format=csv,noheader) ]] ; then
        if [[ -z "$available_devs" ]] ; then
            available_devs=$devidx
        else
            available_devs=$available_devs,$devidx
        fi
    fi
done
export CUDA_VISIBLE_DEVICES=$available_devs

srun {{ run_cmd }}
Install CryoSPARC master
cd $CRYOSPARC_ROOT/cryosparc_master
./install.sh --license $LICENSE_ID --hostname login.curnagl --dbpath $CRYOSPARC_ROOT/database --port $CRYOSPARC_PORT
At the end of the installation process, the installer asks you if you want to modify your ~/.bashrc file, please answer yes.
Start CryoSPARC and create a user
export PATH=$CRYOSPARC_ROOT/cryosparc_master/bin:$PATH
cryosparcm start
cryosparcm createuser --email "ursula.lambda@unil.ch" --password "ursulabestpassword" --username "ulambda" --firstname "Ursula" --lastname "Lambda"
Of course, when creating the user, you have to use appropriate information, the password shouldn't be your UNIL password.
Install CryoSPARC worker
First you have to connect to a GPU node:
Sinteractive -G1 -m8GOnce you are connected to the node:
export LICENSE_ID="235e3142-d2b0-17eb-c43a-9c2461c1234d"
export CRYOSPARC_ROOT=/work/FAC/FBM/DMF/ulambda/cryosparc
module load gcc cuda
cd $CRYOSPARC_ROOT/cryosparc_worker
./install.sh --license $LICENSE_ID --cudapath $CUDA_HOME
At the end of the process, you can logout.
Configure the cluster workers
cd $CRYOSPARC_ROOT/curnagl_config
cryosparcm cluster connect
4. Connection to the web interface
You have to create a tunnel from your laptop to the Curnagl login node:
ssh -L 8080:localhost:45678 ulambda@curnagl.dcsr.unil.chPlease note that the port 45678 must be modified according to the one that DCSR gave you, and ulambda must be replaced with your UNIL login.
Then you can open a Web browser the following address: http://localhost:8080.
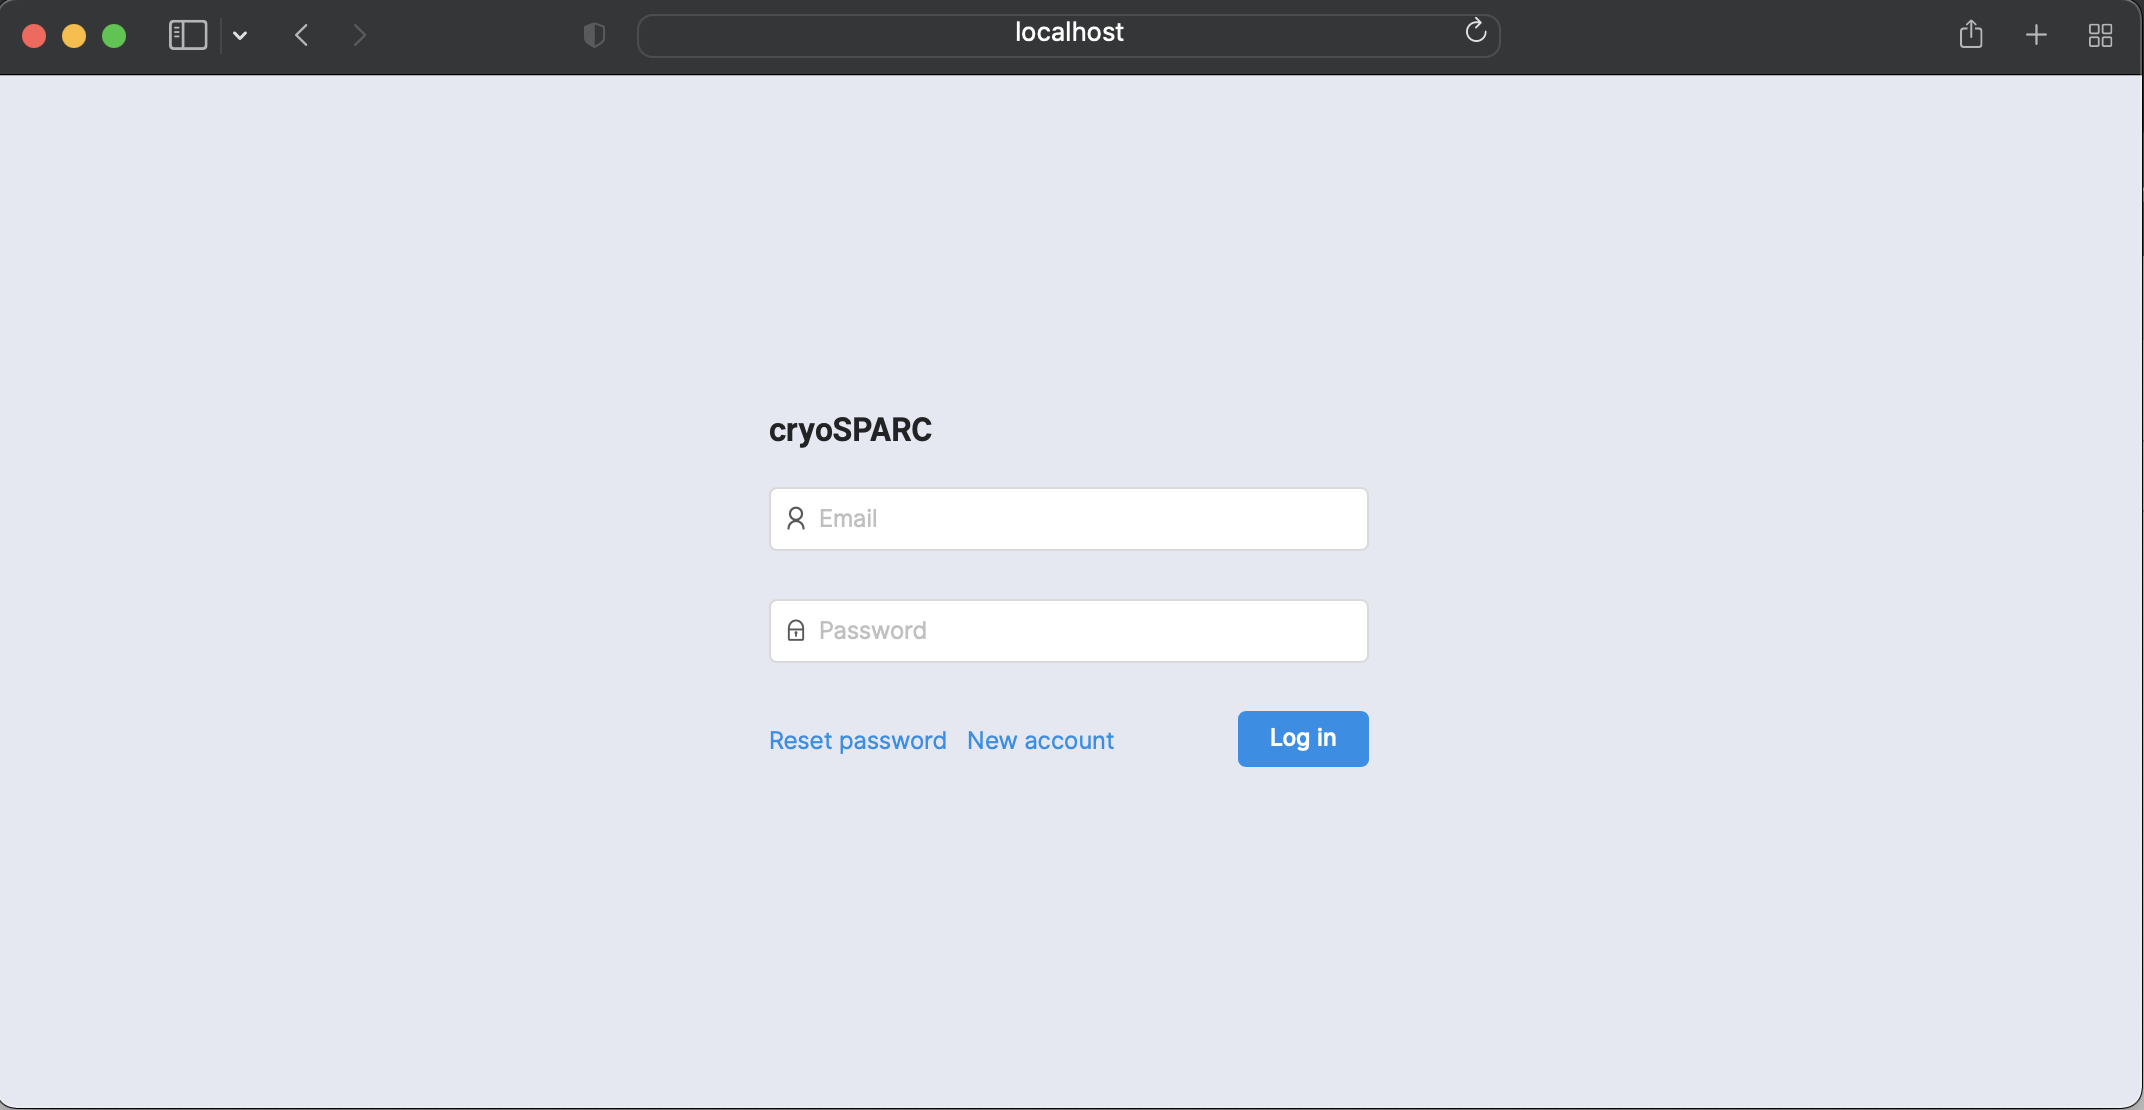
Here you have to use the credentials defined when you created a user.
5. Working with CryoSPARC
When you start working with CryoSPARC on Curnagl, you have to start it from the login node:
cryosparcm startWhen you have finished, you should stop CryoSPARC in order to avoid wasting resources on Curnagl login node:
cryosparcm stop