How to configure a USB-C monitor / screen
UNIL is changing its screens
With the arrival of newer computers, UNIL is adapting and getting new screens compatible with the USB-C connector standard.
Those new screens present a multitude of advantages compared to the old ones:
- A unique cable that needs to be plugged in your computer, assuming the role of outputting the image, receiving input from a keyboard and mouse connected to the screen, and all this whilst receiving an AC input, thus charging your device. That means that there is no need to carry your charger around !
- A better resolution for a superior image clarity and more and more comfort for your eyes.
- A more reliable connection
- A modern experience
Getting started
If one of the new screen has been attributed to you, it will be delivered by one of our Helpdesk technicians. He will connect the screen to all of your peripherals, and it will be ready to use.
You will then find a single cable coming out of your screen, looking as follows:
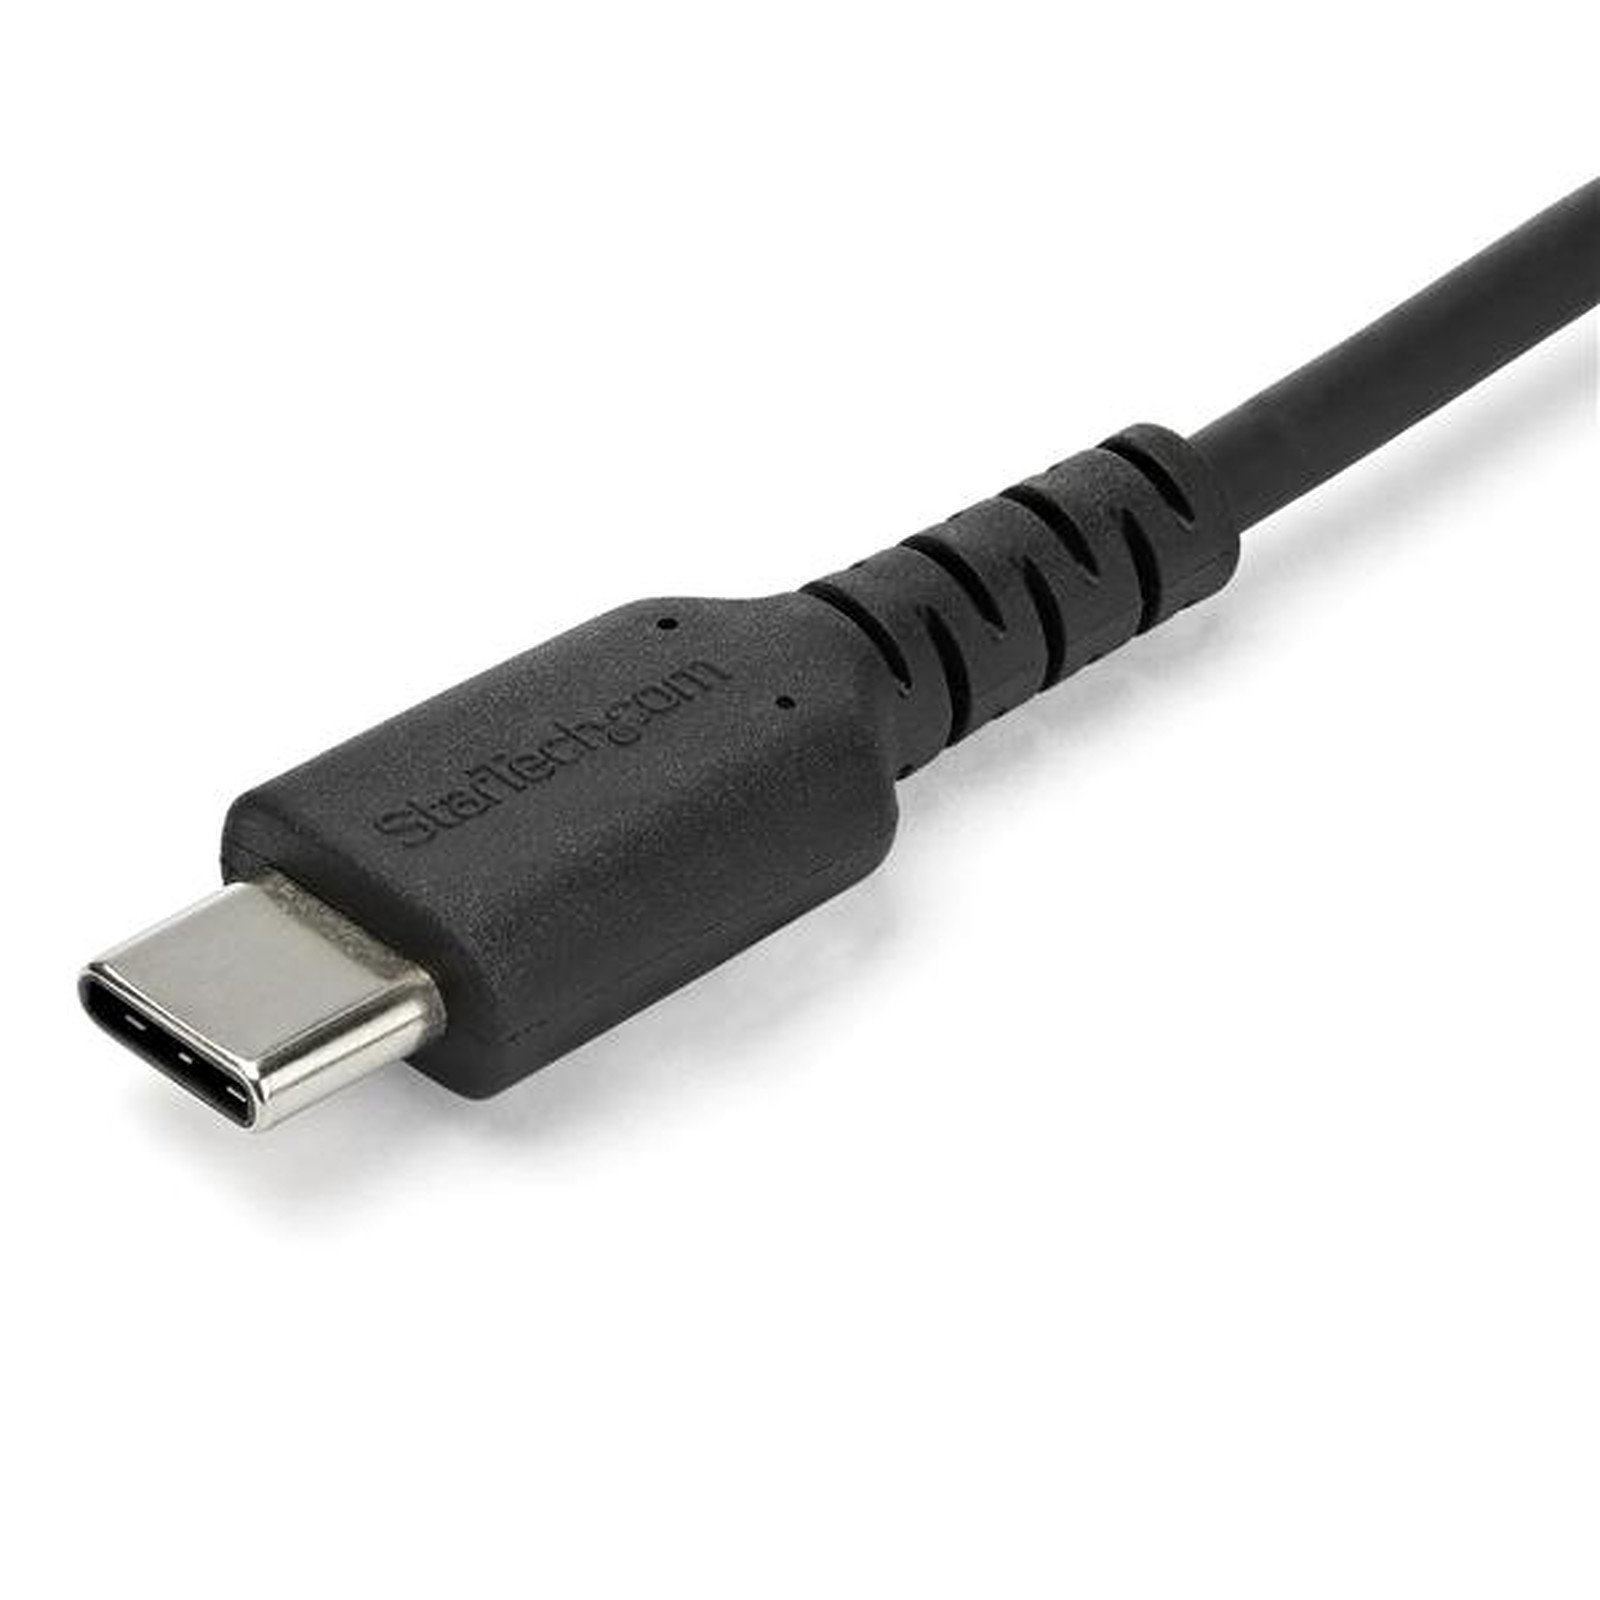
You will be able to plug this cable onto your laptop and the external monitor will connect automatically.
Your laptop is charged by the screen. So there's no need to plug in your charger. In addition, your display has USB ports that will also be served by the single USB-C cable. So you can connect your USB peripherals (keyboard, mouse, webcam, external drive...) directly to the back, or to the left side of your screen.
Adjusting your display
In a two-screen configuration, it is possible that the continuity between the two monitors is not respected. Your external monitor may be on the right side of your laptop, but you can only access it by moving your mouse to the left of your laptop.
Below you will find the procedure for configuring the location of your screens in space.
On MacOS
In order to adjust your monitor, for example which screen appears on top, bottom, left, right etc... you will have to open the system preferences on your MAC.
To do this: Click on the apple (top left of your screen) -> System Preferences -> Displays
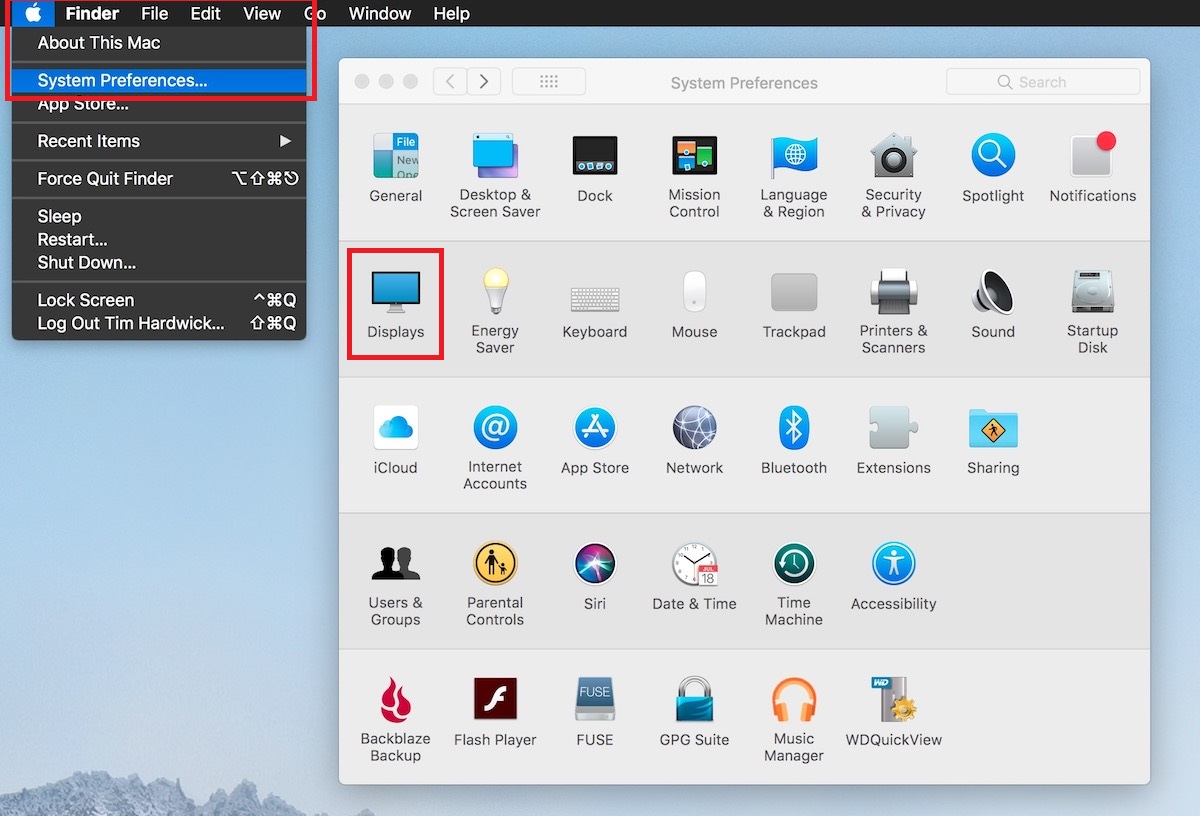
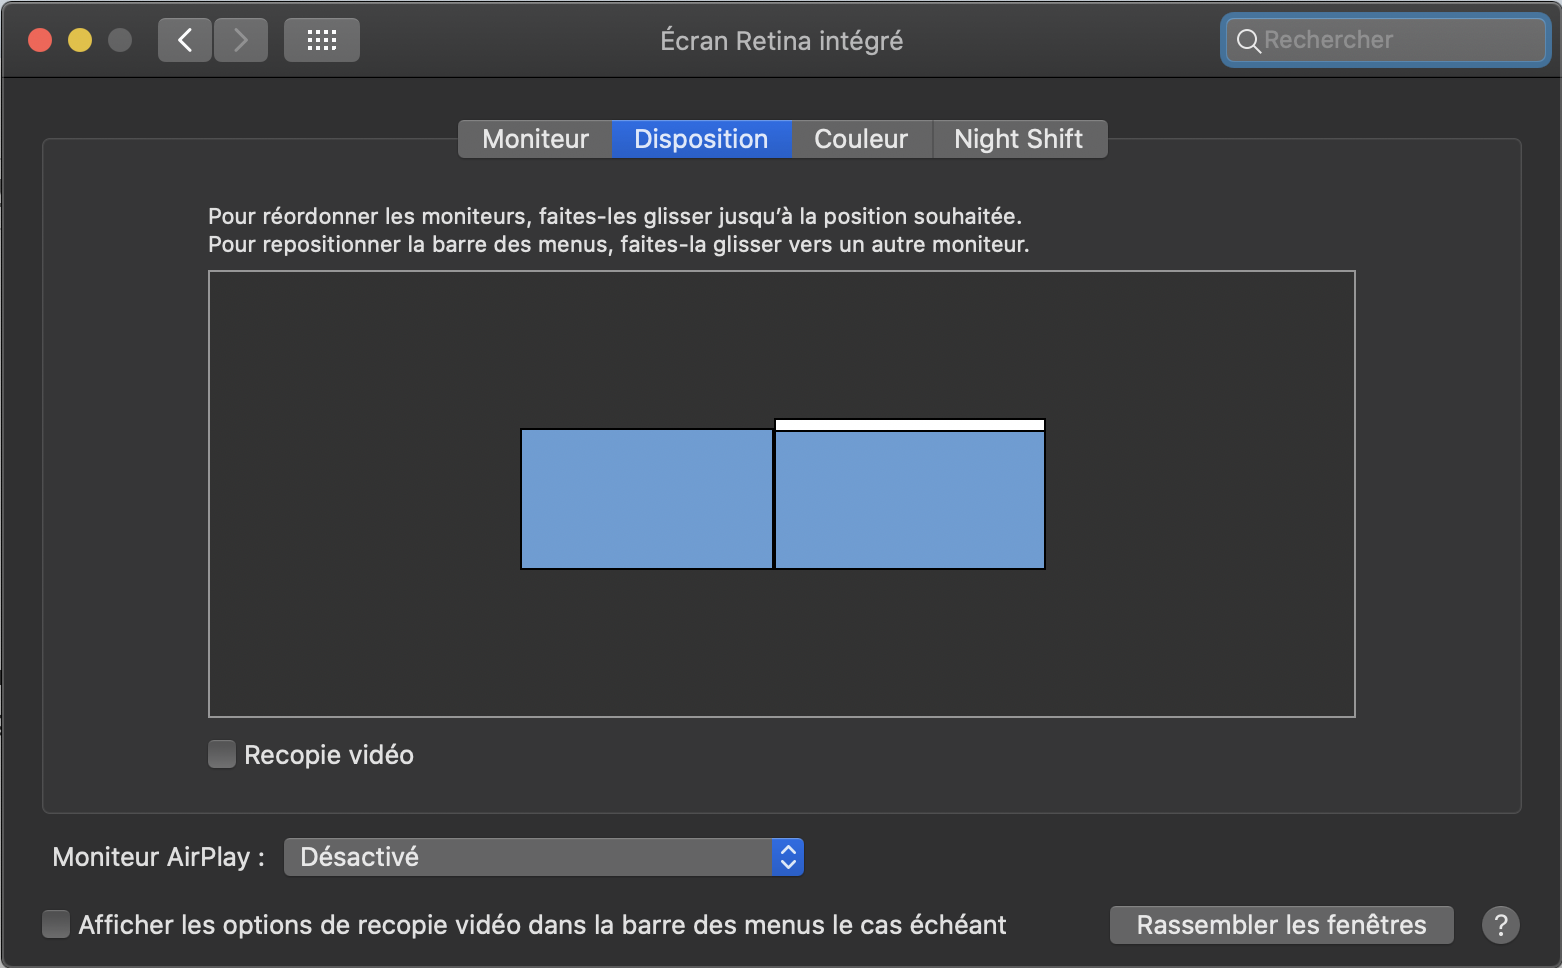
There you should select "Arrangement".
The blue rectangles represent your screens. The screen with the white bar above it is your main display (here, the display on the right). If you move this white bar from one screen to the other, this screen will become your primary display.
By clicking on one of the blue rectangles, you can freely move it in order to reflect the true position of your monitors and make their usage more intuitive.
Please note that we highly advise against closing your MacBook screen and using exclusively the external monitor. We have had a multitude of cases in which the device heated with the screen closed, and some screen burns appeared.
On Windows
Extend or Duplicate
Windows offers various ways to share your screen with an external screen. The two main ones are screen duplication, which is useful if you use your screen with a projector in an amphitheater; and screen extension, which is useful if you work with two monitors.
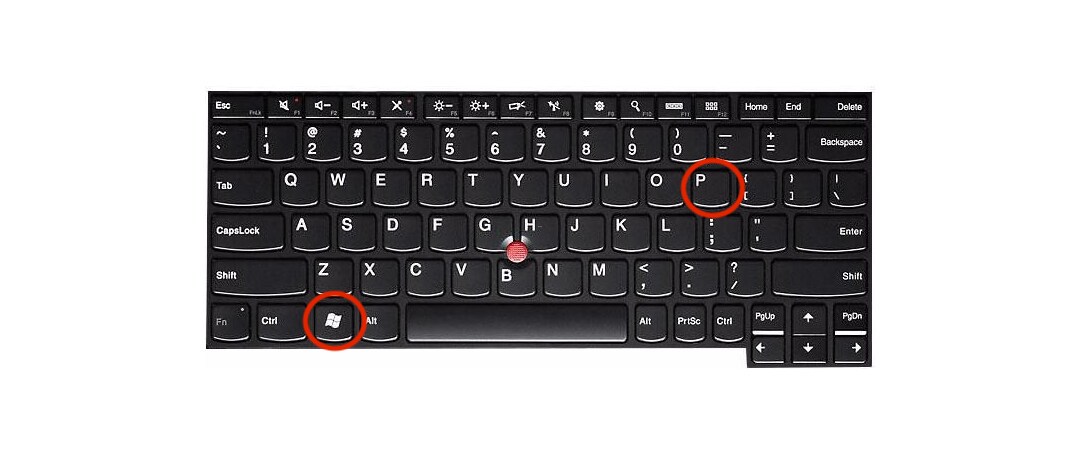
You can easily change the way your screen is shared by using the shortcut "Windows Key + P"
Screen position
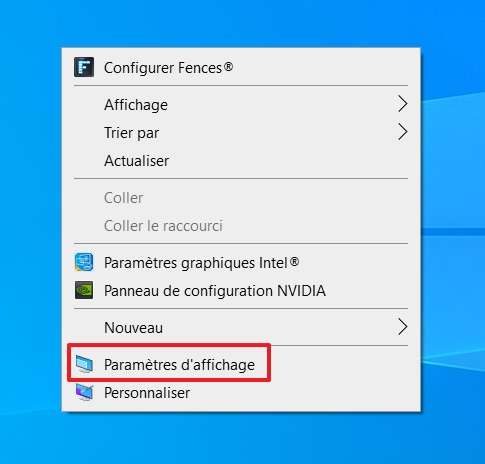
In order to adjust your monitor, for example which screen appears on top, bottom, left, right etc... you will have to open the Settings on your computer, and then select "System" and "Display". Or right-click on the desktop -> display settings.
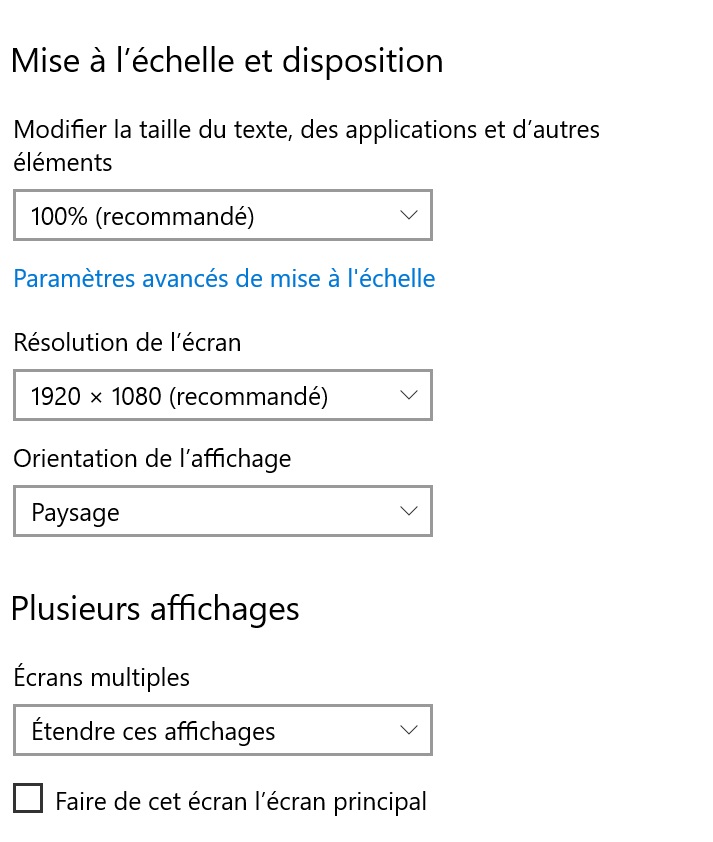
The blue rectangles represent your screens. By clicking on a rectangle, you can move it from one screen to the other, this screen will become your primary display.

Still in the display settings, you can select a suitable screen resolution and adapt the size of the elements to your liking. This is also where you can set the orientation of your screen, if you want to use it in portrait rather than landscape.
For a better user experience, choose a high resolution (ideally 3840x2160). Otherwise, select at least a Full HD resolution (1920x1080).
FAQ and known issues
On M1 MACs
Sometimes the peripherals that are connected to the screen do not work with the MAC. That is due to an internal chip that the early M1 macs have.
When you are affected by this issue, if you boot your device with the screen connected, then the peripherals would be rendered unusable.
The workaround is simple but effective. Disconnect the external display from your laptop, reboot and re-plug the screen once your computer is turned on. Everything would then work.