Data management
This page presents the way to move data between the different locations used for either processing or storing data. The three main locations are hereafter referred to as: laptop, cluster, and NAS.
- Laptop: the personnal computer you use for your daily work (usually a laptop)
- Cluster: one of the clusters managed by the DCSR (wally or axiom)
- NAS: the Network Attached Storage from UNIL
Laptop <-> Cluster
Note: If you work from home, you first need to connect to Unil's VPN using Pulse Secure (see VPN instructions).
To copy data between your laptop and a cluster you will have to use scp (secure copy).
Linux/Mac
Linux and Mac users simply have to open a terminal.
From laptop to cluster: $ scp /path/to/fileToCopy <username>@<server>:/path/to/dest
From cluster to laptop: $ scp <username>@<server>:/path/to/fileToCopy /path/to/dest
Where:
<username> |
your UNIL username |
<cluster> |
wally or axiom |
<server> |
<cluster>-front1.unil.ch |
Examples
To copy file "file.txt" to your home directory:
scp file.txt ulambda@wally-front1.unil.ch:~
To copy the entire directory "dirA" to your home directory:
scp -r dirA ulambda@wally-front1.unil.ch:~
Windows
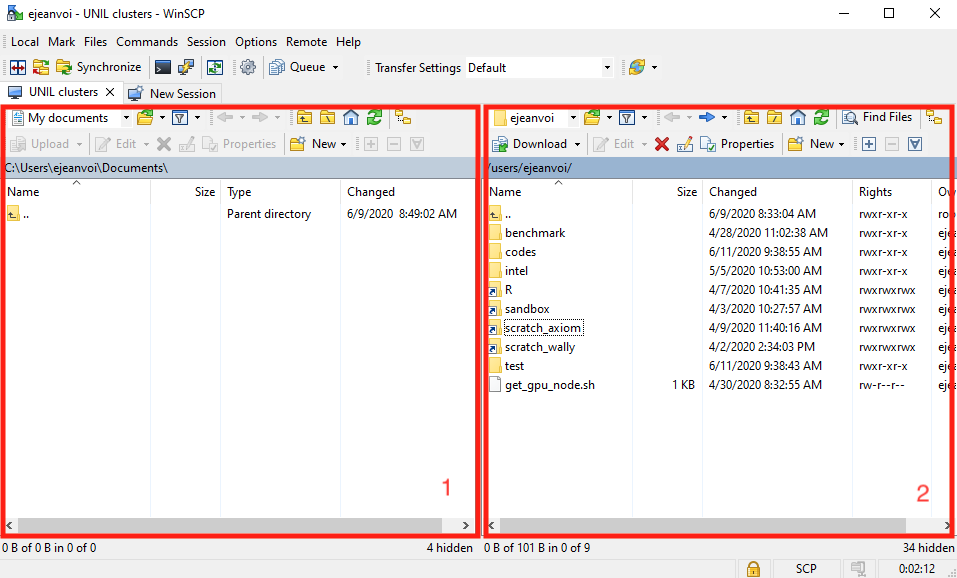
Windows users can use WinSCP.
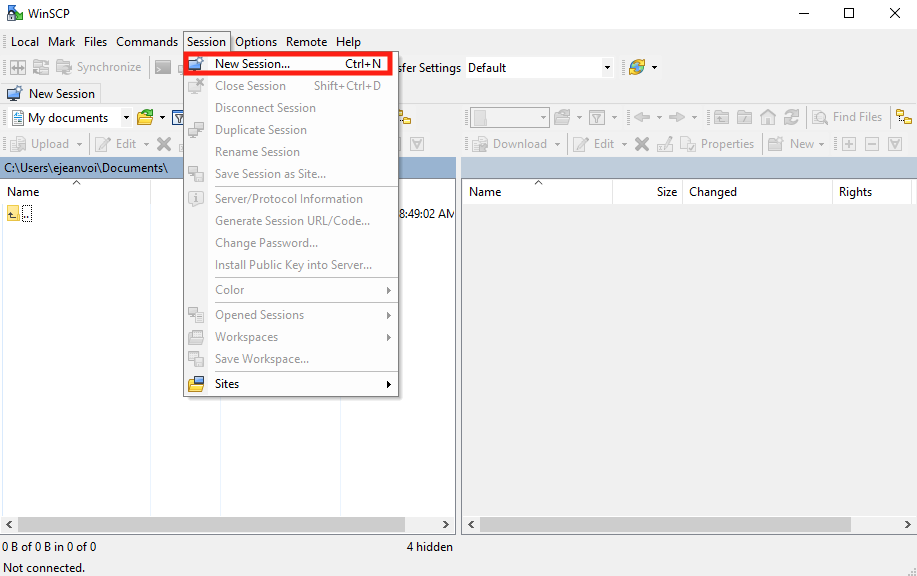
Step 1: create a new session
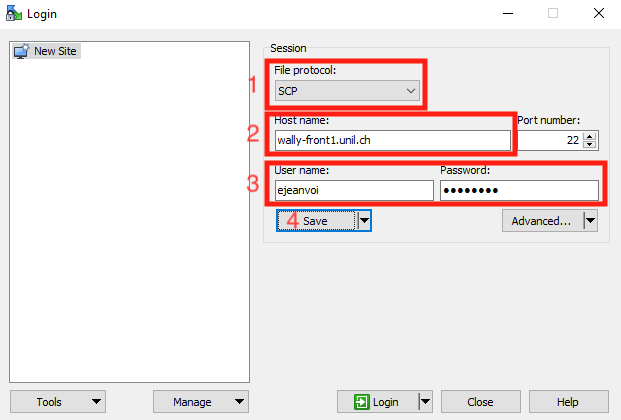
Step 2: enter the configuration elements (SCP file protocol, hostname, and credentials). Finally, save the session details
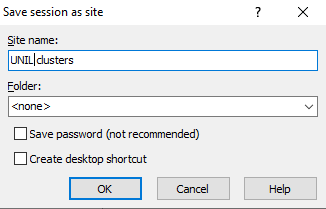
Step 3: enter an explicit session name
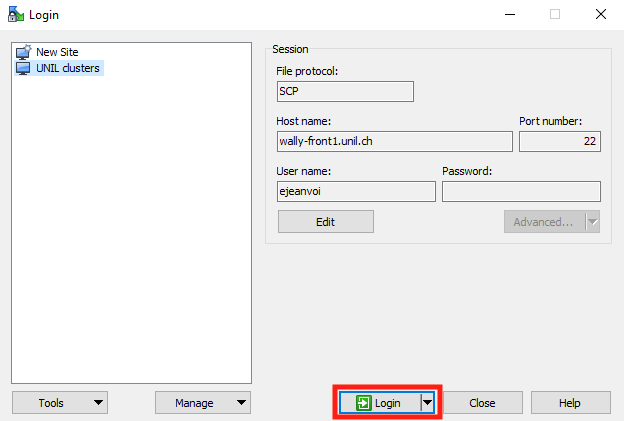
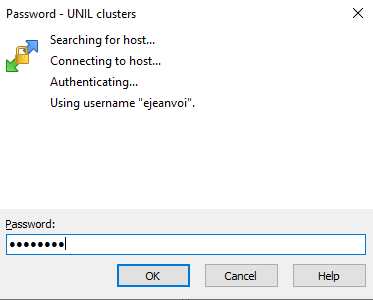
Step 4: login
Step 5: enter your password
Laptop <-> NAS
Note: If you work from home, you first need to connect to Unil's VPN using Pulse Secure (see VPN instructions).
Samba server
Windows
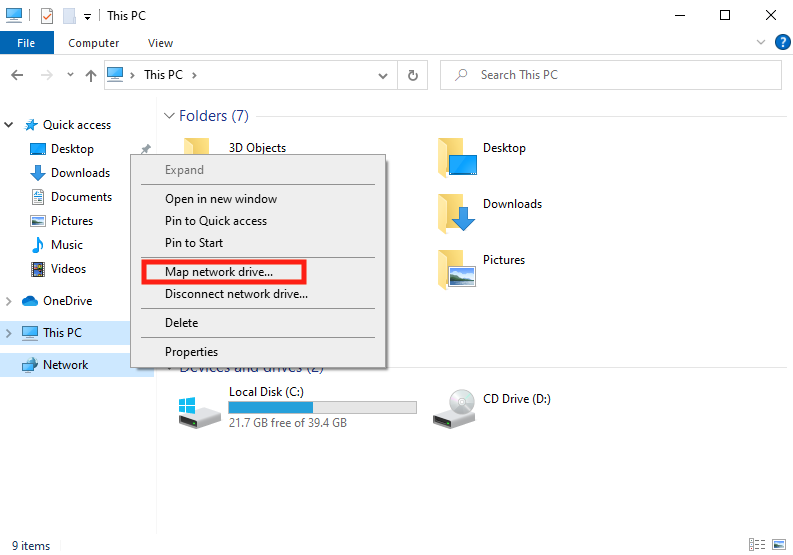
Step 1: right click on Network in File explorer and choose "Map network drive…"
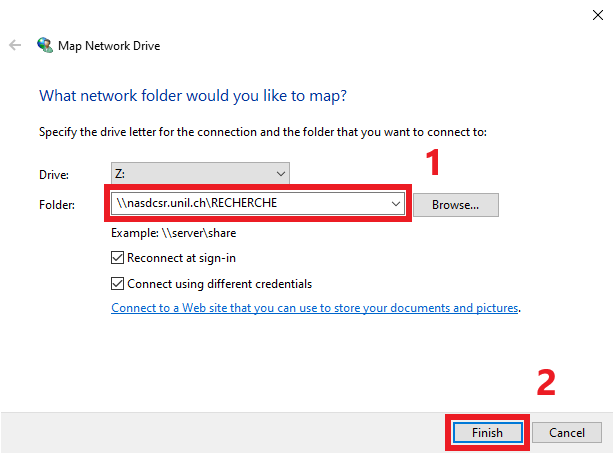
Step 2: enter the address of the Samba server and click to finish
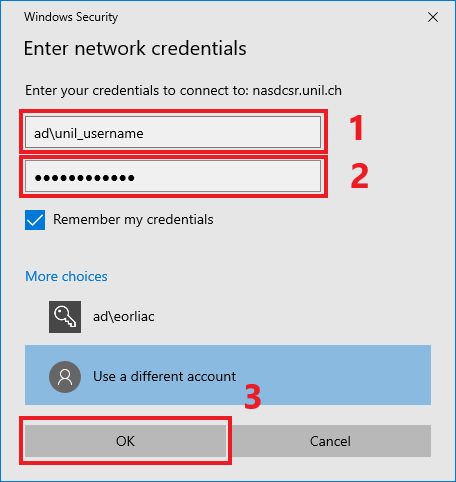
Step 3: enter your Unil credentials and clikc "OK"
- username:
ad\unil_username(for examplead\ulambda) - password
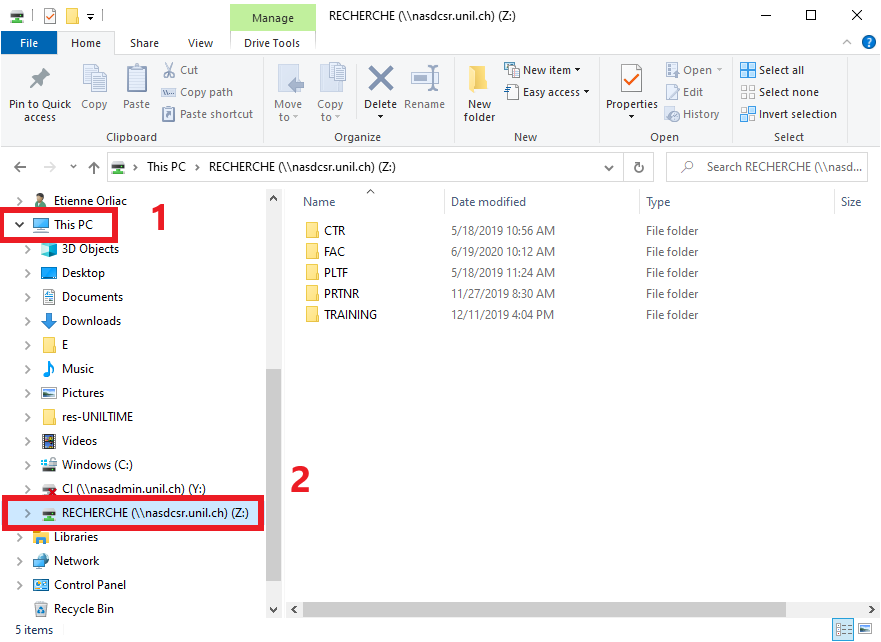
Step 4: click on "This PC" and then on the new network drive
Linux
It is possible to use a GUI but there are as much solutions as desktop managers. So here is a way to mount the NAS using command line interface. Don't forget to adapt the username= field in the sudo mount command!
# First install the packages
# Debian/Ubuntu version
$ sudo apt install samba cifs-utils
# Fedora/RedHat version
$ sudo dnf install cifs-utils

# In the following, ~/nas is chosen as a mountpoint, but it could be elsewhere
$ mkdir ~/nasdcsr
$ sudo mount -t cifs -o username=unil_username,domain=ad,rw,iocharset=utf8,dir_mode=0700,file_mode=0700,uid=$(id -u) //nasdcsr.unil.ch/RECHERCHE ~/nasdcsr

# Perform the reauired operations
$ cd ~/nasdcsr
…

# When finished, don't forget to umount it
$ sudo umount ~/nasdcsr
Mac
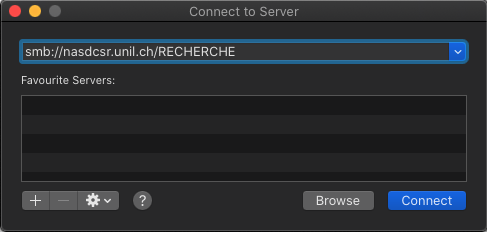
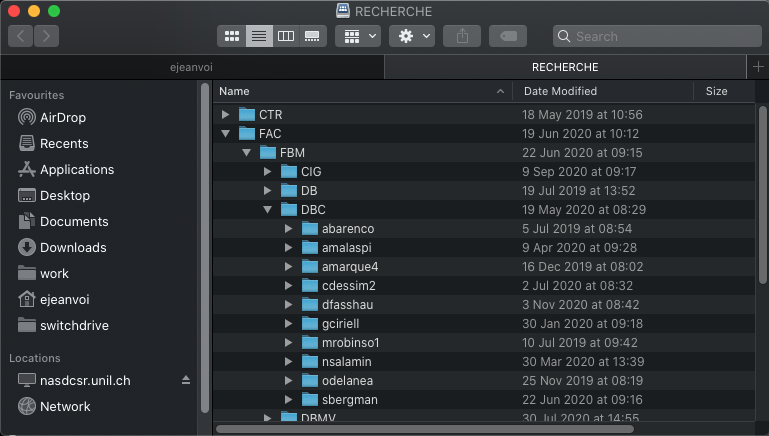
Step 1: open the Finder, in Go menu, select "Connect to Server"

Step 2: enter the NAS url (smb://nasdcsr.unil.ch/RECHERCHE), you also may add this server as a favourite by clicking on + symbol
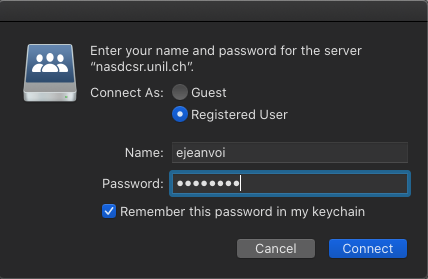
Step 3: enter your credentials
Cluster <-> NAS
Note: If you work from home, you first need to connect to Unil's VPN using Pulse Secure (see VPN instructions).
From the login nodes the NAS is available under /nas. The folder hierarchy is:
/nas/FAC/<your_faculty>/<your_department>/<your_PI>/<your_project>Cluster -> NAS
To copy a file to the new NAS:
cp /path/to/file /nas/FAC/<your_faculty>/<your_department>/<your_PI>/<your_project>To copy a folder to the new NAS:
cp -r /path/to/folder /nas/FAC/<your_faculty>/<your_department>/<your_PI>/<your_project>For more complex operations, consider using rsync. For the documentation see the man page:
man rsyncor check out this link.
NAS -> cluster
As above, just swapping the source and destination:
cp /nas/FAC/<your_faculty>/<your_department>/<your_PI>/<your_project>/file /path/to/destcp -r /nas/FAC/<your_faculty>/<your_department>/<your_PI>/<your_project>/folder /path/to/destAccessing DCSR NAS from CHUV network
Windows and Mac users can install the graphical desktop client from DataExpedition as well if they wish so:
Download Expedat from here, installation instruction from here, and product documentation from there.
Here is an example of ExpeDat session:
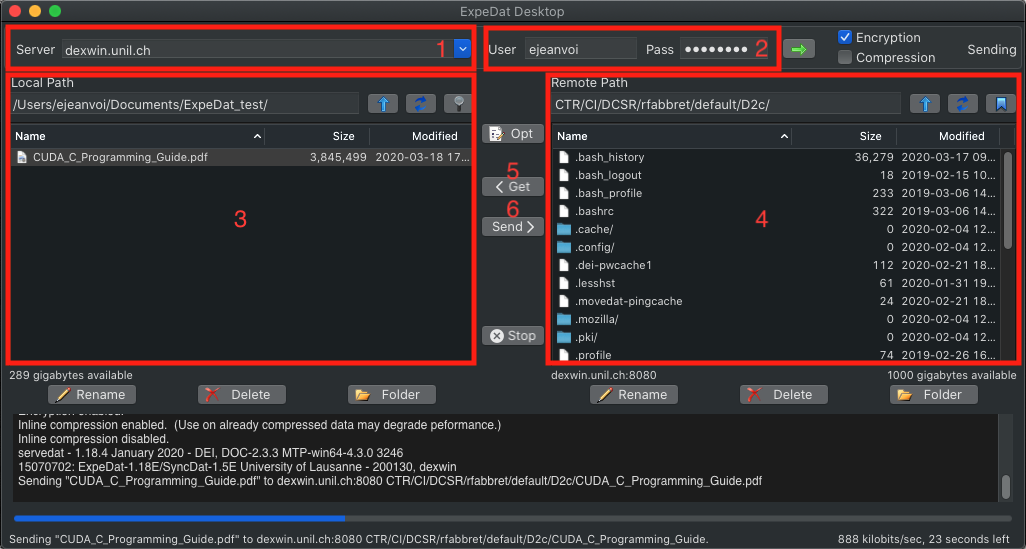
On that screenshot you can see:
- The server of the NAS
- The user information (login and password)
- The explorer for the files located on your laptop
- The explorer for the files located on the NAS (note that the remote path must be set according to your personal working space)
- The get button to fetch files from the NAS to your laptop
- The push button to push files from your laptop to the NAS