Installation
Windows 10 and 11
Installation:
On Windows 10 and Windows 11, OneDrive is usually installed by default. If you can't find it, you can download the application here: herehttps://www.microsoft.com/en-us/microsoft-365/onedrive/download.
Configuration:
-
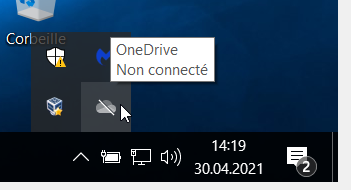
Launch the application by clicking on the icon in your taskbar
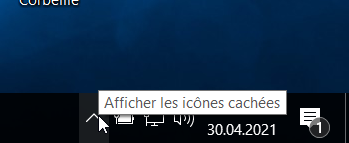
-
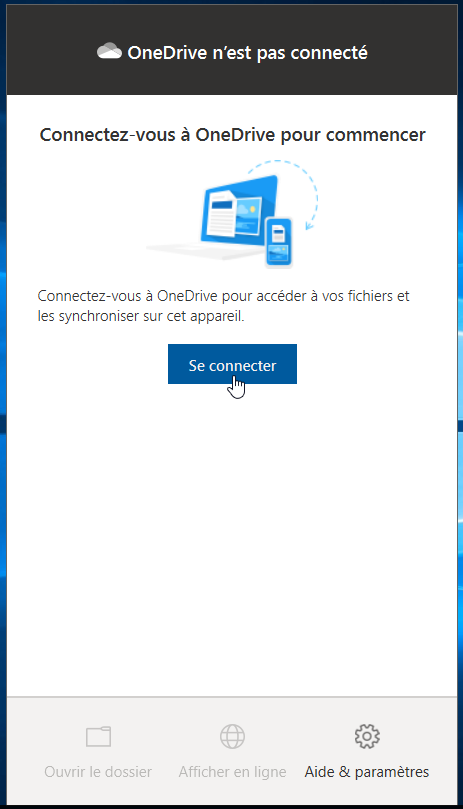
Click on the
"SignIn"In button -
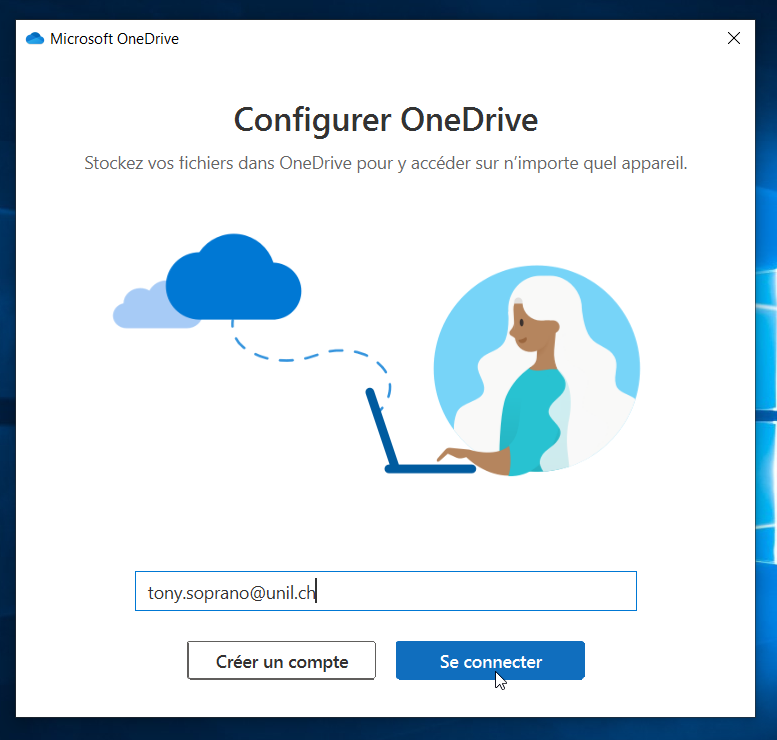
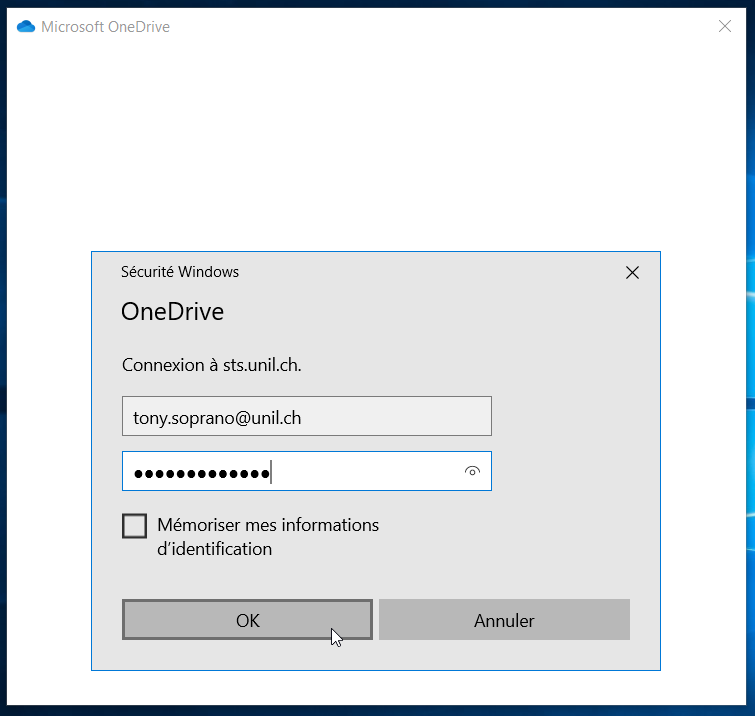
On the page that opens, enter your UNIL credentials (email address @unil.ch and UNIL password).
-
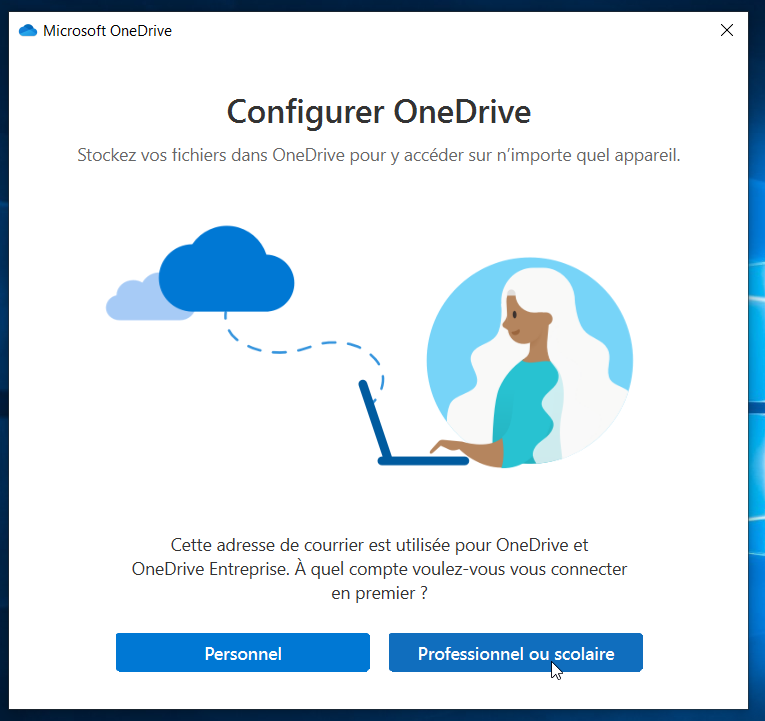
If asked to choose the account type, select
"Work orschool."school. -
By default, OneDrive syncs a
"OneDrive-Université deLausanne"Lausanne folder in your user folder. You can modify it if you wish. Never sync an entire user folder or a folder from another synchronization application (SWITCHdrive, Dropbox, etc.).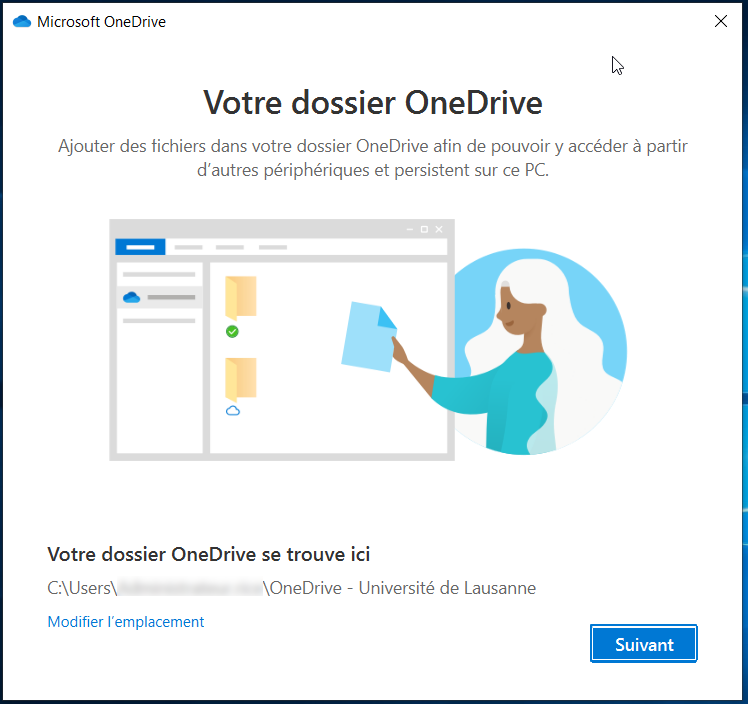
-
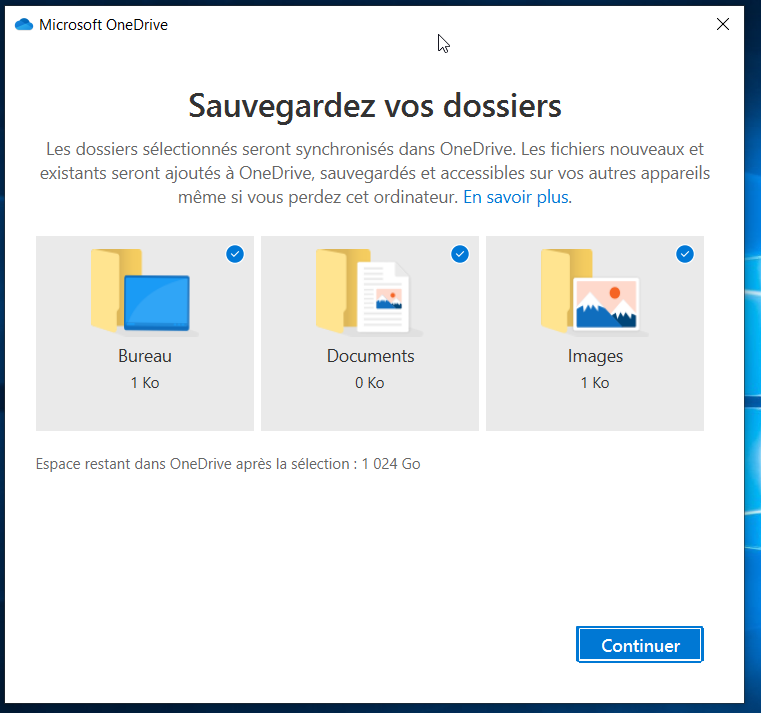
By default, the folders Desktop,
Documents,Documents, and Pictures are synced to OneDrive. You can deselect a folder if you do not want it to be added to OneDrive. Then click"Continue."Continue. -
Several explanation screens will appear. Skip them by clicking
"Next."Next. -
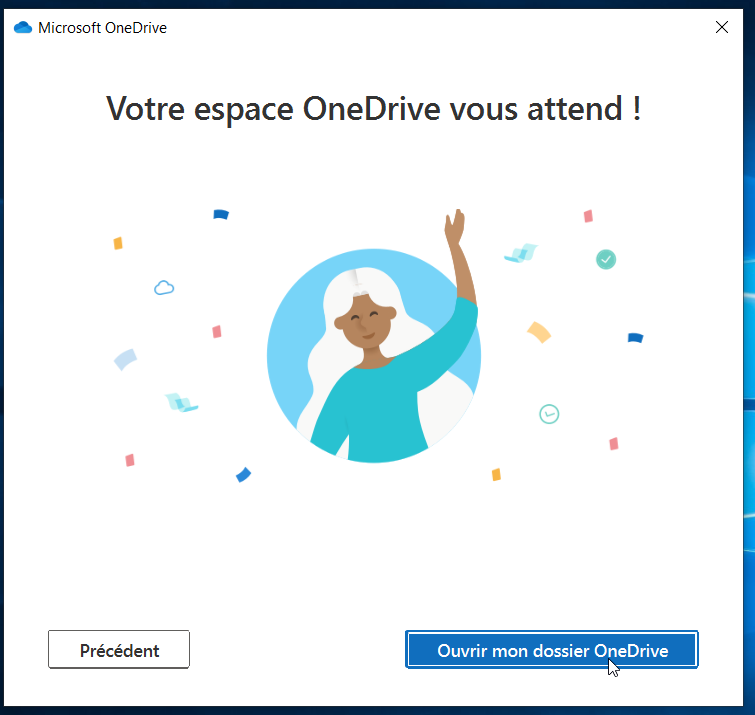
The final screen allows you to open your synchronization folder and start depositing files. If you chose to sync the Desktop, Documents, and/or Pictures folders, the data loading will start immediately.
-
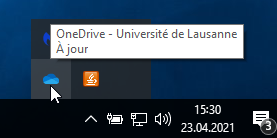
You can check that your account is configured correctly if the OneDrive icon in the taskbar turns blue.
macOS
Method 1: App Store
OneDrive can be installed from the Apple App Store: OneDrive on App Store
Method 2: Download
- Download the installation file here.
- Double-click on the installation file.
- Click "Next."
- Click "Install."
- Enter your computer password and click "Install Software."
- Once the installation is complete, click "Close."
- Launch the application from the Applications folder.
Configuration:
- Enter your UNIL email address.
- If asked, choose "Work or school."
- You will then be redirected to the UNIL login page. Enter your UNIL password and click "Sign In."
- By default, OneDrive syncs a "OneDrive" folder in your user folder. You can modify it if you wish. Never sync an entire user folder or a folder from another synchronization application (SWITCHdrive, Dropbox, etc.).
- Several explanation screens will appear. Skip them by clicking "Next."
- The final screen allows you to open your synchronization folder and start depositing files. If you chose to sync the Desktop, Documents, and/or Pictures folders, the data loading will start immediately.
Linux
There is no official OneDrive client for Linux. It is recommended to use the OneDrive web interface.
You can use an unofficial command-line client for synchronization. For more information, read this, and the link to the project can be found here.
Some Linux distributions seem to offer OneDrive through their package manager, but this version is often not up-to-date. It is advisable to follow the instructions in the GitHub repository below!
Ubuntu 20.04
The simplest solution seems to be Insync, but it is a paid service!
Add the OneDrive repository to your APT sources:
sudo vim /etc/apt/sources.list
Add the following line at the end of the file:
deb https://download.opensuse.org/repositories/home:/npreining:/debian-ubuntu-onedrive/xUbuntu_20.04/ ./
Close Vim (if you don't know how to close Vim, switch to macOS or Windows :))
Download the key for the repo and add it:
wget https://download.opensuse.org/repositories/home:/npreining:/debian-ubuntu-onedrive/xUbuntu_20.04/Release.key
sudo apt-key add ./Release.key
Update APT and install the OneDrive client:
sudo apt update
sudo apt install onedrive
Launch the client to configure it:
onedrive
This will give you:
Configuring Global Azure AD Endpoints
Authorize this app visiting:

https://login.microsoftonline.com/common/oauth2/v2.0/authorize?client_id=xxxxxxxx-xxxx-xxxx-xxxx-xxxxxxxxxxxx&scope=Files.ReadWrite%20Files.ReadWrite.all%20Sites.Read.All%20Sites.ReadWrite.All%20offline_access&response_type=code&redirect_uri=https://login.microsoftonline.com/common/oauth2/nativeclient

Enter the response uri

