Enable GUI access to a Rocky Linux VM
This guide explains how to install a lightweight graphical environment (XFCE) and configure XRDP to enable remote desktop access to your Rocky Linux virtual machine.
Note: You must have sudo privileges to perform the installation steps.
🔧 Step 1: Update the System
sudo dnf update -y🧪 Step 2: Install EPEL repository
The installation of the XFCE desktop environment requires to install the EPEL repository which is a repository that provides high-quality software packages for RHEL-distributions.
sudo dnf install epel-release -y🎛️ Step 3: Install XFCE Desktop Environment
sudo dnf groupinstall "Xfce" -y📦 Step 4: Install XRDP
sudo dnf install xrdp -y🔄 Step 5: Enable and Start XRDP
sudo systemctl enable xrdp --nowCheck the service status:
sudo systemctl status xrdpYou should see "active (running)".
🔐 Step 6: Open RDP Port in Firewall
sudo firewall-cmd --permanent --add-port=3389/tcp
sudo firewall-cmd --reload
🛠️ Step 7: Set XFCE as the Default Desktop for XRDP Sessions
Create or modify your user’s .Xclients file:
echo "startxfce4" > ~/.Xclients chmod +x ~/.XclientsTo apply this for all new users, you can add it to /etc/skel/:
echo "startxfce4" | sudo tee /etc/skel/.Xclients
sudo chmod +x /etc/skel/.Xclients
🔄 Step 8: Reboot the system
To ensure all services and graphical environment changes take effect, reboot the virtual machine:
sudo systemctl rebootWait a few moments for the system to come back online.
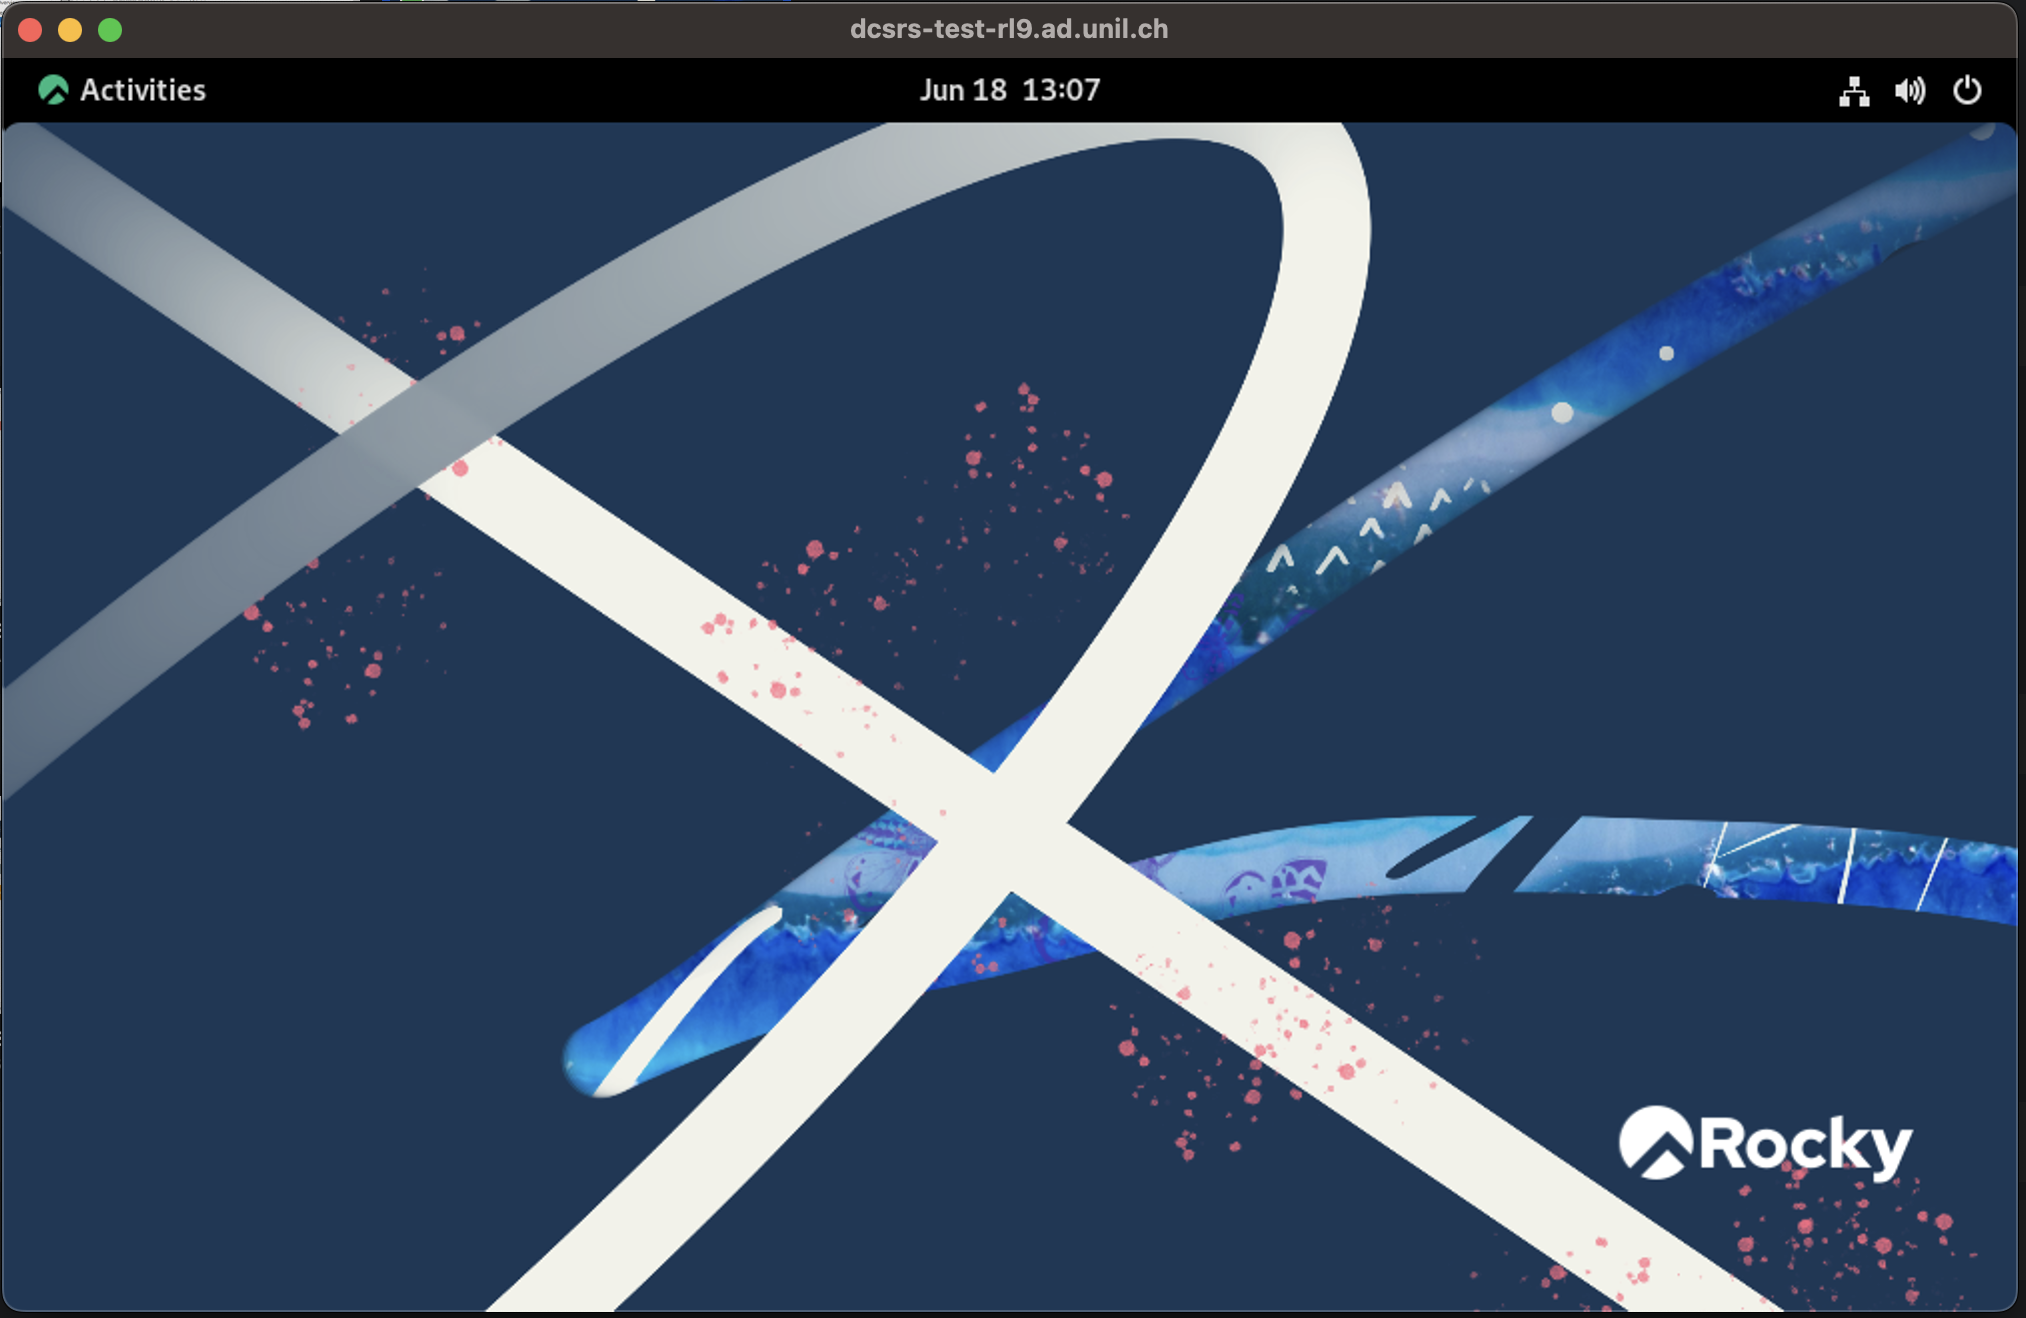
💻 Step 9: Connect via Remote Desktop
From your local machine, open your Remote Desktop Client (RDP) and connect to:
If you need further help, please contact your system administrator or open a support ticket with the helpdesk (helpdesk@unil.ch).