How to connect to the NAS server (Windows)
Products
| Name | Version |
|
| System | Windows |
≧ XP |
Description
The steps below explain how to connect to the NAS (nas.unil.ch) using a Windows computer and will allow you to view the file server tree structure in Windows Explorer.
This procedure allows you to access different storage spaces available at UNIL:
- Central NAS server for administrative data: \\nas.unil.ch\FBM\
- DCSR NAS server for research data: \\nasdcsr.unil.ch\RECHERCHE
- DCSR NAS server for "sensitive" research data: \\nasdcsr.unil.ch\RECHERCHE-S
- DCSR NAS server for "personal" research data: \\nasdcsr.unil.ch\RECHERCHE-P
Mac user? Please refer to the following documentation: How to connect to the NAS Server (Mac)
Procedure
How to connect
Prerequisite: You must be connected to UNIL network or through the VPN to access the storage servers.
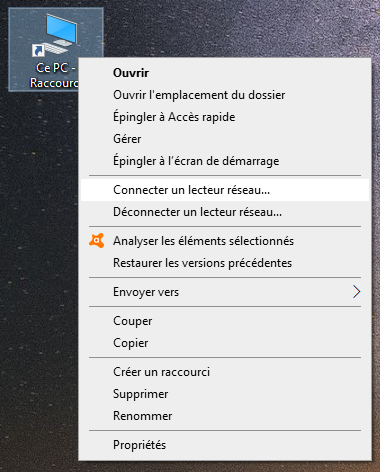
- Right click on “This PC” (Windows 10 and 11) or “Computer” on Windows 7.

- Select “Map network drive...”.
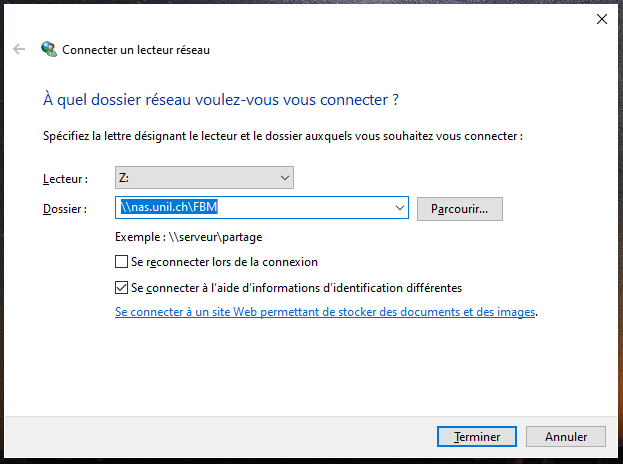
- In the new window:
- Enter the address of the server you want to connect to (see the blue box above).
For example: \\nasdcsr.unil.ch\RECHERCHE. - Uncheck « Reconnect at logon » if the connexion to the server should only be temporary.
- Check « Connect using different credentials » then click on Finish.
- Enter the address of the server you want to connect to (see the blue box above).
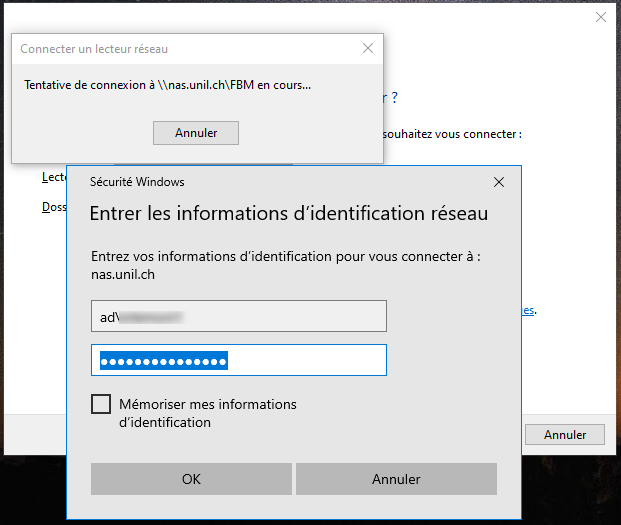
- In the Windows Security window:
- Enter “ad\” + “UNIL username” (for example: “ad\pmartin1”).
- Enter your UNIL password.
- Click on “OK”.
-
Click on “OK” and then on “Finish”.
-
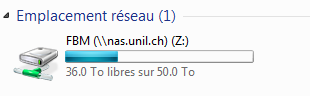
Open “This PC” (Windows 10 or 11) or “Computer” on Windows 7 and click on the new mounted network drive.
Create a shortcut
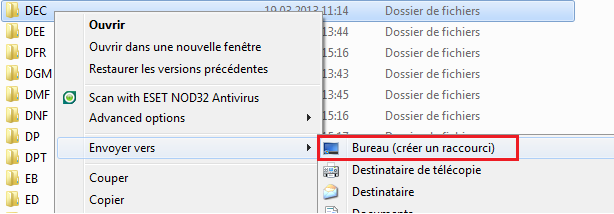
- Right click on a folder and choose “Create shortcut”. The picture below shows how to create a shortcut on the desktop that points to the “DEC” folder.