Managing and setting up your channel(s)
Accessing your channel settings
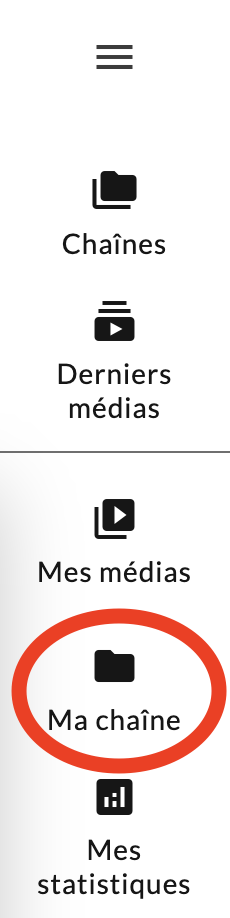
To manage and configure your channels, after logging in, click on My Channel in the navigation panel displayed on the left side of the page.
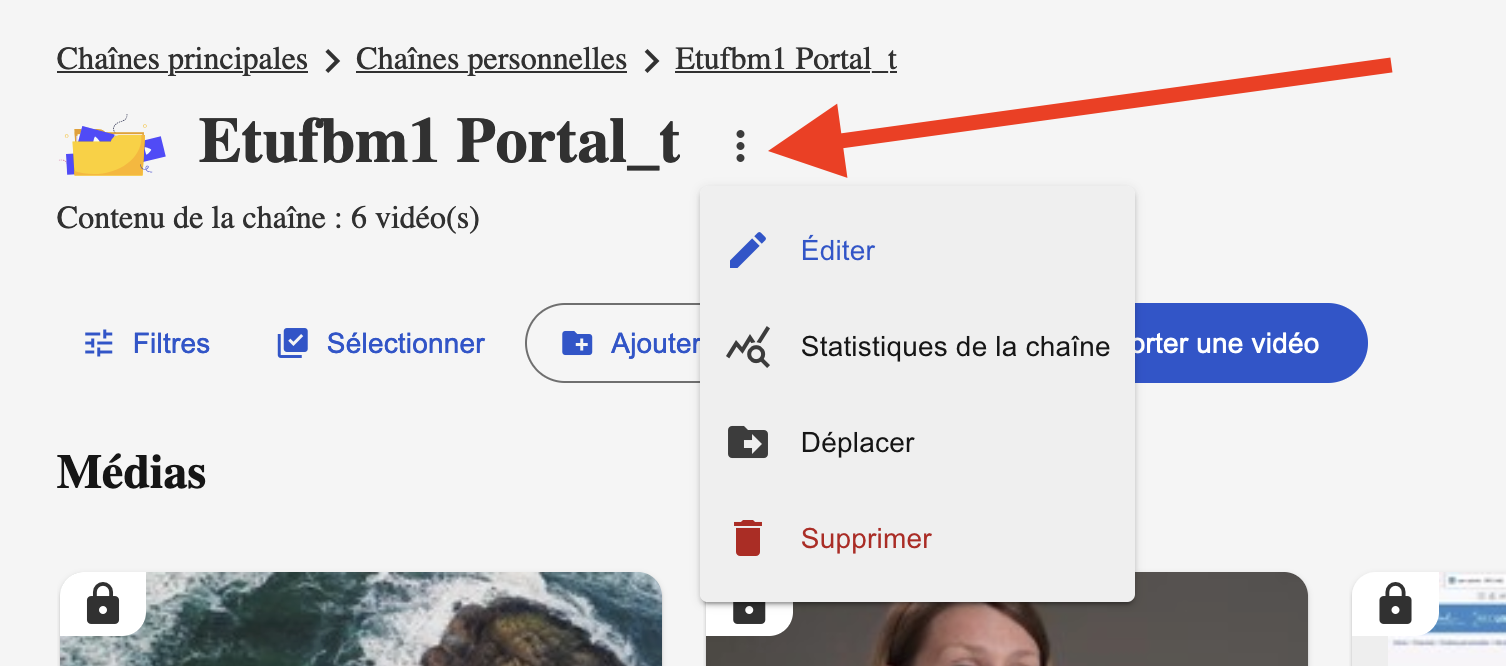
The "Edit" button allows you to access the settings page of your personal channel. The modifiable parameters are detailed below.
Accessing subchannel settings
To access the parameters of a sub-channel, access your main channel as described above, then hover over your sub-channel with your cursor. The "Edit" button will appear. Click on it.

The parameters page of a subchannel is automatically displayed when the subchannel is first created.
Available settings
On the editing page of your channel or sub-channel, you can navigate between 6 different settings tabs. By clicking on the arrow, you can access the 7th tab, Statistics.

The Settings tab allows you to:
- Find the different links to access your channel.
- Modify the Metadata of your channel (Title, Description, Language, Sorting)
- Modify the Advanced Settings (Show View Counter, Show RSS Links, Storage Quota, External Reference, External Data)
- Check the LTI Links
The Preview image tab allows you to:
- Check the current image preview
- Create a thumbnail (= preview image) from the thumbnail of a video
- Change the preview image of your channel by importing an image of your choice
It is recommended to use an image in JPEG format of 240 px width and 135 px height.
The Default Settings tab allows you to:
- Change the default publishing settings for channels (Listing at the time of creation, Authenticated and non-authenticated user access at the time of creation)
- Change the default publishing settings for on-demand videos (Automatic publishing, Status upon relocation, Listing at the time of creation, Authenticated and non-authenticated user access at the time of creation)
- Change the default publishing settings for live broadcasts (Auto-publish, Status upon relocation, Listing at the time of creation, Authenticated and non-authenticated user access at the time of creation)
- Change publishing defaults for sets of photos (Auto-publish, Status upon relocation, Listing at the time of creation, Authenticated and non-authenticated user access at the time of creation)
- Allow integration via LTI
- Change notification settings (Email addresses to notify when new media is added, Email addresses to notify when new memos are added)
- Change storage settings (Storage alert threshold, Email addresses of the channel managers)
The Player Settings tab allows you to:
- Edit the Dynamic Rich Media Options:
- Define and set the player logo
- Change the player background
- Enable and set transition animations
- Define the duration of slide display on autopilot
- Enable user control
- Modify Rich Media Classic Options (Video Ratio, Slide Ratio, First Source Ratio)
- Change the Start and End credits
- Set the Side Panel (Side Panel Width, Default Open Tab, Hidden Tabs, Disabled Annotation Types, Hide Side Panel Completely, Show Side Panel)
The Permissions tab allows you to:
Change the permissions of the user categories below on the channel or on the channel's media.
|
User categories: |
Available authorizations |
|
|
You can also grant direct permissions to specific users (for example, your course assistant).
The Statistics tab allows you to:
- View the statistics of your channel and statistics of the media in your channel.
Don't forget to save your changes with the green "Save Changes" button at the bottom right of the page.
Video Resource
The video below shows how to access the settings and manage your channel(s) (in French).